> ## Documentation Index
> Fetch the complete documentation index at: https://knowledge.bitbybit.studio/llms.txt
> Use this file to discover all available pages before exploring further.
# How to Add Media to Your Campaign
> Add an image, video, or document header to your bitCRM WhatsApp campaign template, with the supported file formats for each media type.
Adding media to your bitCRM campaign template makes your WhatsApp messages more engaging. In the template builder you can set a **header** that displays an image, video, or document above your message body. This guide shows you how to add a media header to a campaign template.
The **Header** dropdown also offers a **Text** header. This guide covers the media header types — Image, Video, and Document. For the full template walkthrough, see [How to Create a Message Template Campaign for WhatsApp API](https://knowledge.bitbybit.studio/bitcrm/how-to-create-a-message-template-campaign-for-whatsapp-api).
## Step 1: Open the template builder
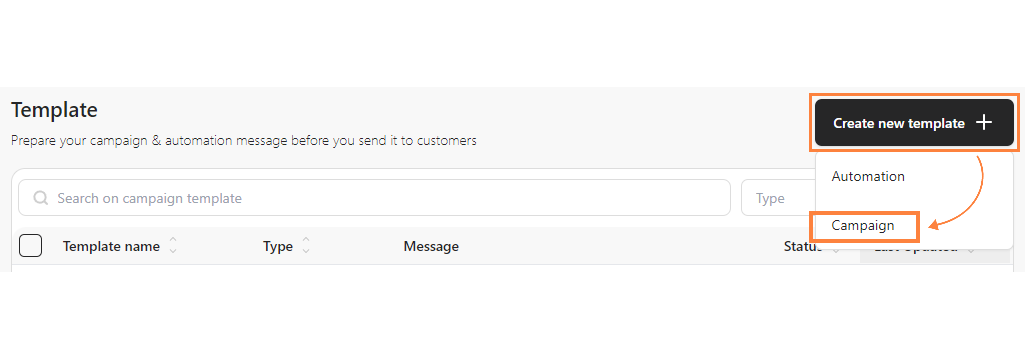
Go to the [**bitCRM Template**](https://app.bitbybit.studio/bitcrm/template) dashboard, click **Create new template**, and select **Campaign**.
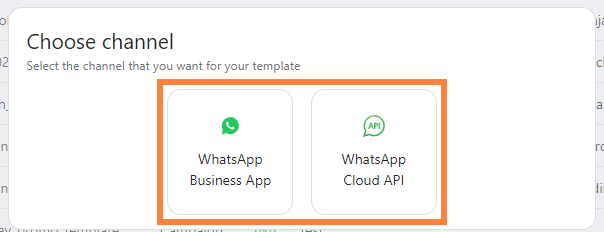
 Choose between **WhatsApp Business App** or **WhatsApp Cloud API**.
 ## Step 2: Complete Template setup
In the first step of the wizard, fill in your **Template name**, **Languages**, **Message category**, and **Template type**, then click **Next** to move to **Message content**.
## Step 2: Complete Template setup
In the first step of the wizard, fill in your **Template name**, **Languages**, **Message category**, and **Template type**, then click **Next** to move to **Message content**.
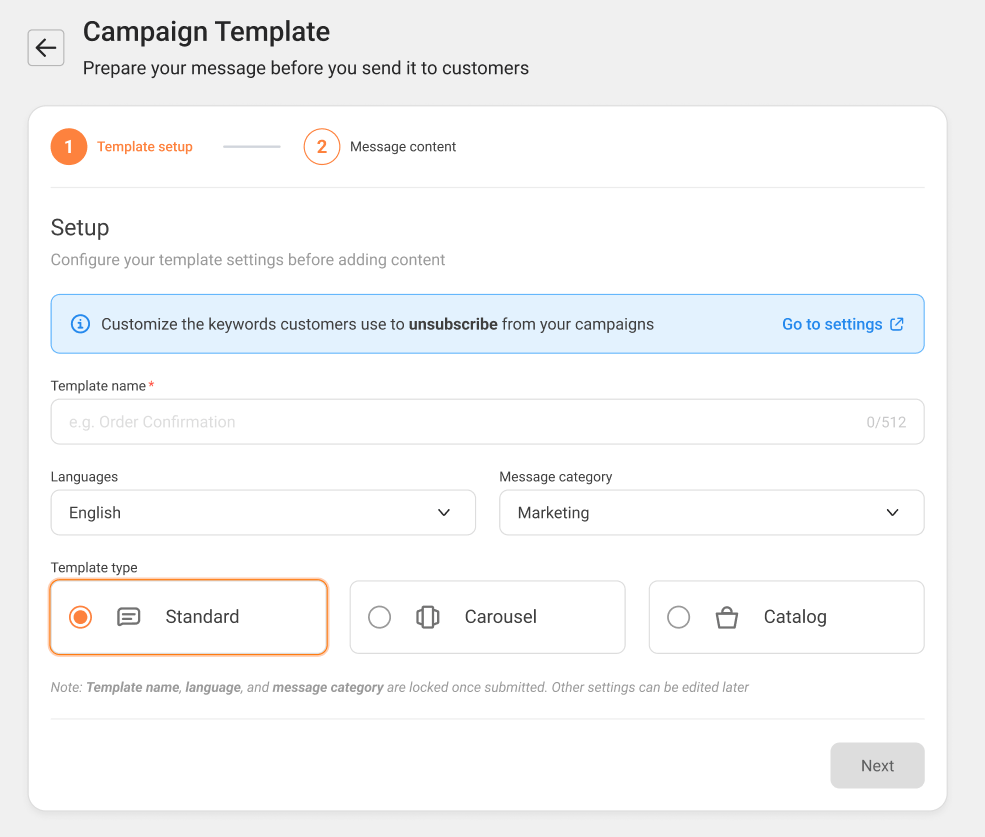 The header is available on **Standard** templates. It is hidden on **Carousel** and **Catalog** templates, in line with Meta's WhatsApp Business API policy.
## Step 3: Choose a media header type
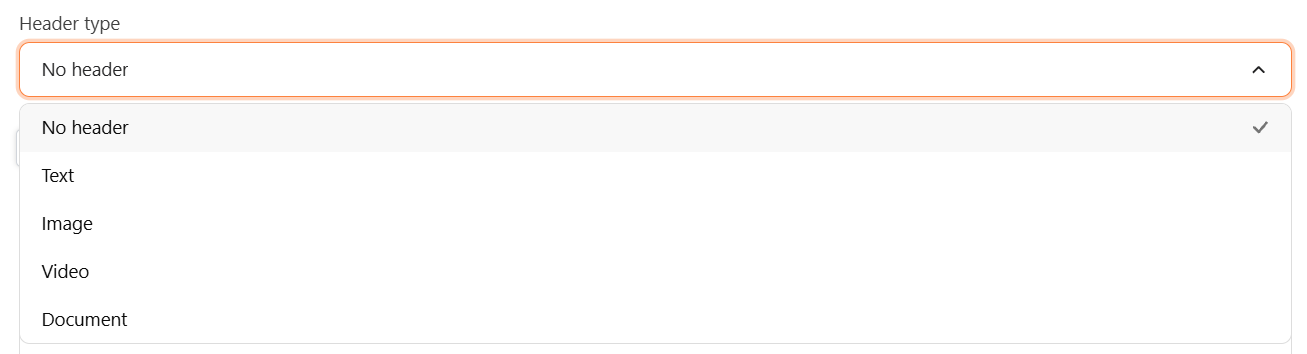
In the **Message content** step, open the **Header** dropdown and choose the media type you want:
| Header type | Supported format |
| ------------ | ---------------- |
| **Image** | JPEG or PNG |
| **Video** | MP4 |
| **Document** | PDF |
The header is available on **Standard** templates. It is hidden on **Carousel** and **Catalog** templates, in line with Meta's WhatsApp Business API policy.
## Step 3: Choose a media header type
In the **Message content** step, open the **Header** dropdown and choose the media type you want:
| Header type | Supported format |
| ------------ | ---------------- |
| **Image** | JPEG or PNG |
| **Video** | MP4 |
| **Document** | PDF |
 ## Step 4: Upload your media
After selecting a media type, a file drop container appears. Upload your file. The builder checks that the file matches the supported format and size limit for that header type before accepting it.
## Step 4: Upload your media
After selecting a media type, a file drop container appears. Upload your file. The builder checks that the file matches the supported format and size limit for that header type before accepting it.
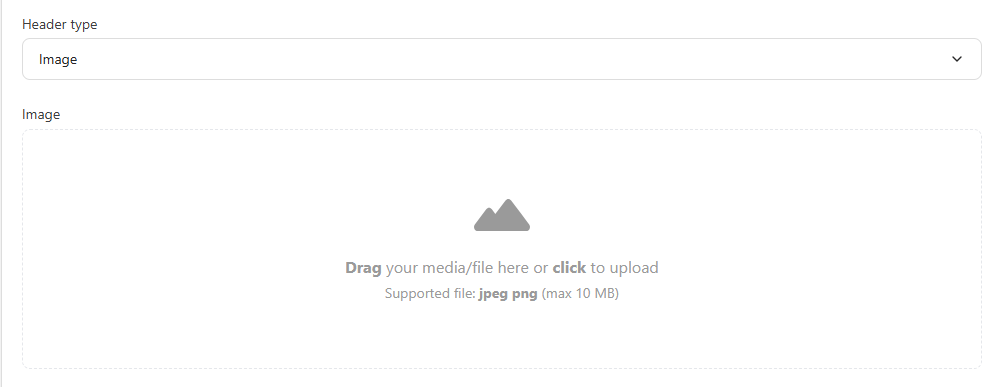 Each media type has a maximum file size. For the current format and size limits, see the header-type table in [How to Create a Message Template Campaign for WhatsApp API](https://knowledge.bitbybit.studio/bitcrm/how-to-create-a-message-template-campaign-for-whatsapp-api). If your file is the wrong format or too large, the builder shows an error so you can replace it.
## Step 5: Preview and submit
Preview your message on the right sidebar to confirm the media displays as expected, then click **Save template** to submit it to Meta for review.
Each media type has a maximum file size. For the current format and size limits, see the header-type table in [How to Create a Message Template Campaign for WhatsApp API](https://knowledge.bitbybit.studio/bitcrm/how-to-create-a-message-template-campaign-for-whatsapp-api). If your file is the wrong format or too large, the builder shows an error so you can replace it.
## Step 5: Preview and submit
Preview your message on the right sidebar to confirm the media displays as expected, then click **Save template** to submit it to Meta for review.
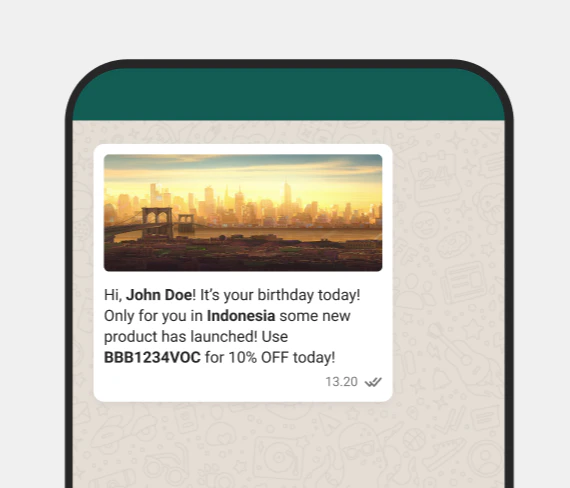 Then click **Save template** to submit it to Meta for review.
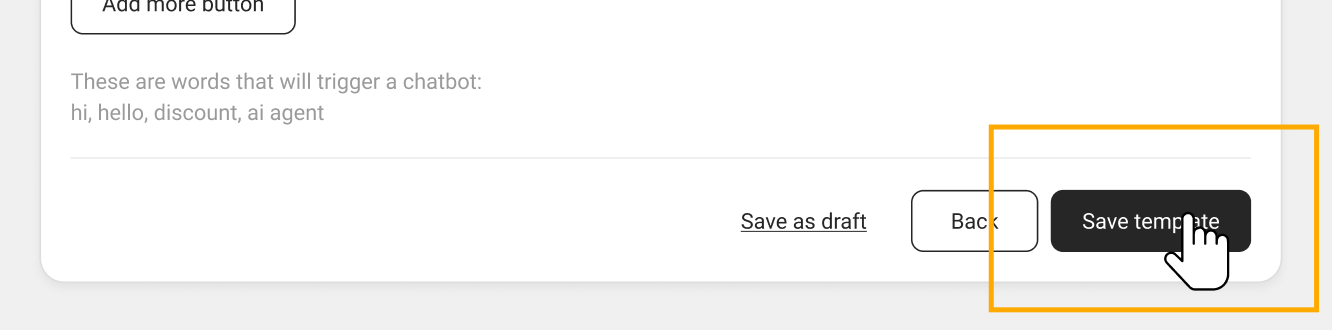 Once your template is approved, see [How to Create a New WhatsApp API Campaign](https://knowledge.bitbybit.studio/bitcrm/how-to-create-a-new-whatsapp-cloud-api-campaign-with-bitbybit) to send it.