> ## Documentation Index
> Fetch the complete documentation index at: https://knowledge.bitbybit.studio/llms.txt
> Use this file to discover all available pages before exploring further.
# How to Create a New WhatsApp Business App Campaign
> Effortlessly create and schedule a WhatsApp Business App campaign in bitCRM, streamlining your communication strategy.
For a step-by-step guide on how to complete this pros, please visit [our YouTube Channel.](https://www.youtube.com/@bitbybit.studio/videos)
## Step 1: Go to Campaign Dashboard
Navigate to your bitCRM Campaign dashboard and click "Create new campaign."
## Step 2: Select Campaign Type
Choose "WhatsApp Cloud API" as your campaign type.
## Step 3: Configure Campaign Details
Fill in the campaign details, including name, schedule, and target audience.
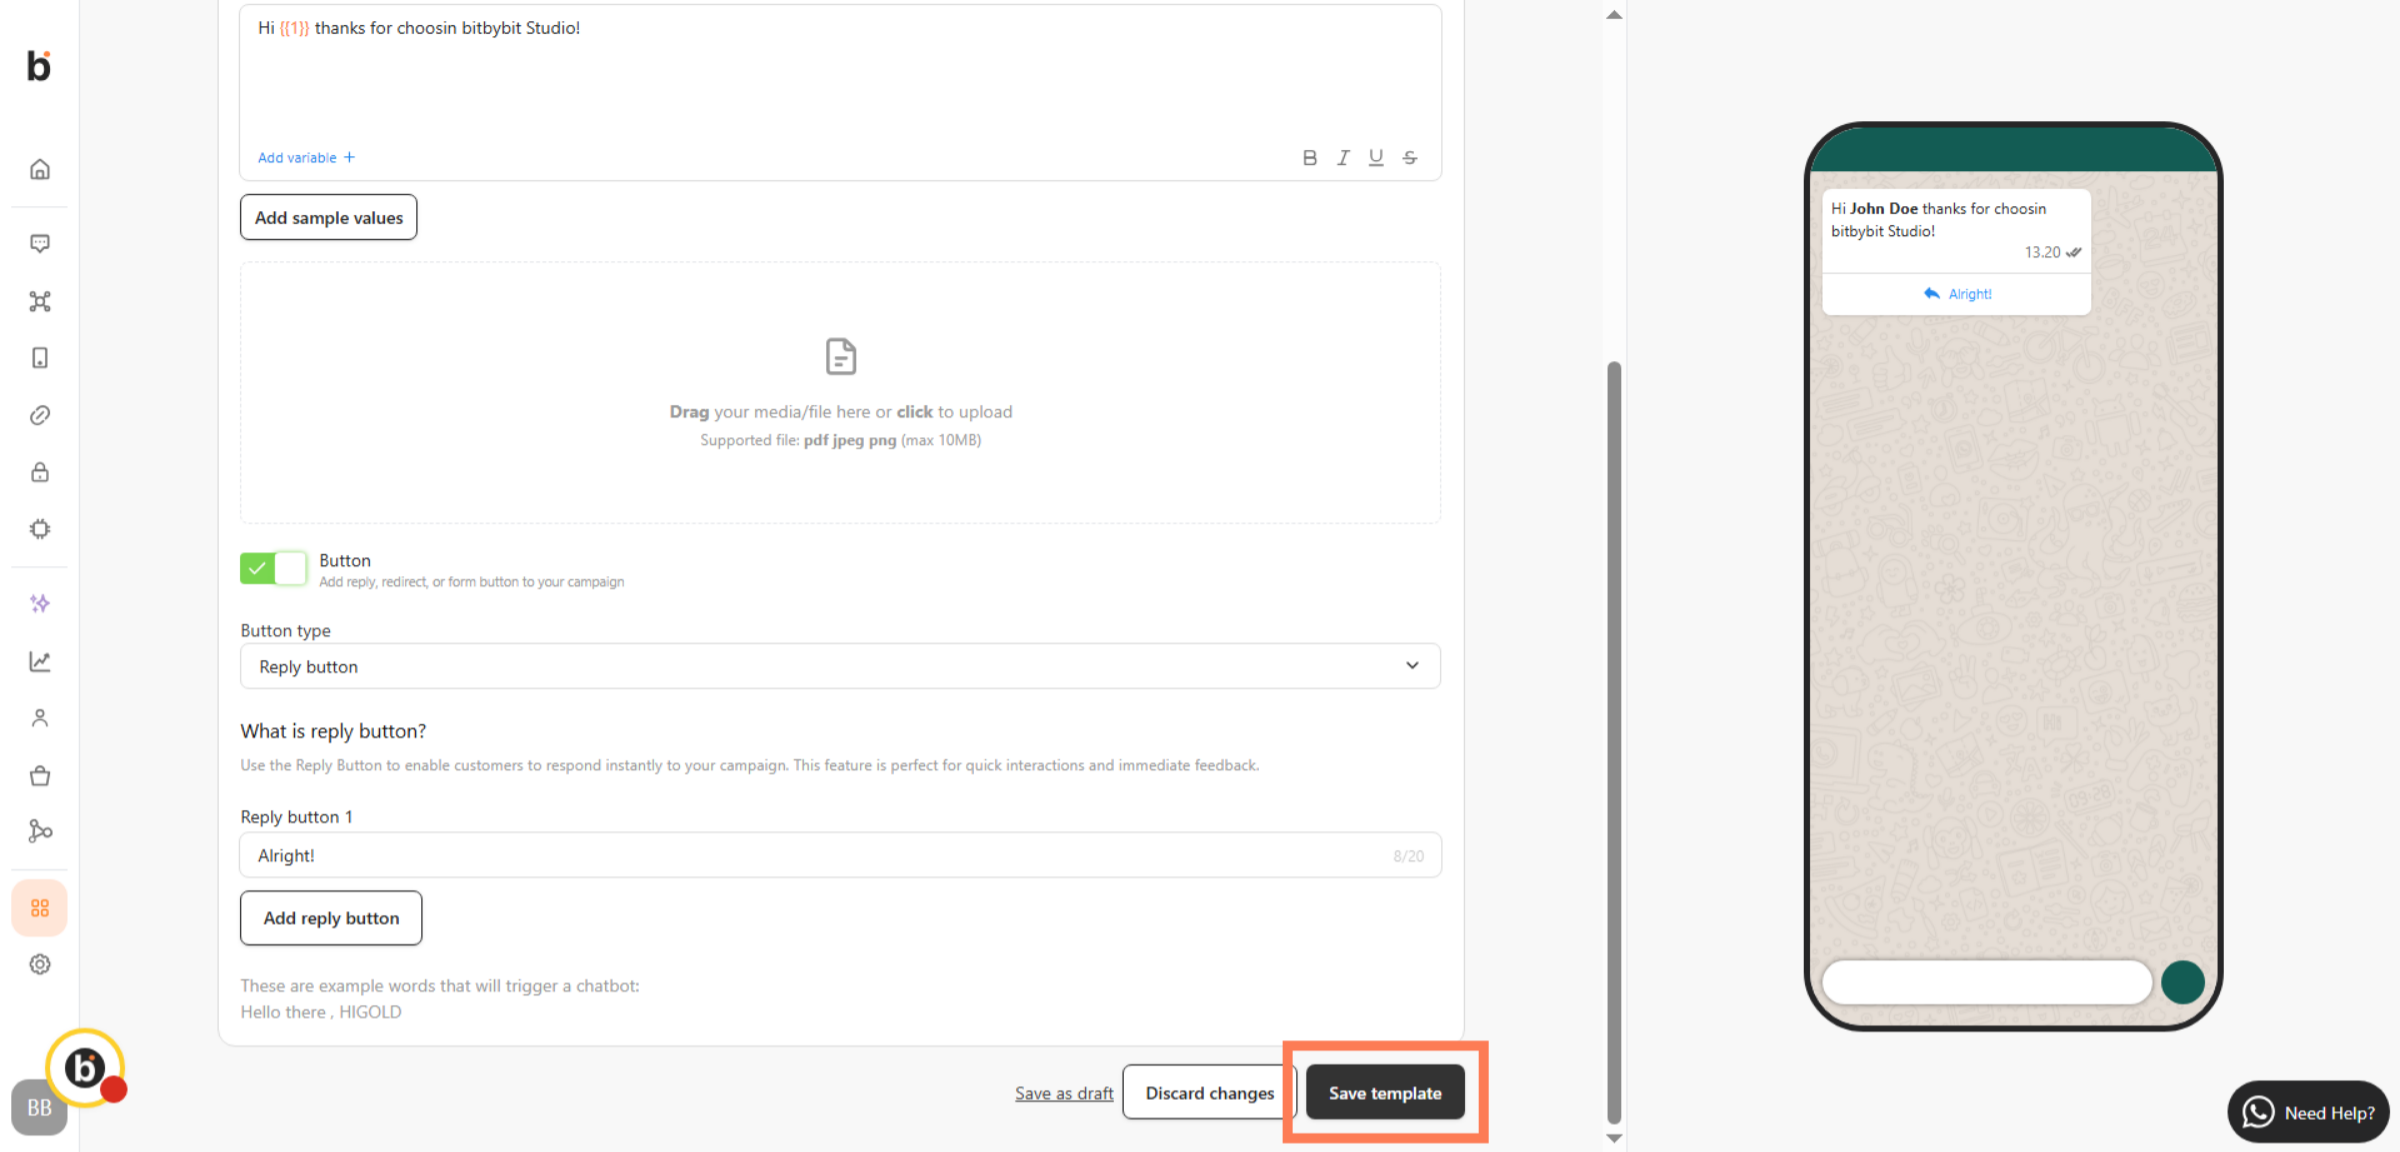
## Step 4: Add Message Content
Compose your message content and customize it as needed.
## Step 5: Review and Schedule
Review your campaign settings and click "Schedule" to activate the campaign.
For further assistance, reach out to us at [help@bitbybit.studio](mailto:help@bitbybit.studio)
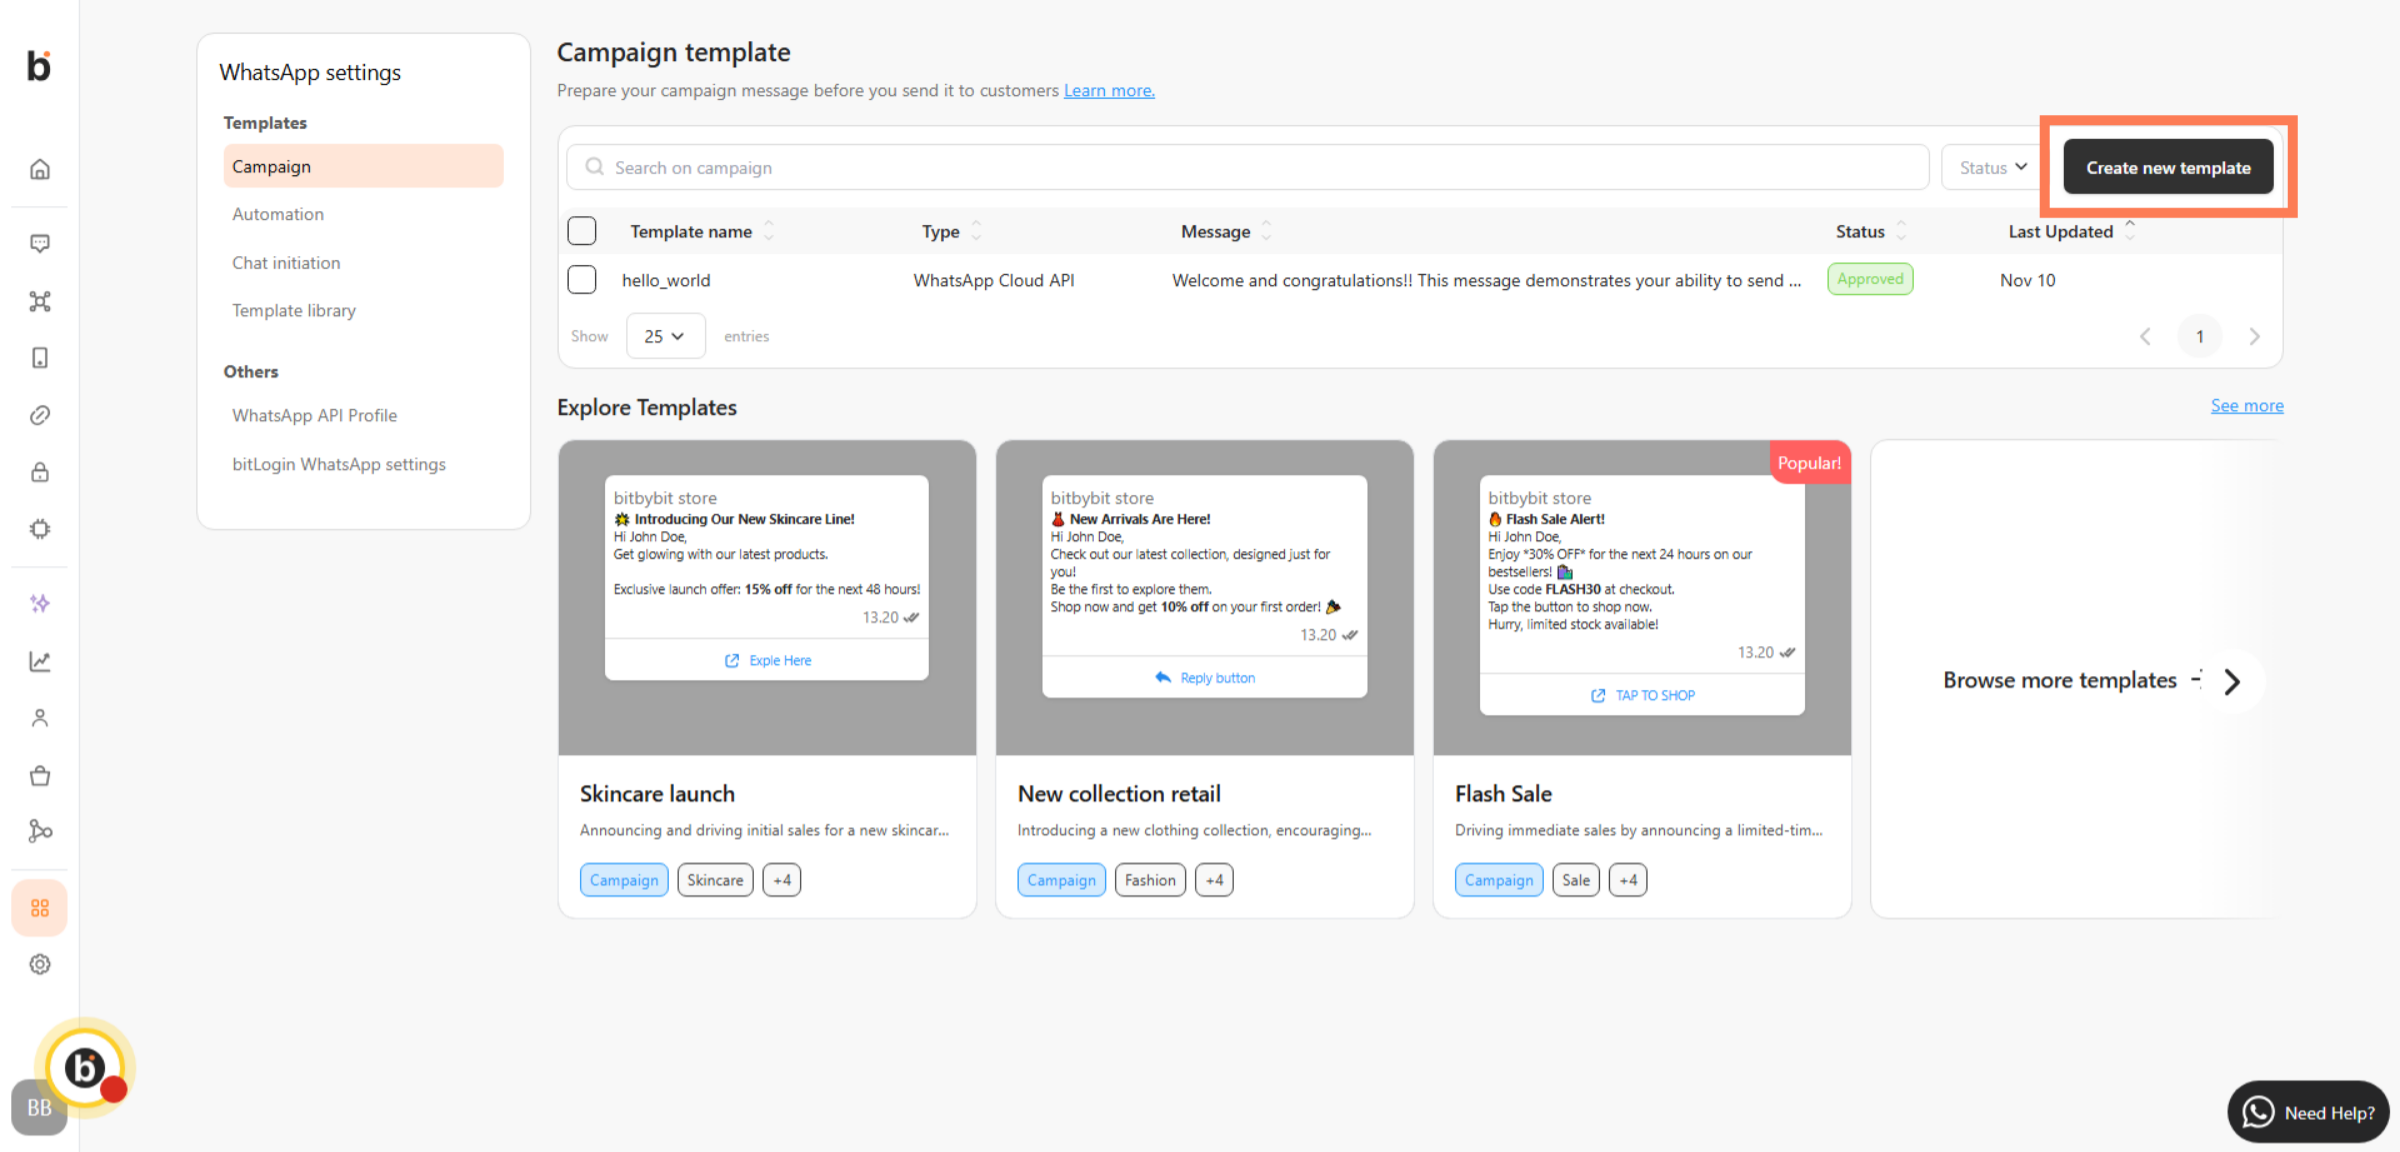 ## Step 2: Select Campaign Type
Choose "WhatsApp Cloud API" as your campaign type.
## Step 2: Select Campaign Type
Choose "WhatsApp Cloud API" as your campaign type.
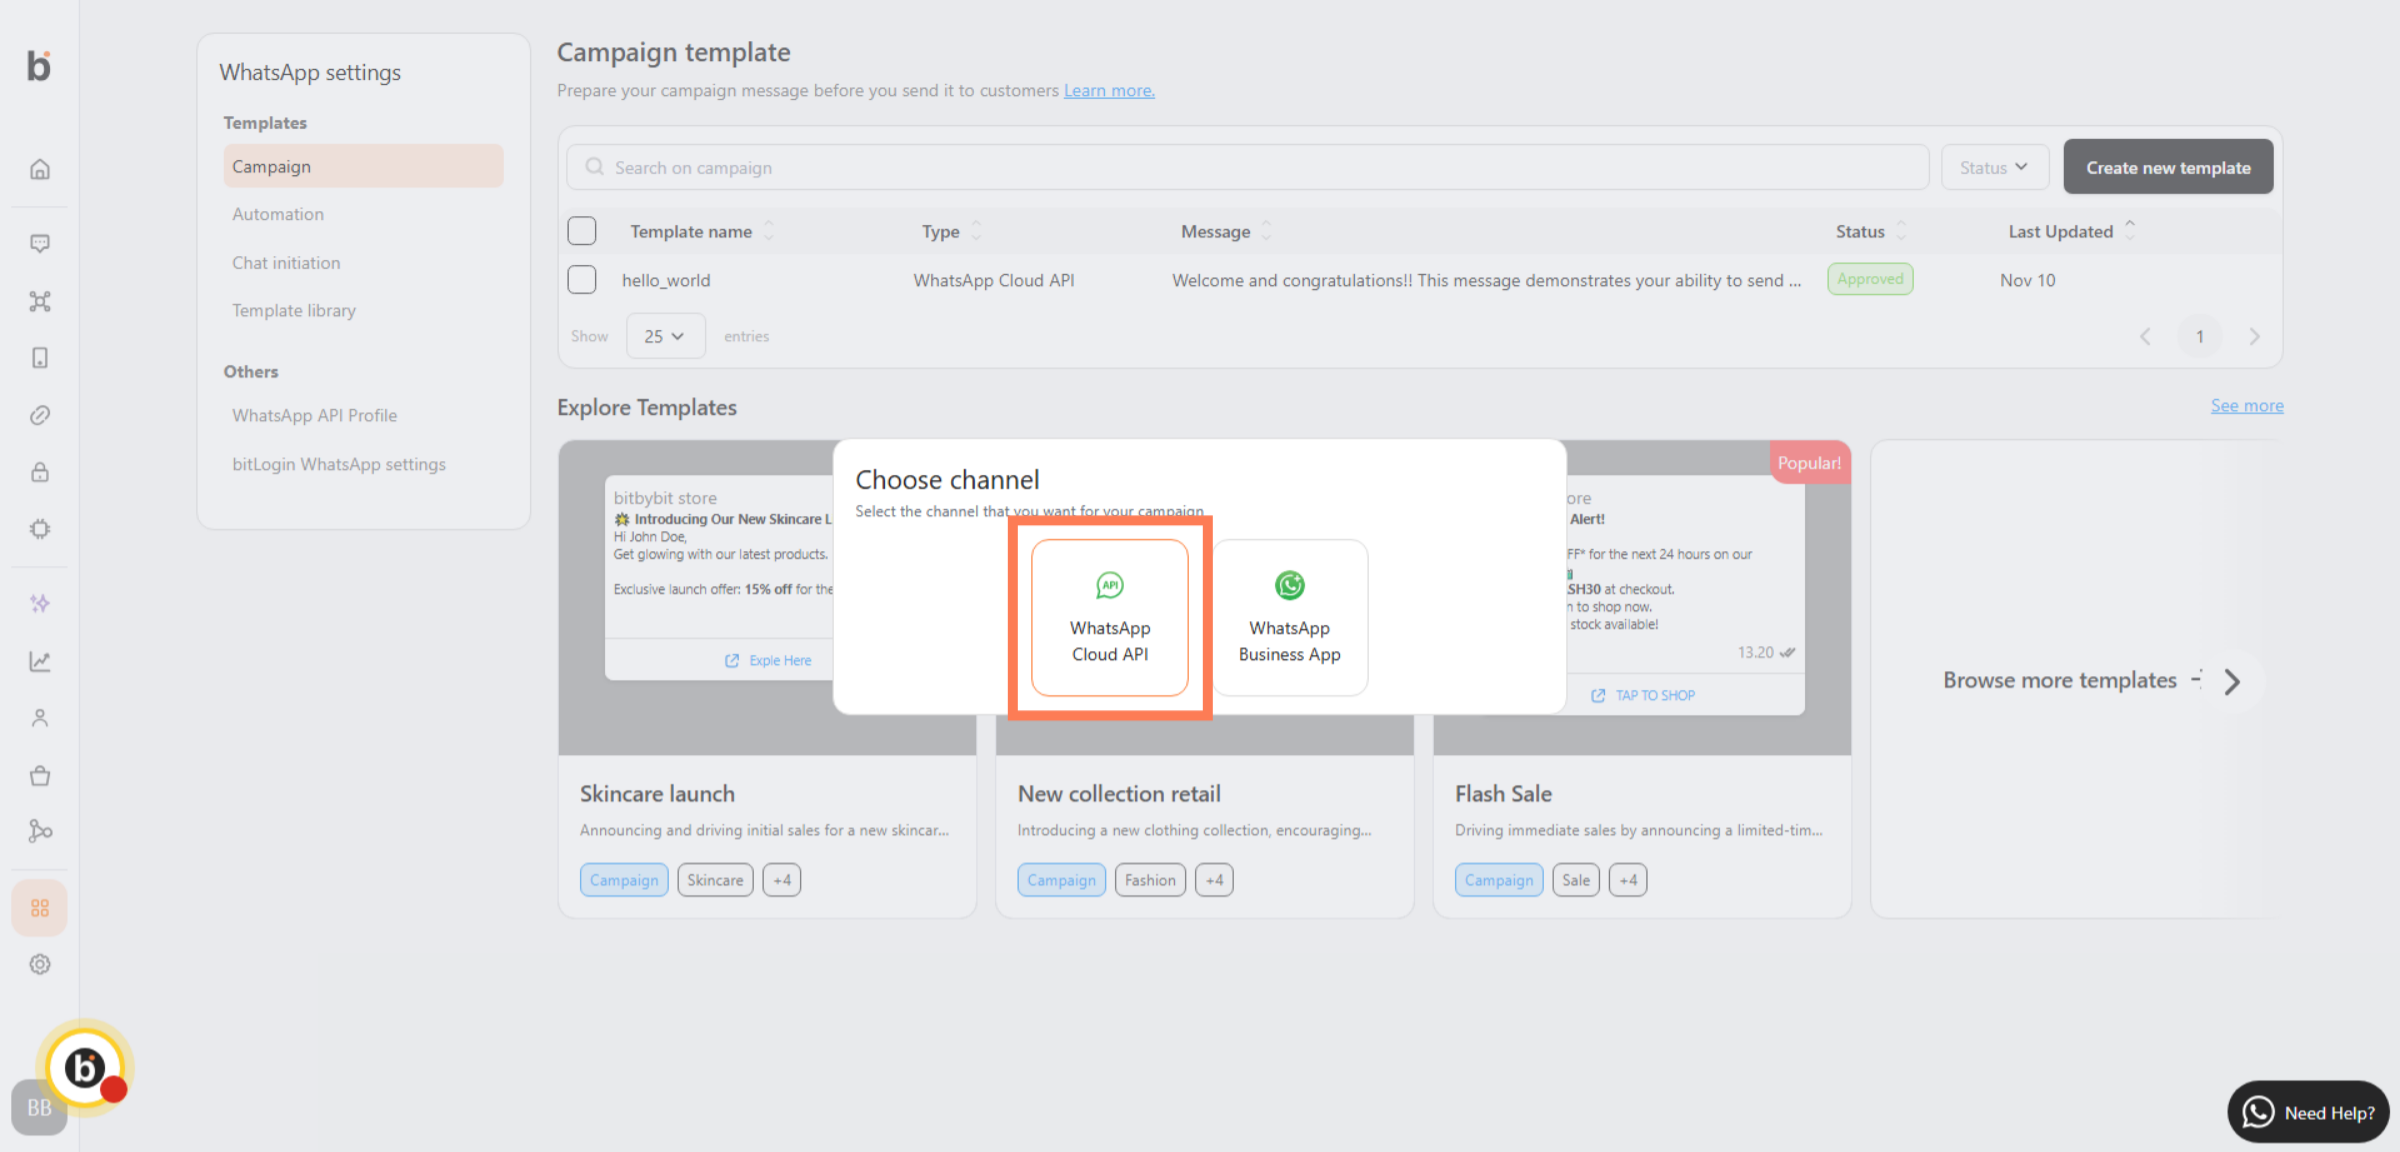 ## Step 3: Configure Campaign Details
Fill in the campaign details, including name, schedule, and target audience.
## Step 3: Configure Campaign Details
Fill in the campaign details, including name, schedule, and target audience.
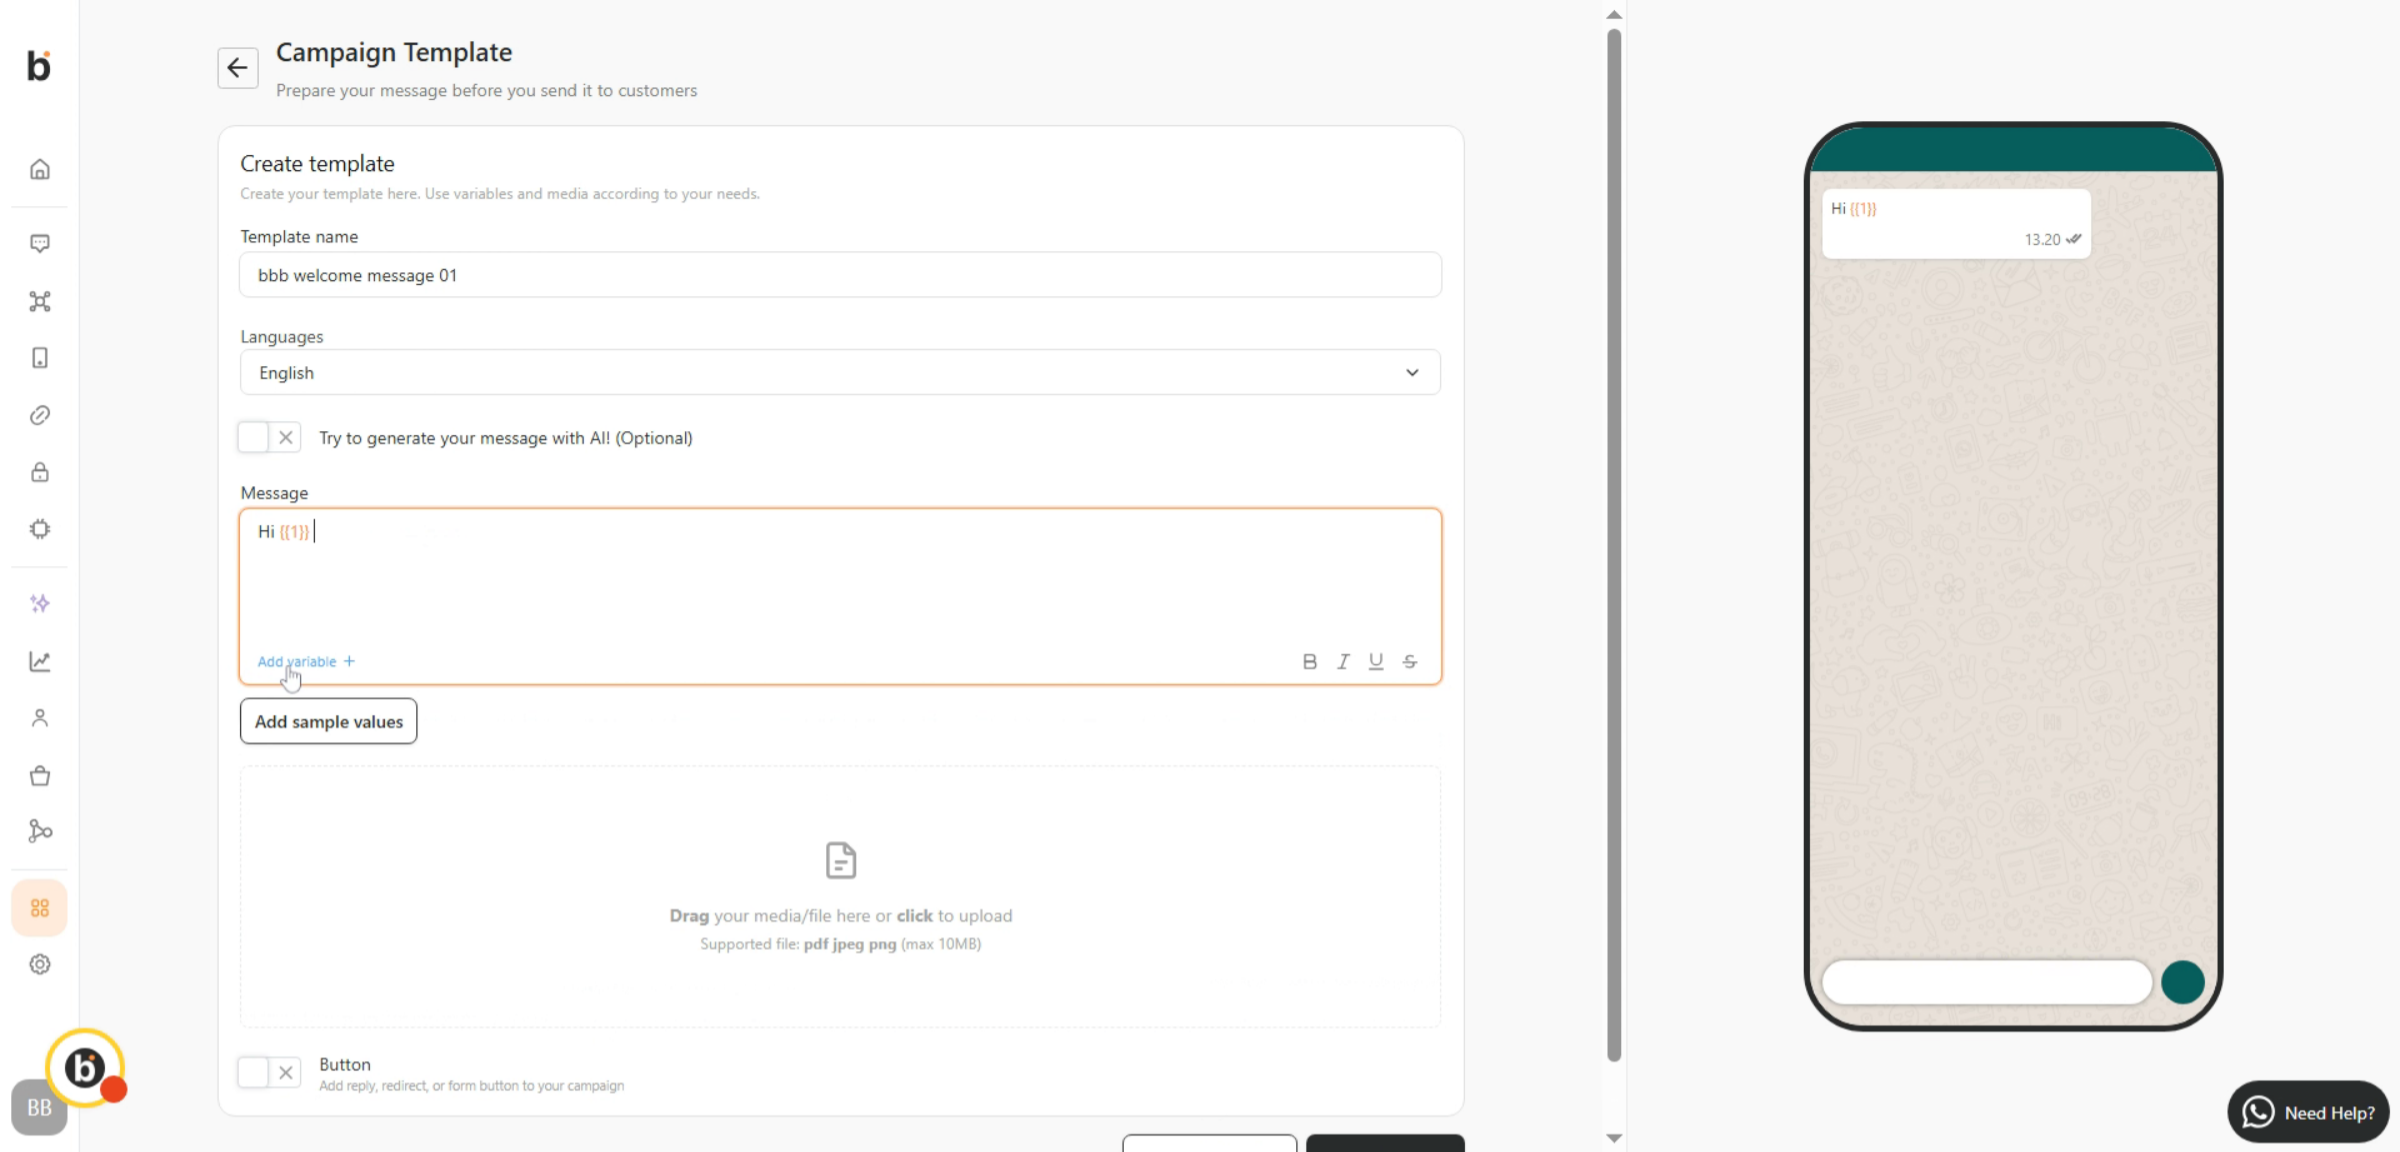 ## Step 4: Add Message Content
Compose your message content and customize it as needed.
## Step 4: Add Message Content
Compose your message content and customize it as needed.
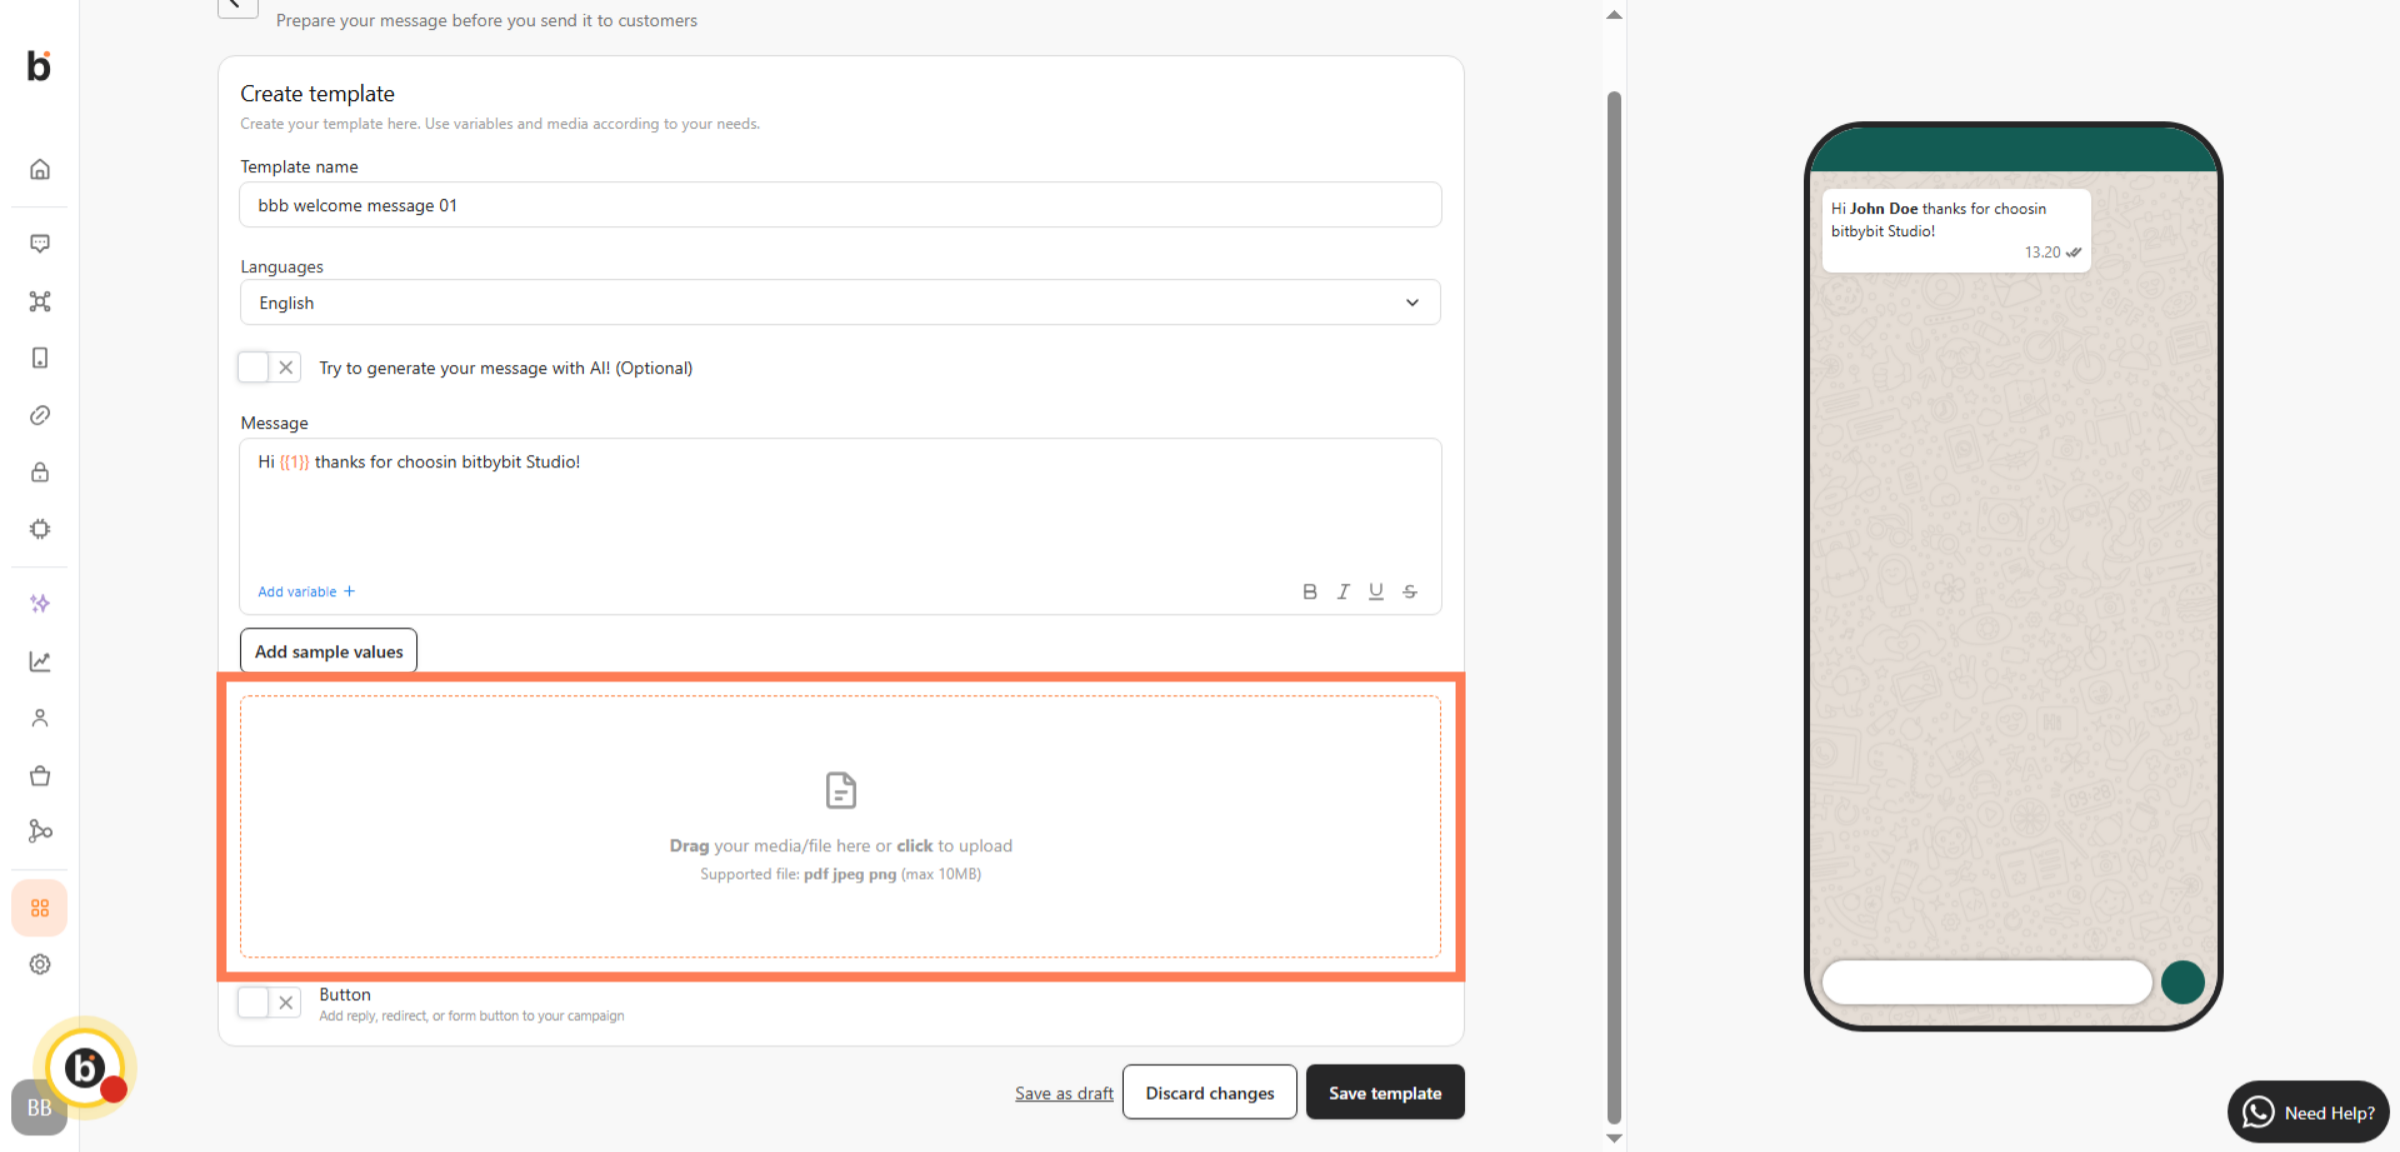 ## Step 5: Review and Schedule
Review your campaign settings and click "Schedule" to activate the campaign.
## Step 5: Review and Schedule
Review your campaign settings and click "Schedule" to activate the campaign.
 For further assistance, reach out to us at [help@bitbybit.studio](mailto:help@bitbybit.studio)