

Why connect this way
- Flexibility and cost-efficiency. Use the app for personal, one-on-one chats while the API handles automation, agents, and high-volume broadcasts. This mix optimizes costs.
- No lost data. Adopt the API without deactivating your account. Messages are mirrored and synced between both platforms, preserving conversation history, and contacts are imported automatically. You can also import up to 6 months of 1:1 chats and 2 weeks of multimedia history. Group chats are not imported.
- Scalability and professionalism. Manage a high volume of messages through the API while keeping a single, professional number for a seamless customer experience.
Before you start
- A valid Facebook Business account.
- An active WhatsApp Business App phone number.
- A completed Meta verification process, covering both phone number verification and business verification.
Step 1: Access Integrations
Navigate to the Integrations dashboard and select WhatsApp Business App.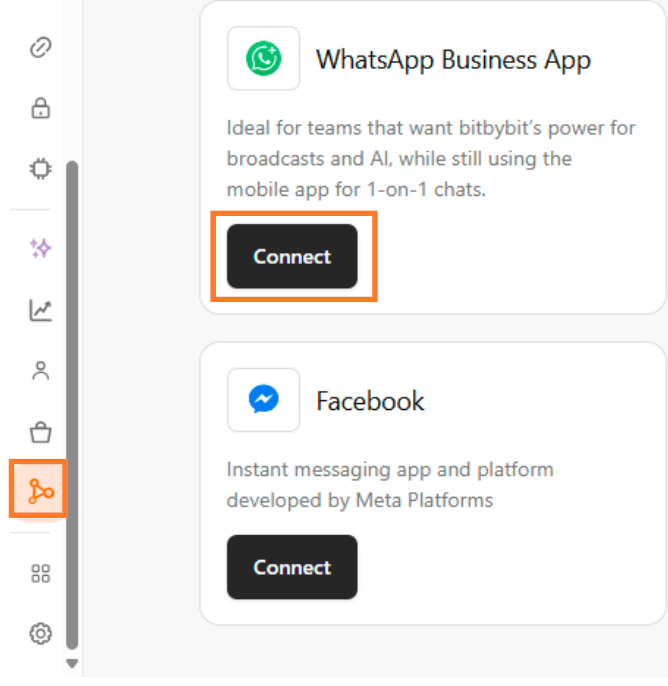
Step 2: Connect your Meta account
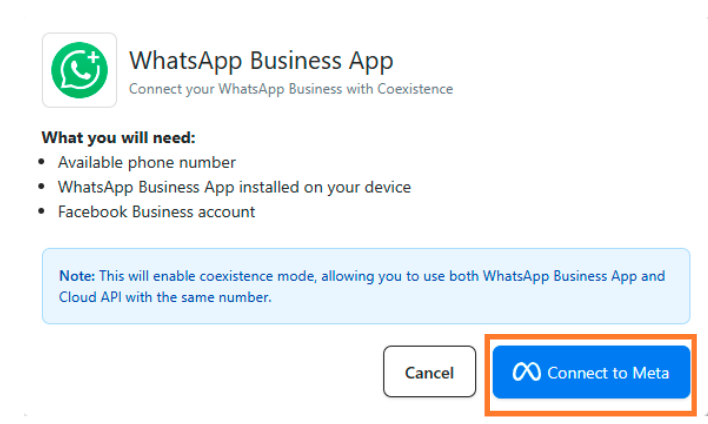
Step 3: Connect your Facebook account
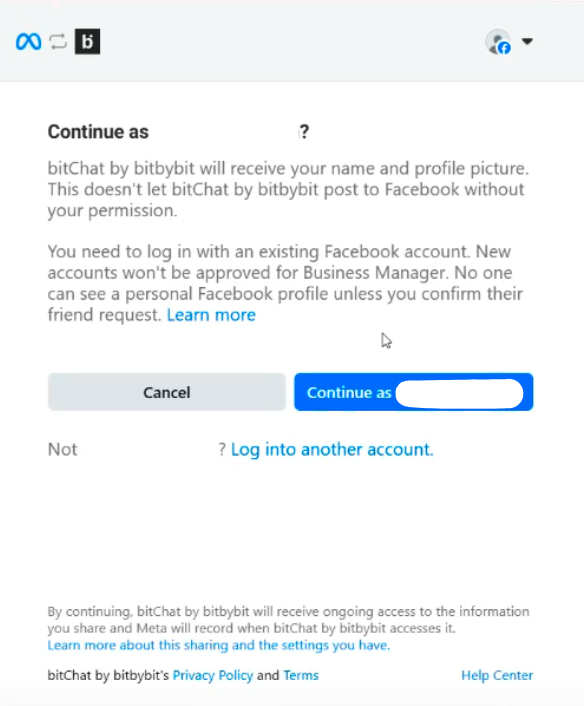
Step 4: Start connecting to bitbybit
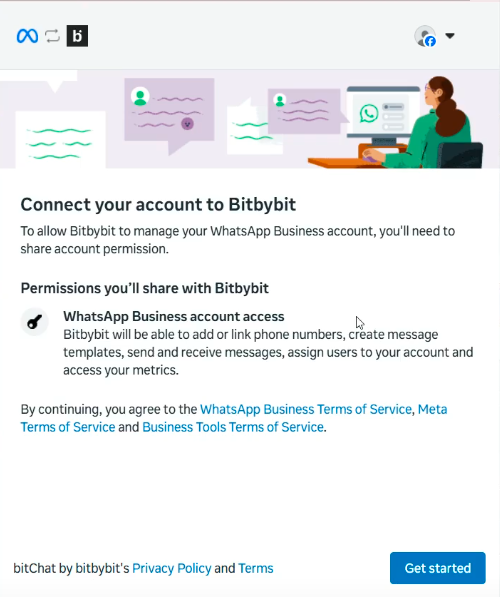
Step 5: Choose your Business Portfolio
Choose your Business Portfolio and fill in all the information.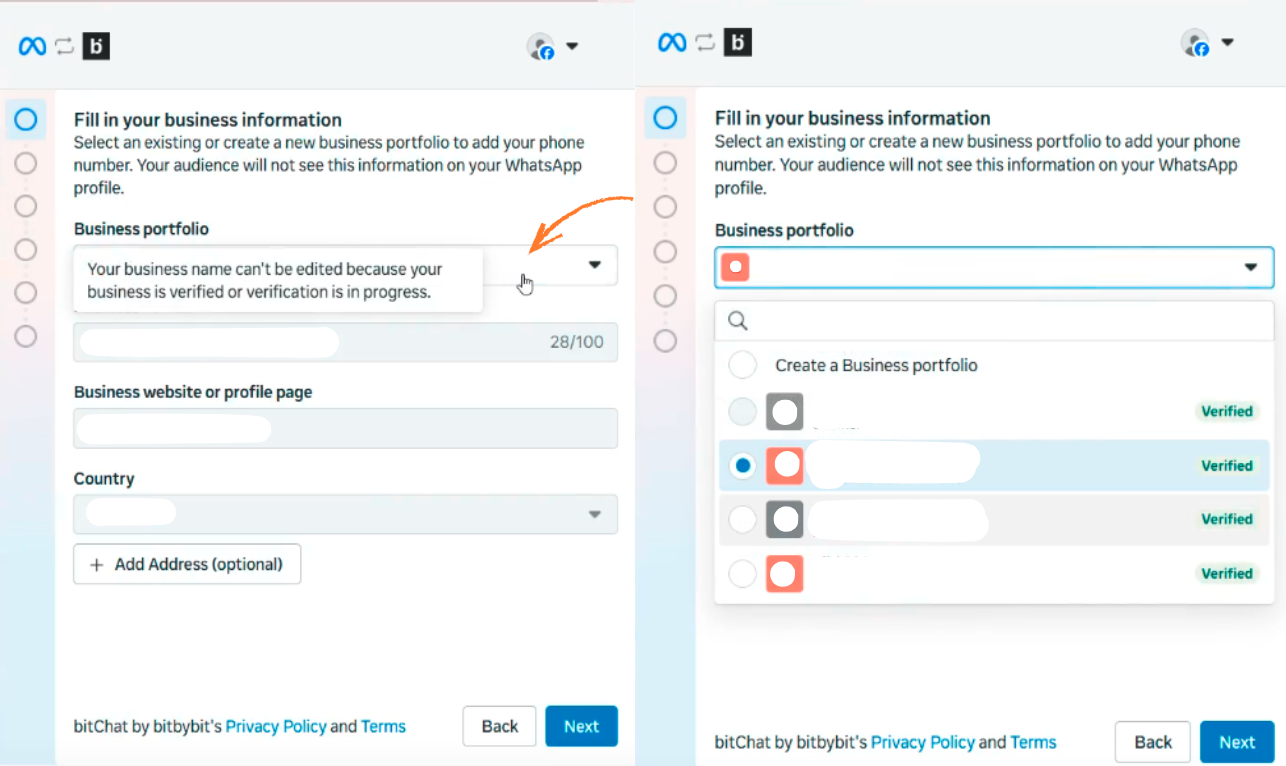
If your business has multiple portfolios, choose the portfolio you want to integrate.
Step 6: Choose to connect with WhatsApp Business
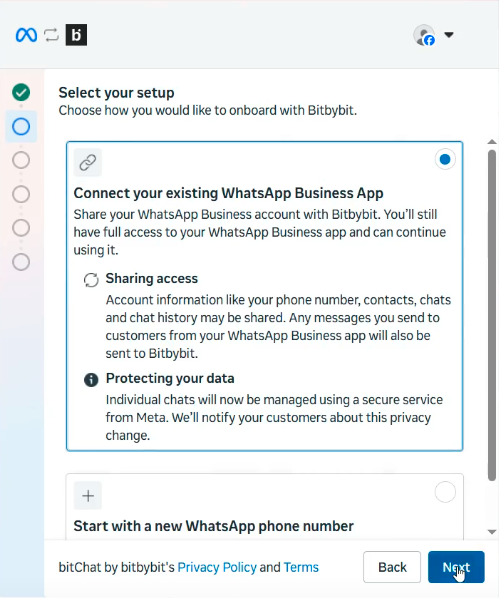
Step 7: Insert your WhatsApp Business number
Enter the WhatsApp Business number you want to integrate with bitbybit.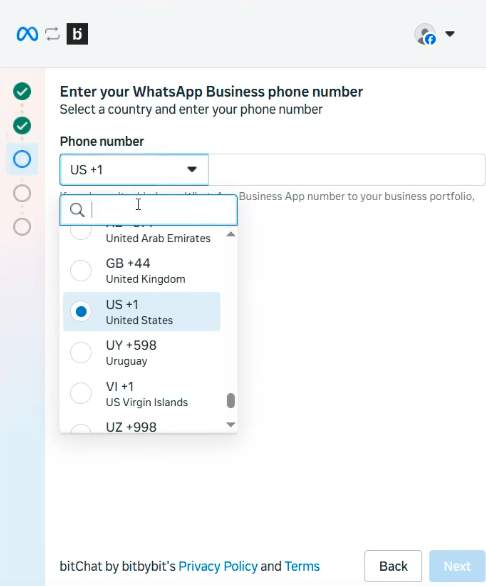
Step 8: Scan the QR code
Scan the QR code from your WhatsApp Business App.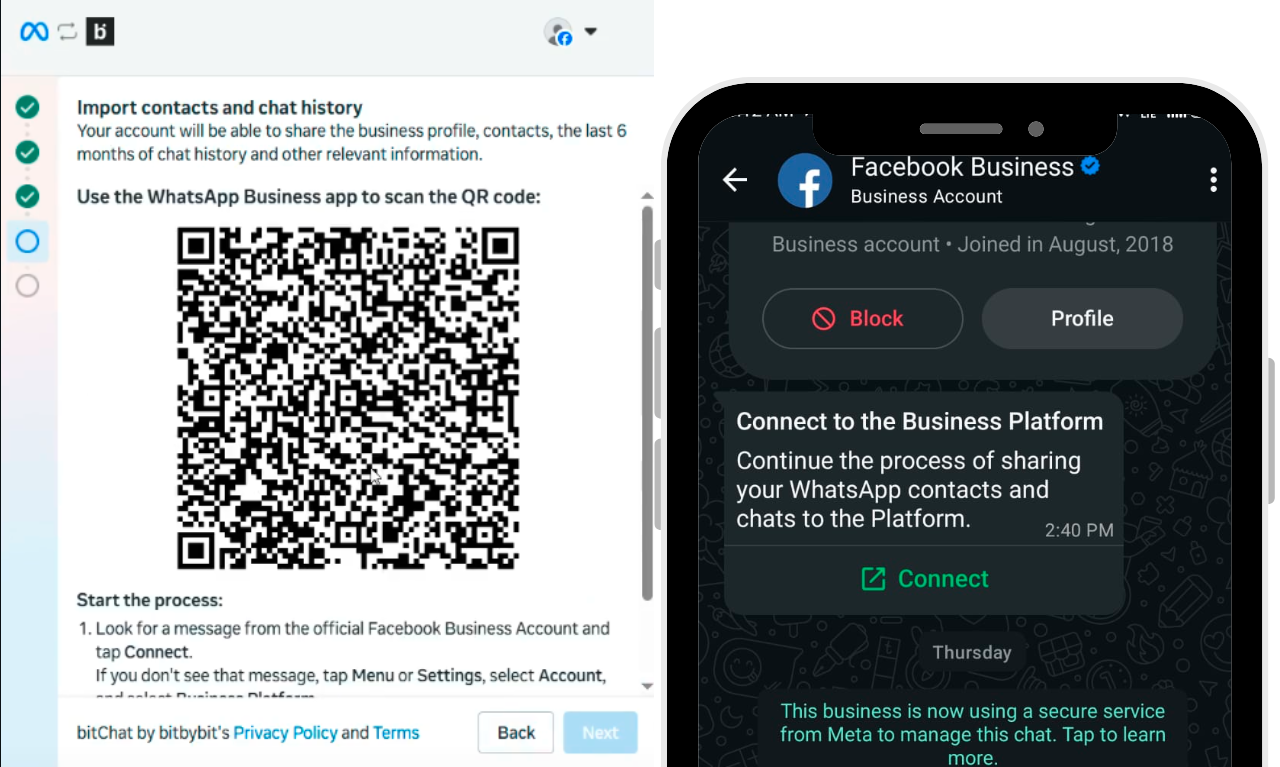
- Look at your screen for the “Share Contacts and Chats” pop-up, which displays a QR code.
- Go to your WhatsApp Business App and find the message from Facebook Business.
- Open the message, click “Connect”, then confirm by clicking “Connect to the Business Platform”.
Step 9: Set up your timezone
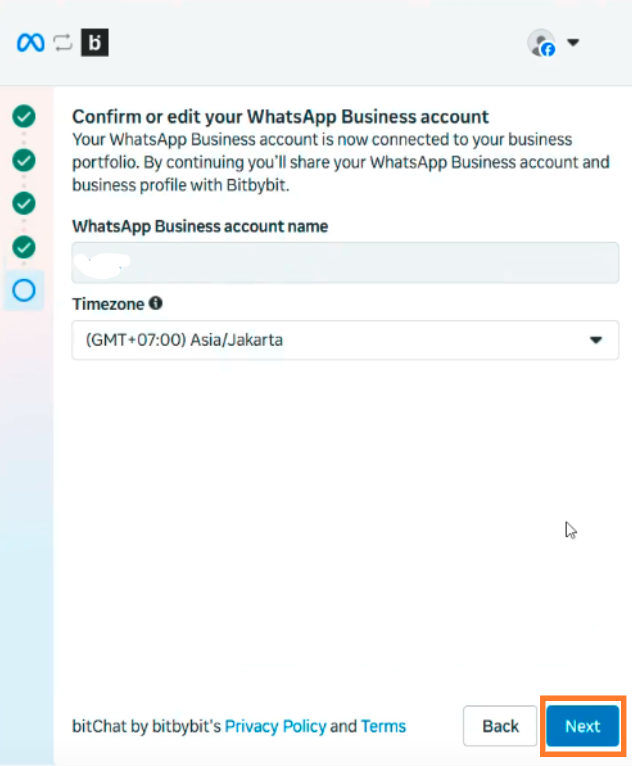
Step 10: Confirm the connection
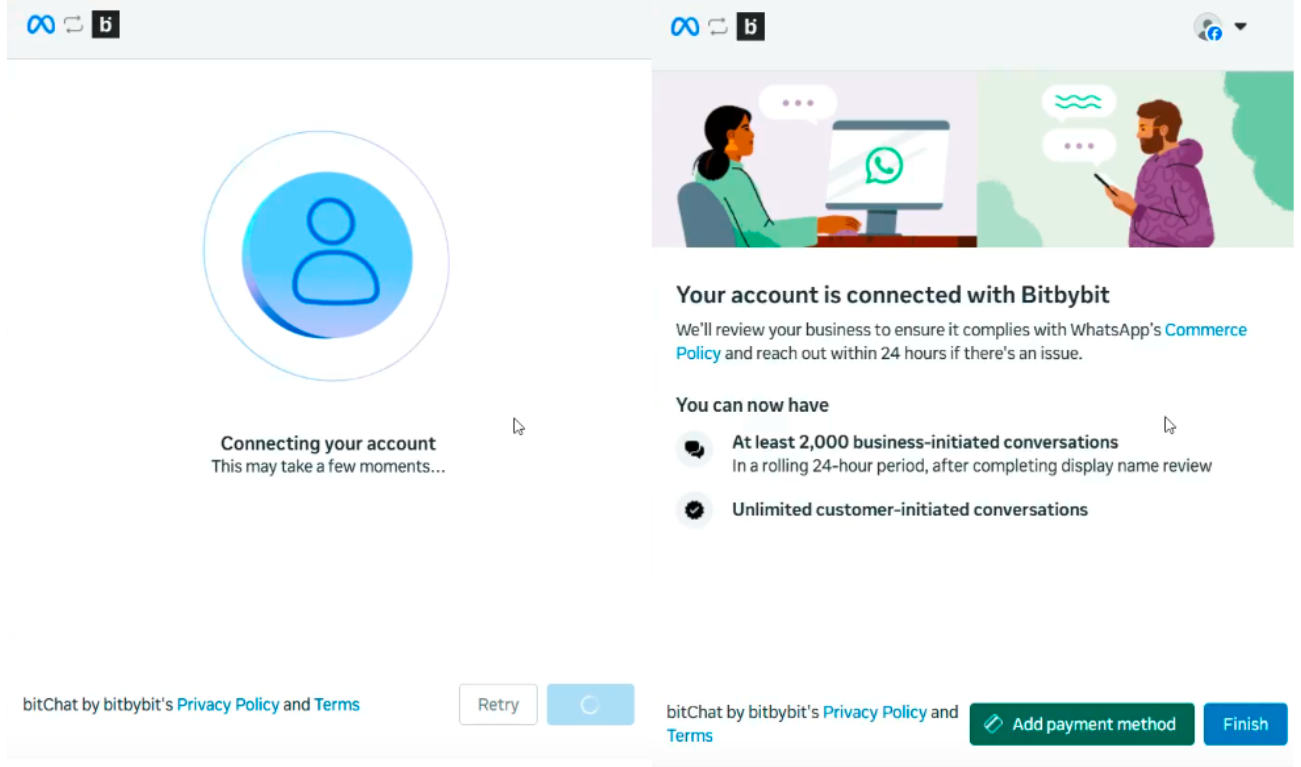
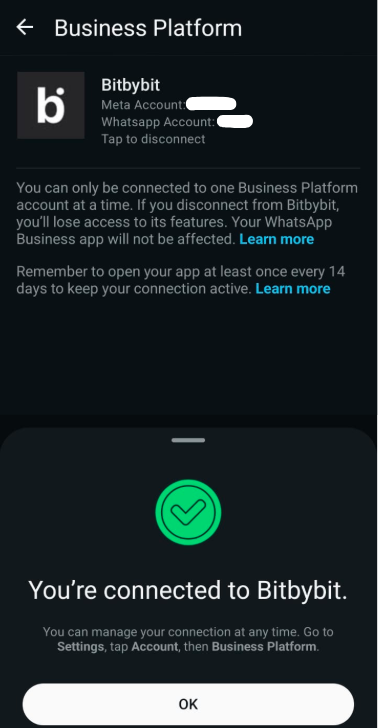
As with the Cloud API, you still need to add a payment method to unlock all messaging features.
Feature comparison
The table below outlines the features available for each type of WhatsApp business setup: the standard WhatsApp Business App, the WhatsApp Business App connected to Cloud API, and the fully integrated WhatsApp Cloud API. It also highlights how certain features change once a business is onboarded to the Cloud API. Source: Meta’s onboarding documentation.Related
- WhatsApp Cloud API — full automation, templates, and Campaigns at scale
- WhatsApp Sandbox — test features with your own number