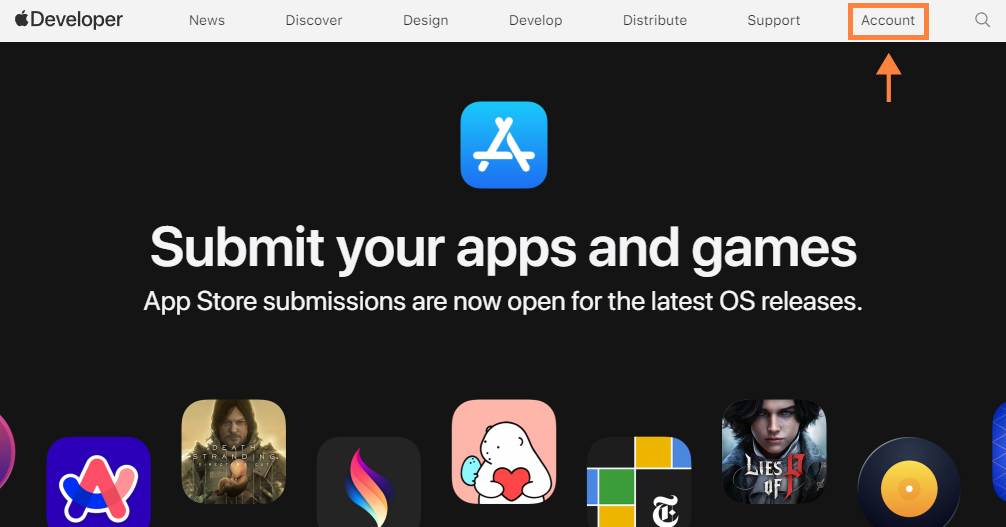
Step 1: Access the Apple Developer Portal
- Open your browser and navigate to the Apple Developer Portal.
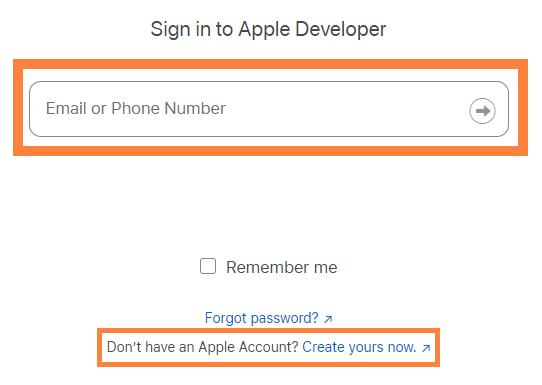
Step 2: Sign In or Create an Apple Developer Account
-
Click Account then log in with your Apple ID and password, or create a new account if you don’t have one.
Step 3: Access Certificates, Identifiers & Profiles
-
After logging in, go to Certificates or Identifiers from the dashboard.

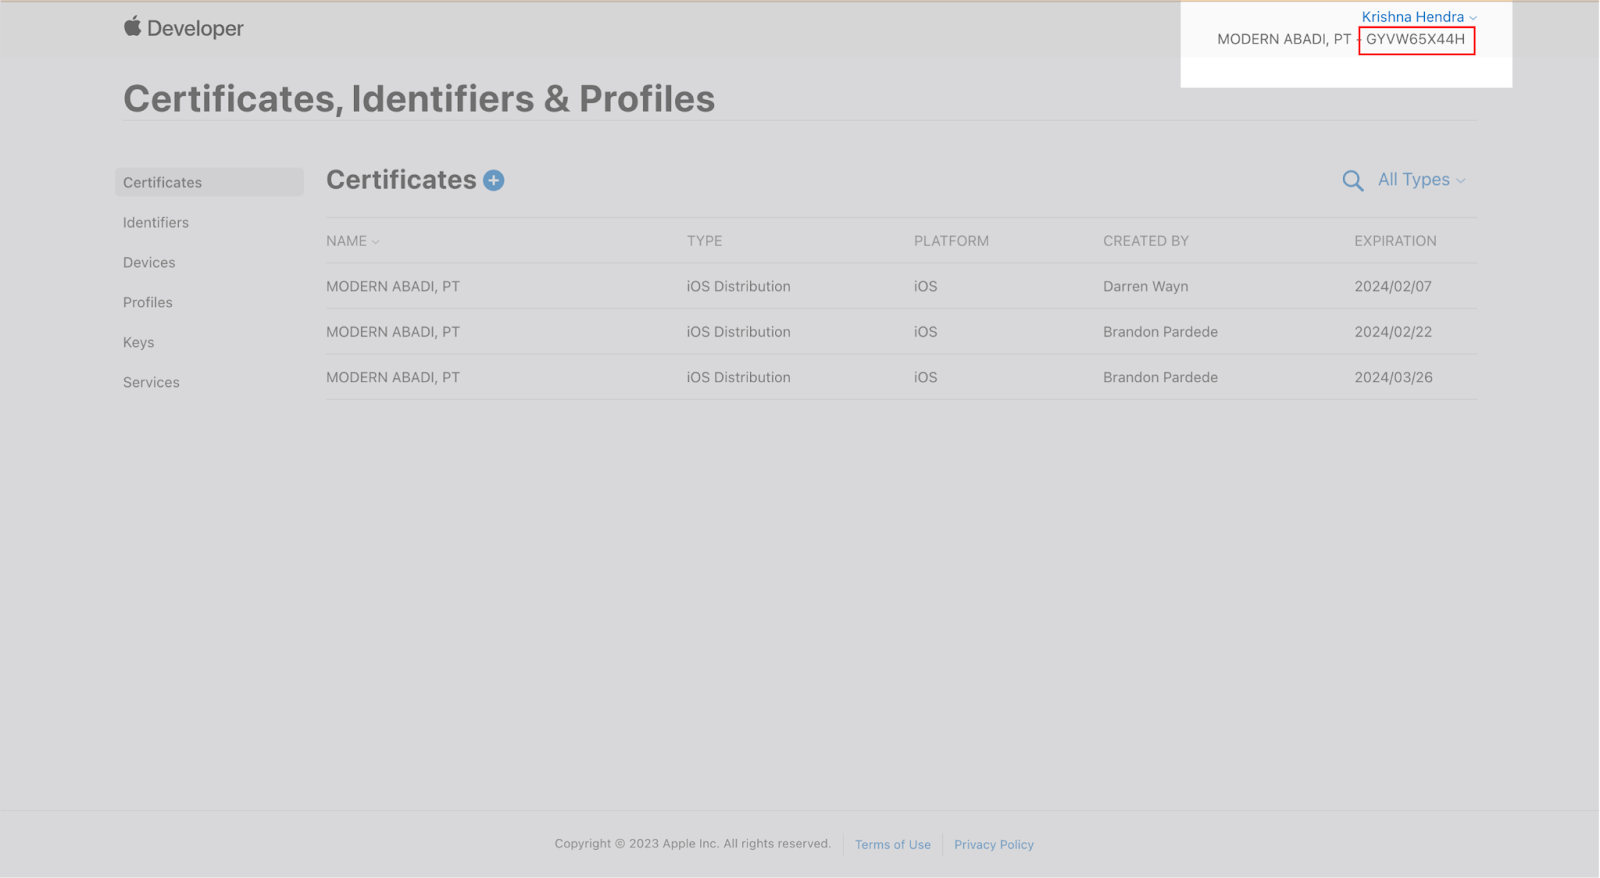
Step 4: Obtain Your Team ID
-
Your Team ID is located in the top-right corner under Membership Information.
-
Copy this to the Apple Settings page in bitLogin.

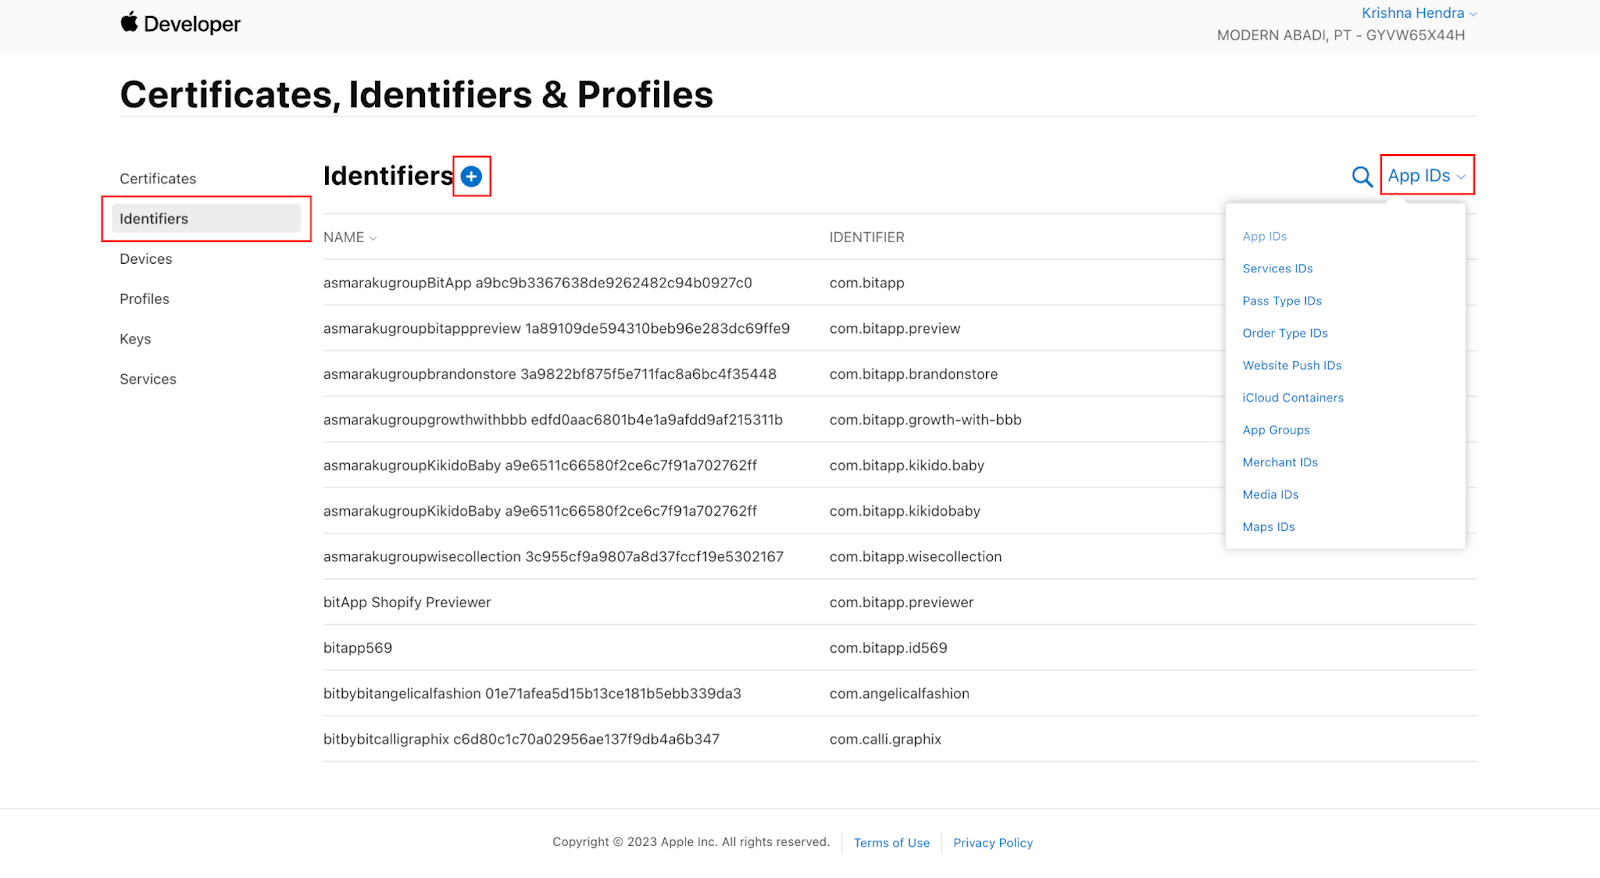
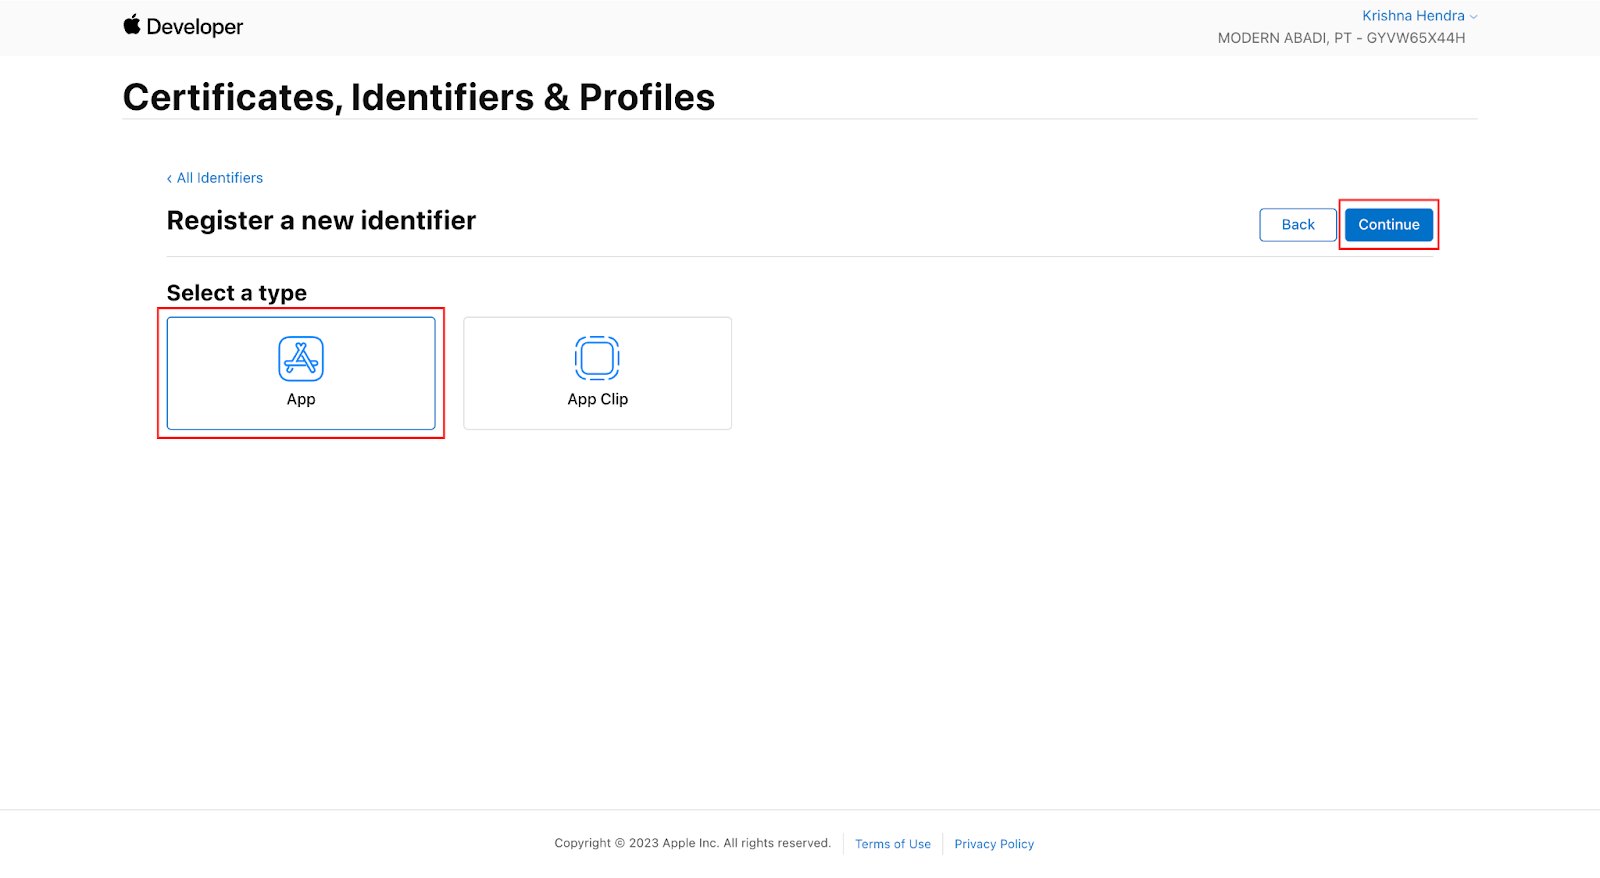
Step 5: Register a New App ID
- In the sidebar, go to Identifiers and choose App IDs.
-
Click the + icon to create a new App ID.
-
Choose App IDs and click Continue.

-
Select the App type and then click Continue.
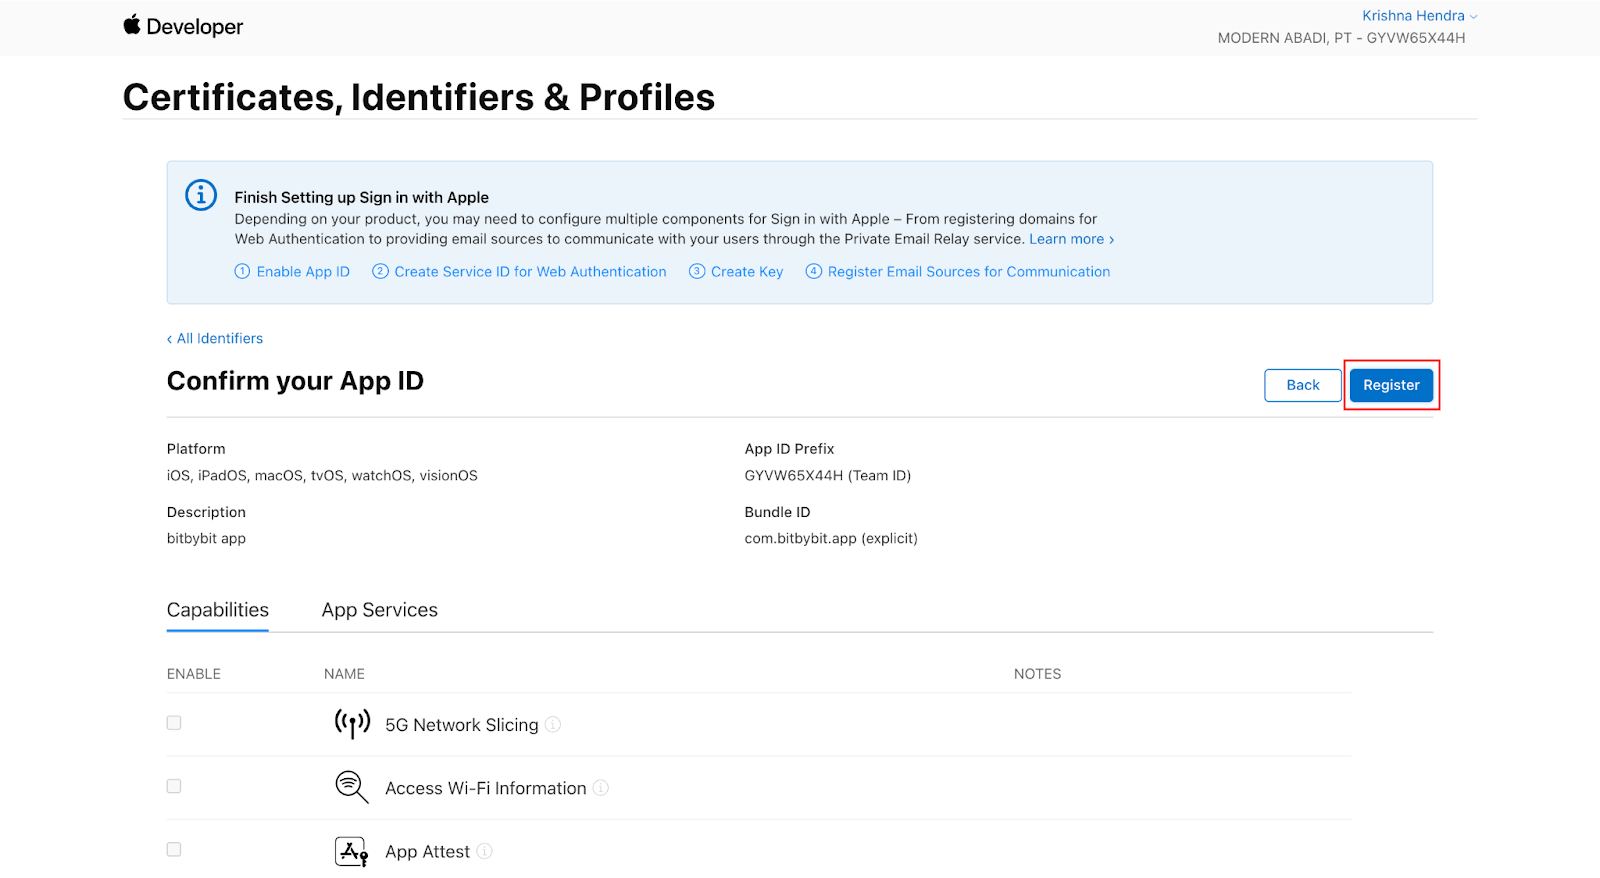
- Description: A description for your app.
-
Bundle ID: Choose Explicit and enter the name of your App ID, e.g.,
com.yourcompany.yourapp. -
Under Capabilities, check Sign in with Apple and click Continue.

-
Click Continue and then Register.
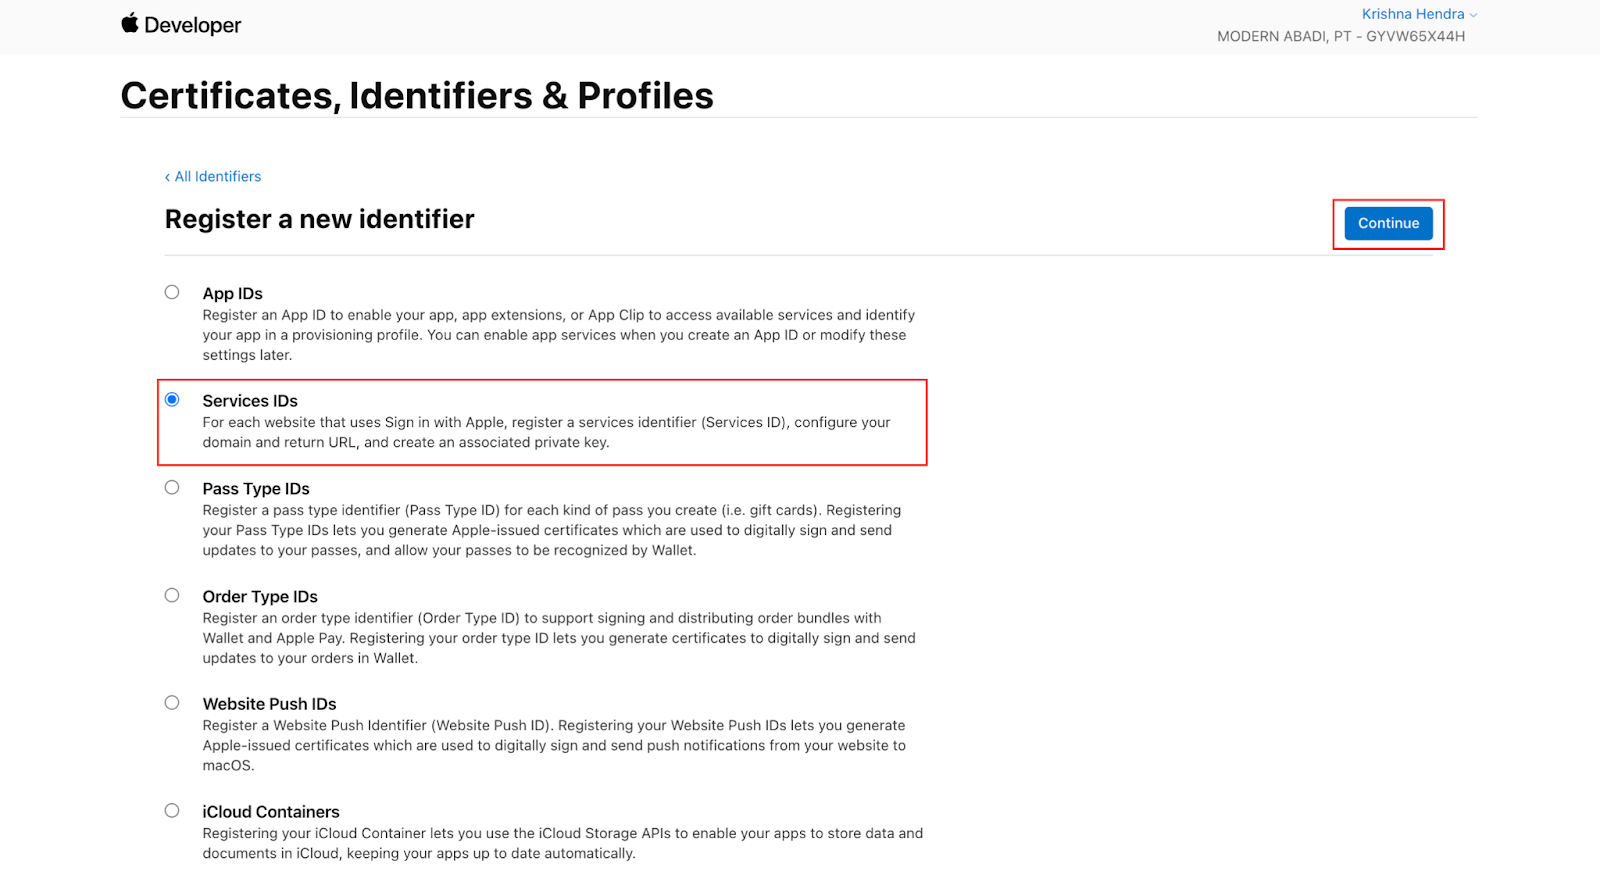
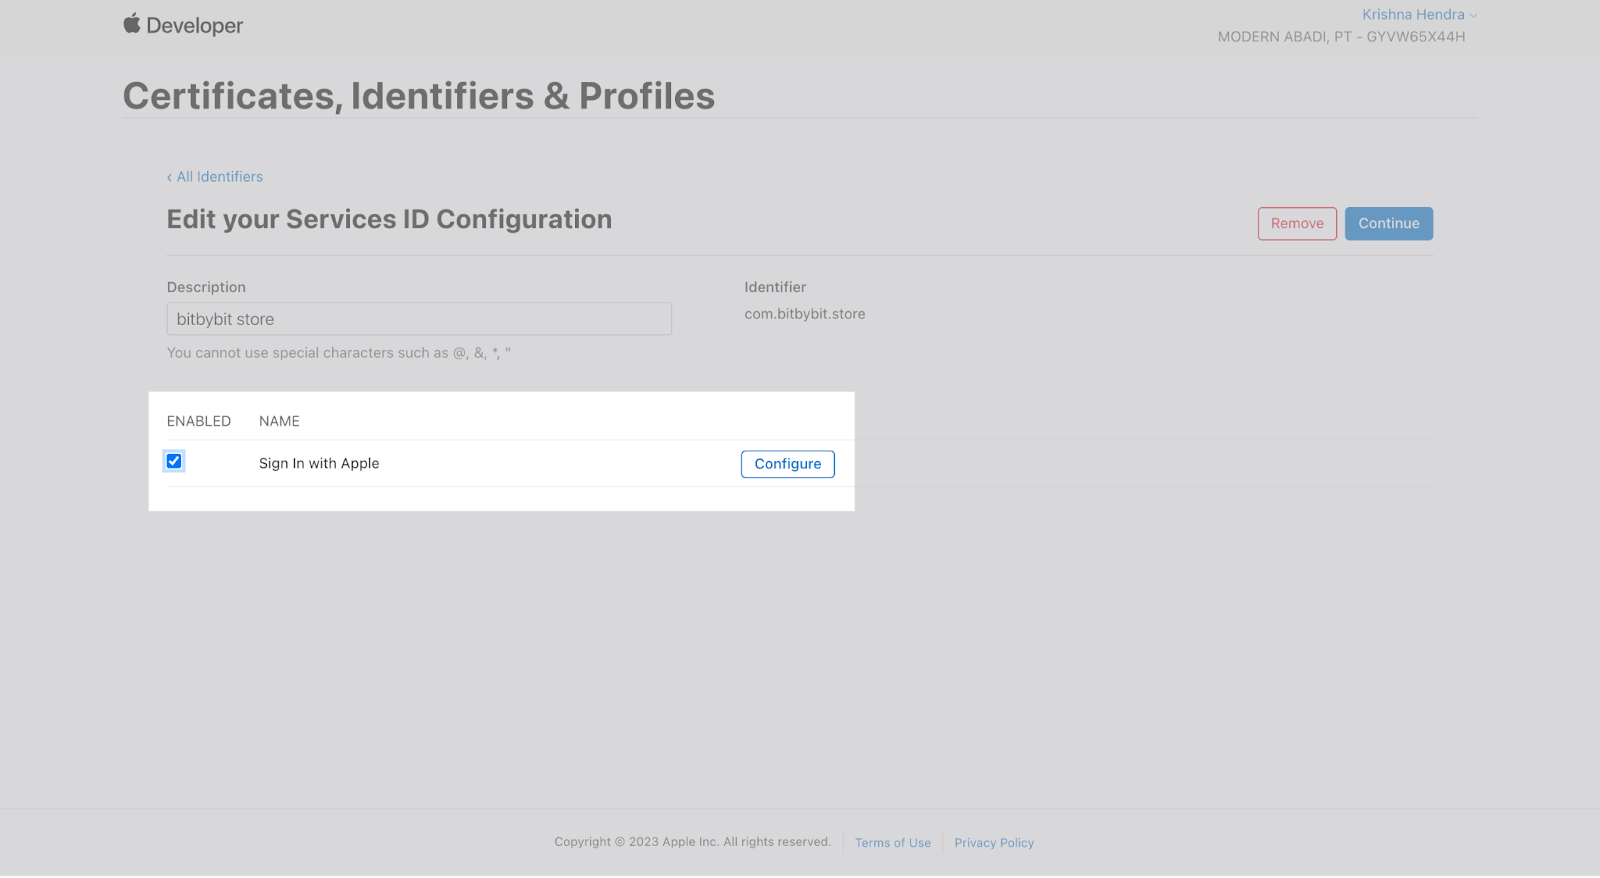
Step 6: Register a New Service ID
-
Return to Identifiers and select Service IDs and click Continue.
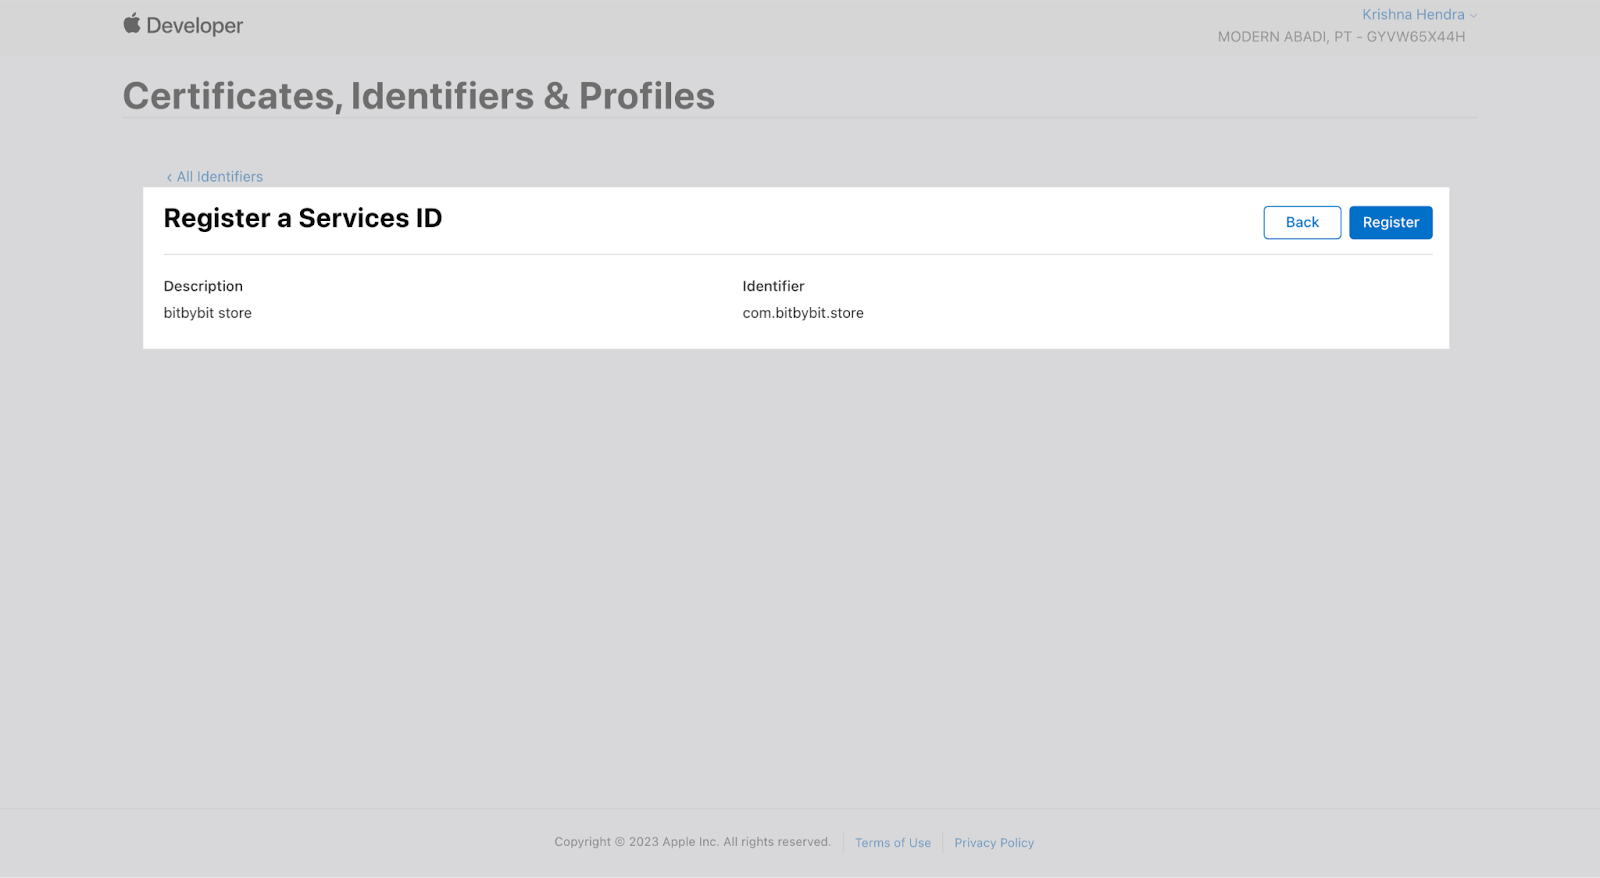
- Enter your store name in the Description field.
-
Fill in your identifier, e.g.,
com.yourcompany.yourapp. -
Click Continue to review and Register the new Service ID.
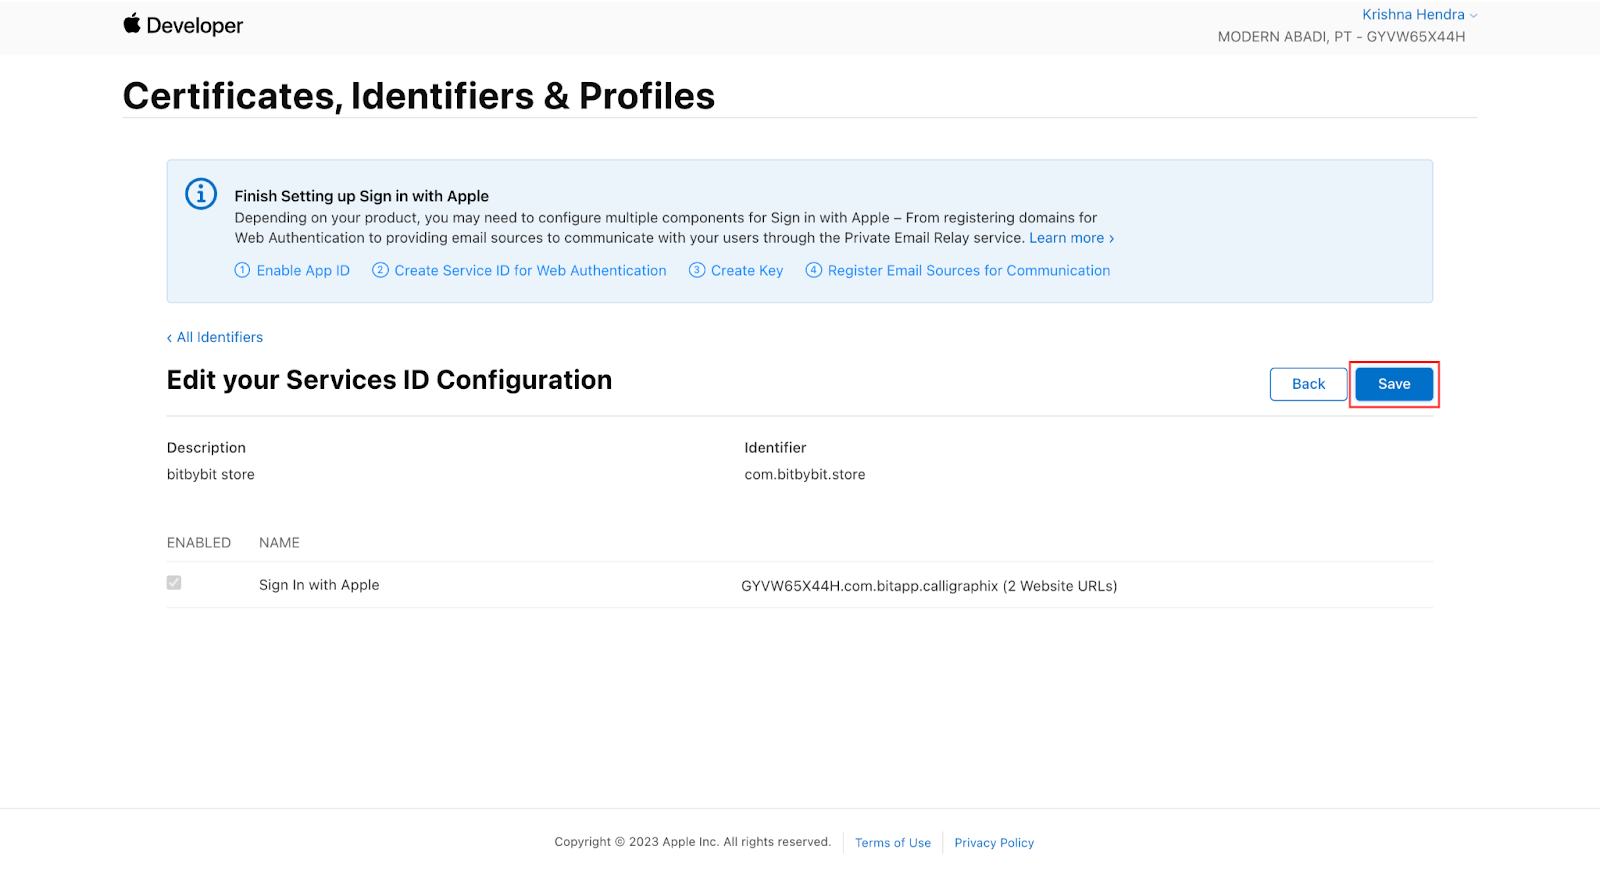
Step 7: Configure Sign in with Apple
-
Go to Identifiers and select Service IDs.

- Choose the Service ID you created and enable Sign in with Apple.
-
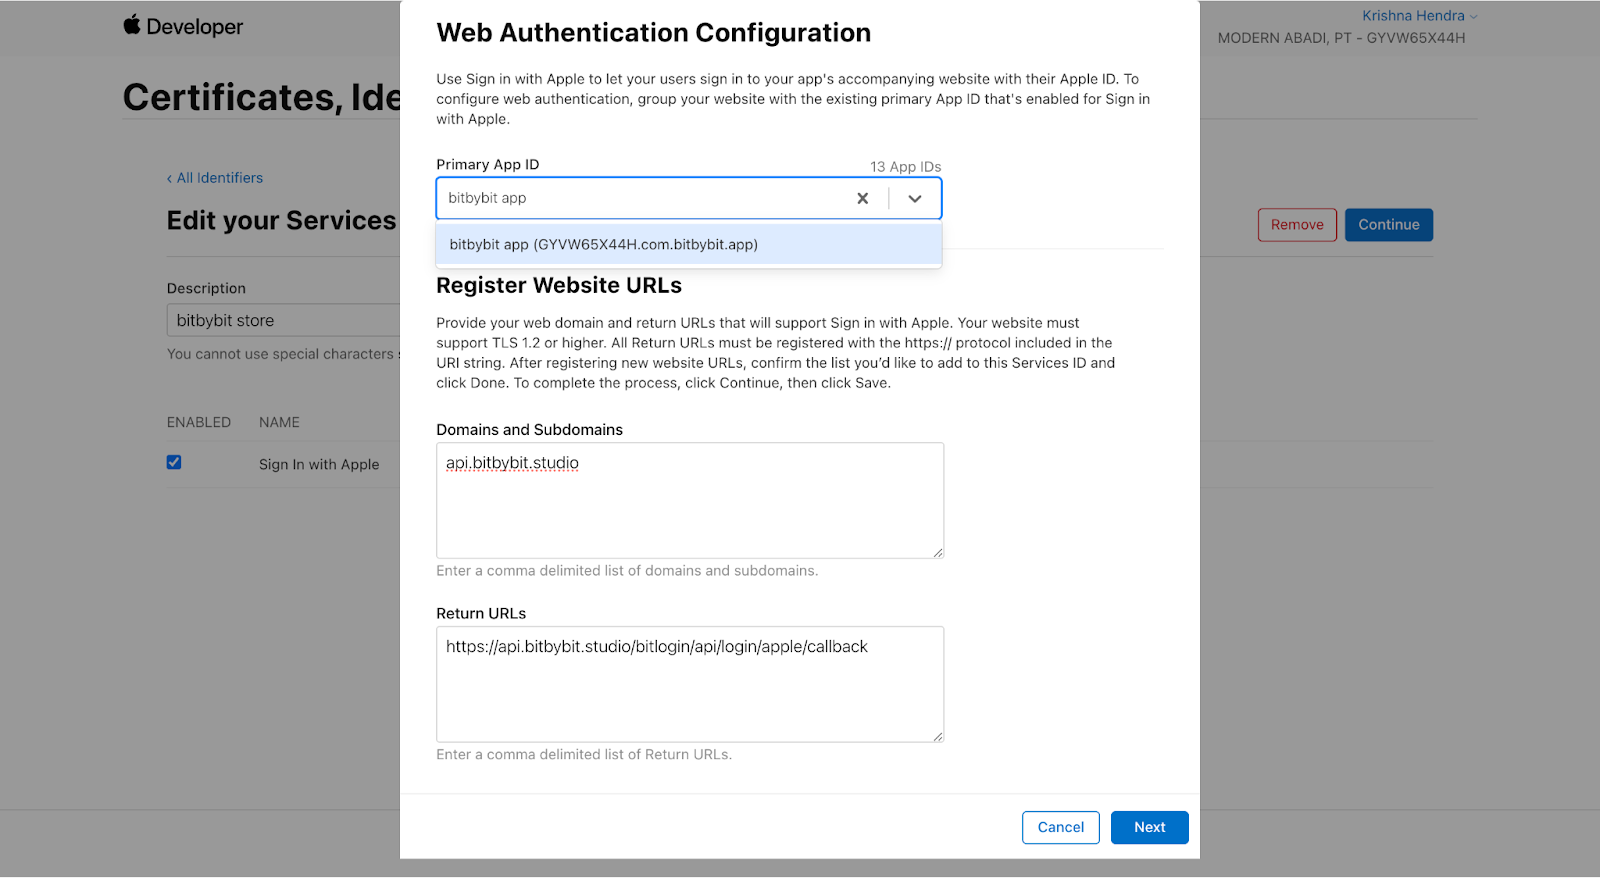
Click Configure and fill in the following details:
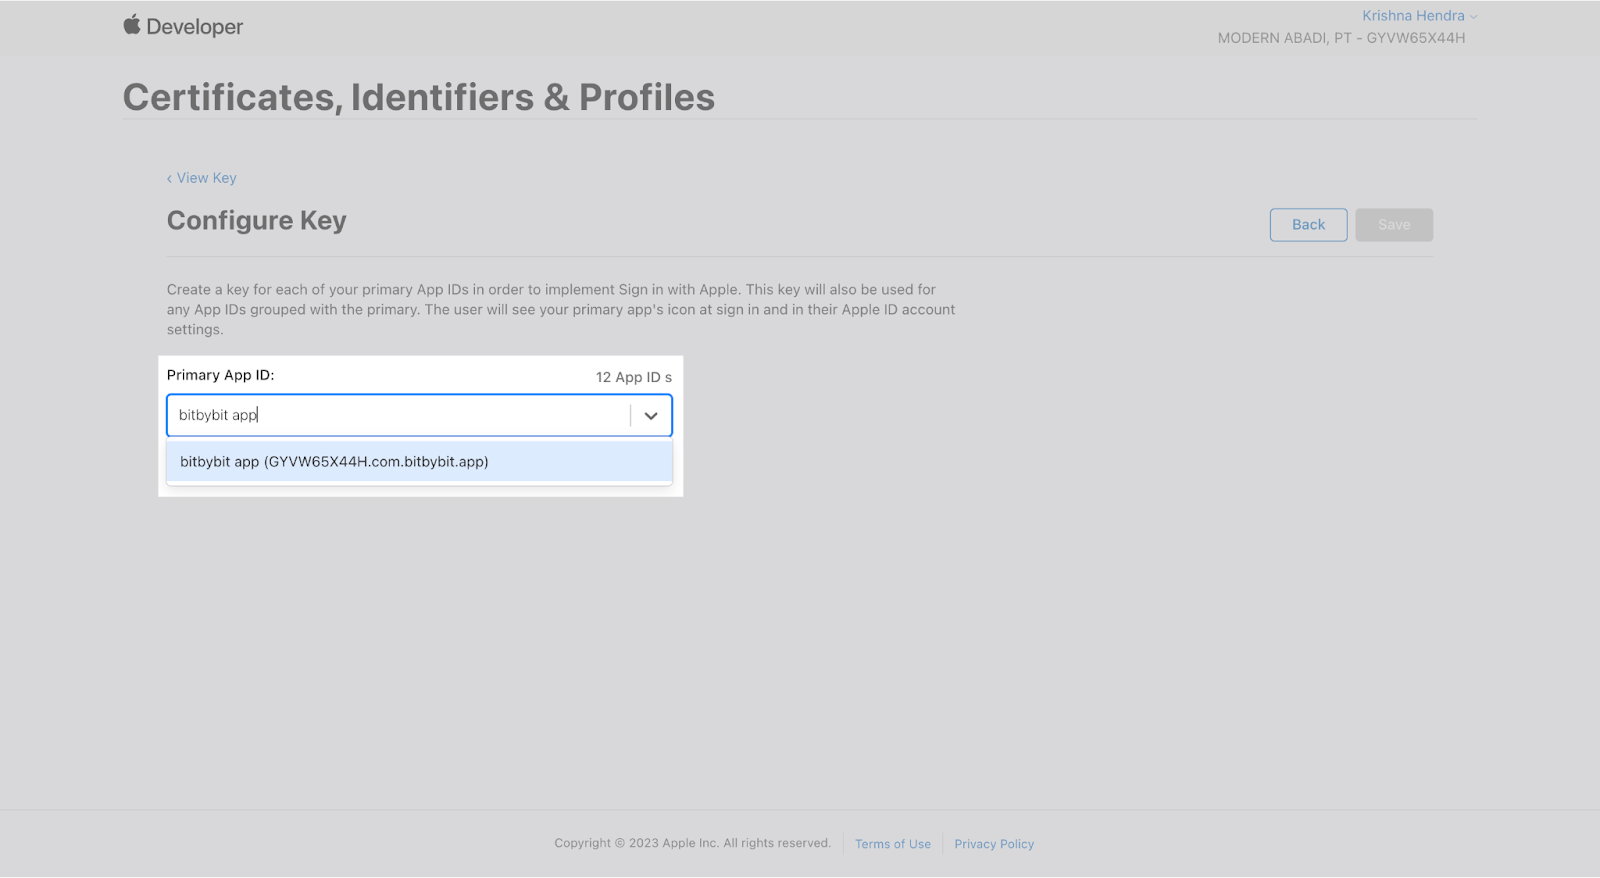
- Primary App ID: Select the App ID created earlier.
-
Domain and Subdomains:
api.bitbybit.studio -
Return URLs:
https://api.bitbybit.studio/bitlogin/api/login/apple/callback -
Click Next to confirm, then Save.
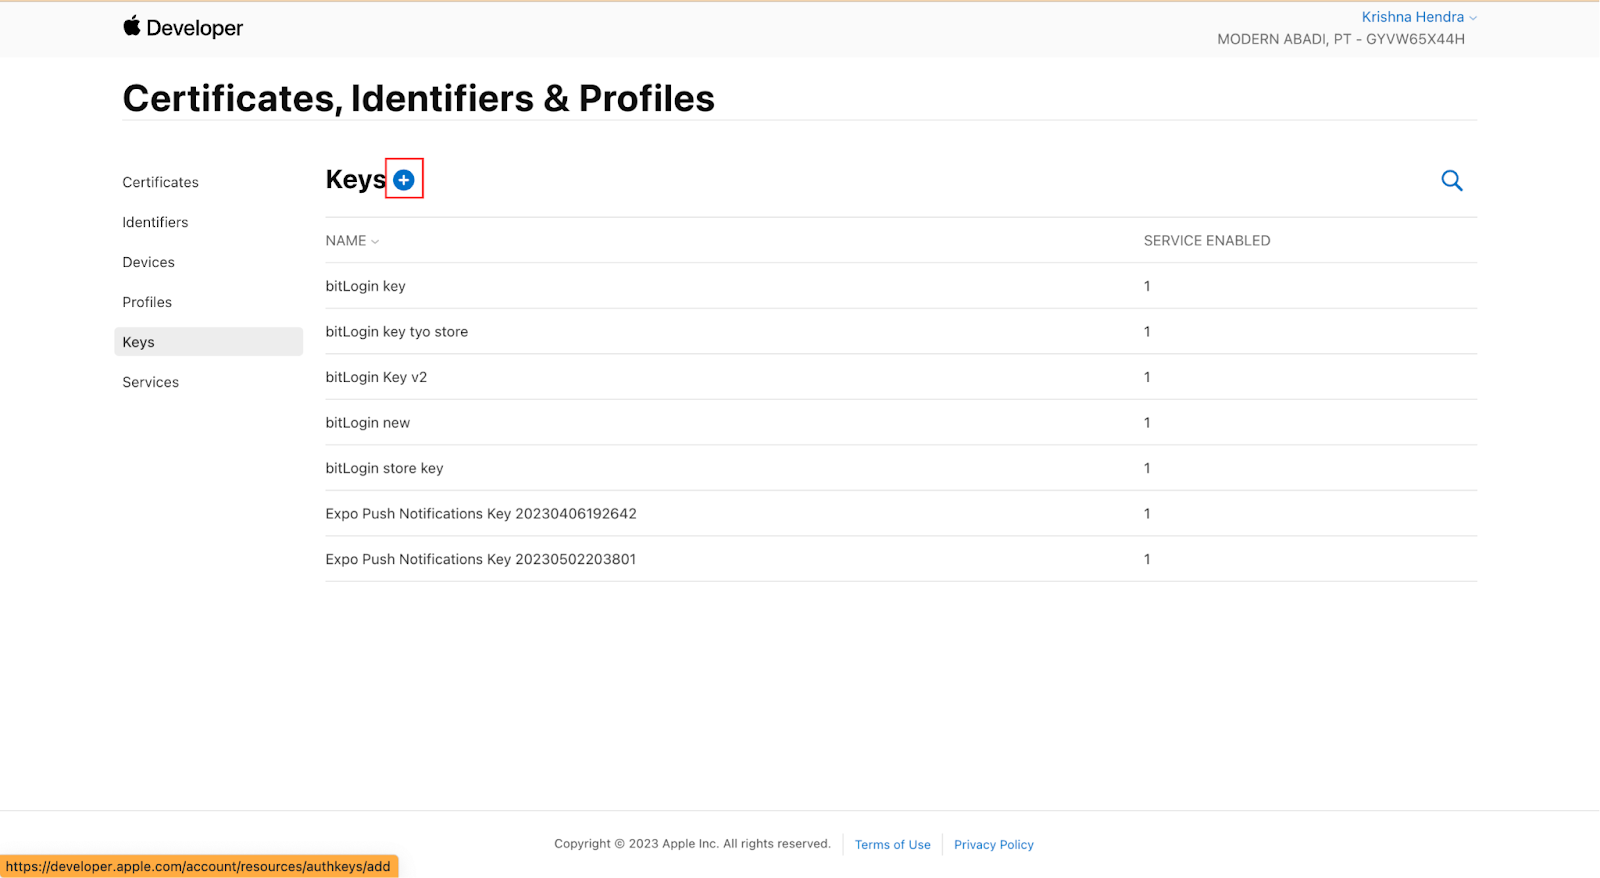
Step 8: Obtain Your Key ID & Private Key
-
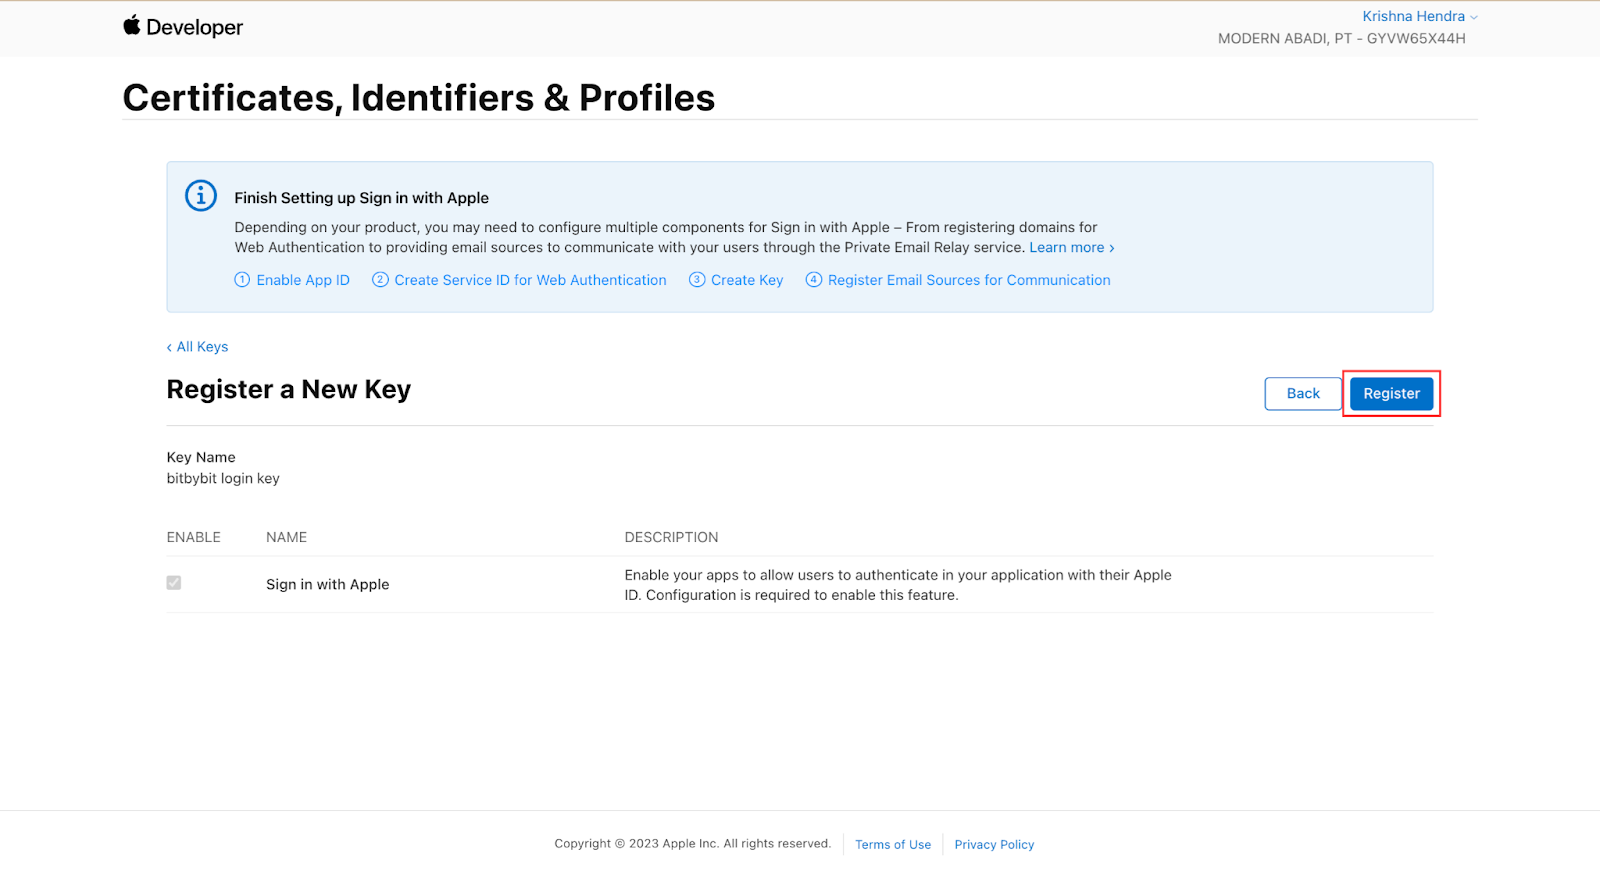
In the sidebar, go to Keys and click the + icon.
-
Fill in the Key Name, enable Sign in with Apple, and configure the same App ID as earlier.

-
Click Save and register the key.
-
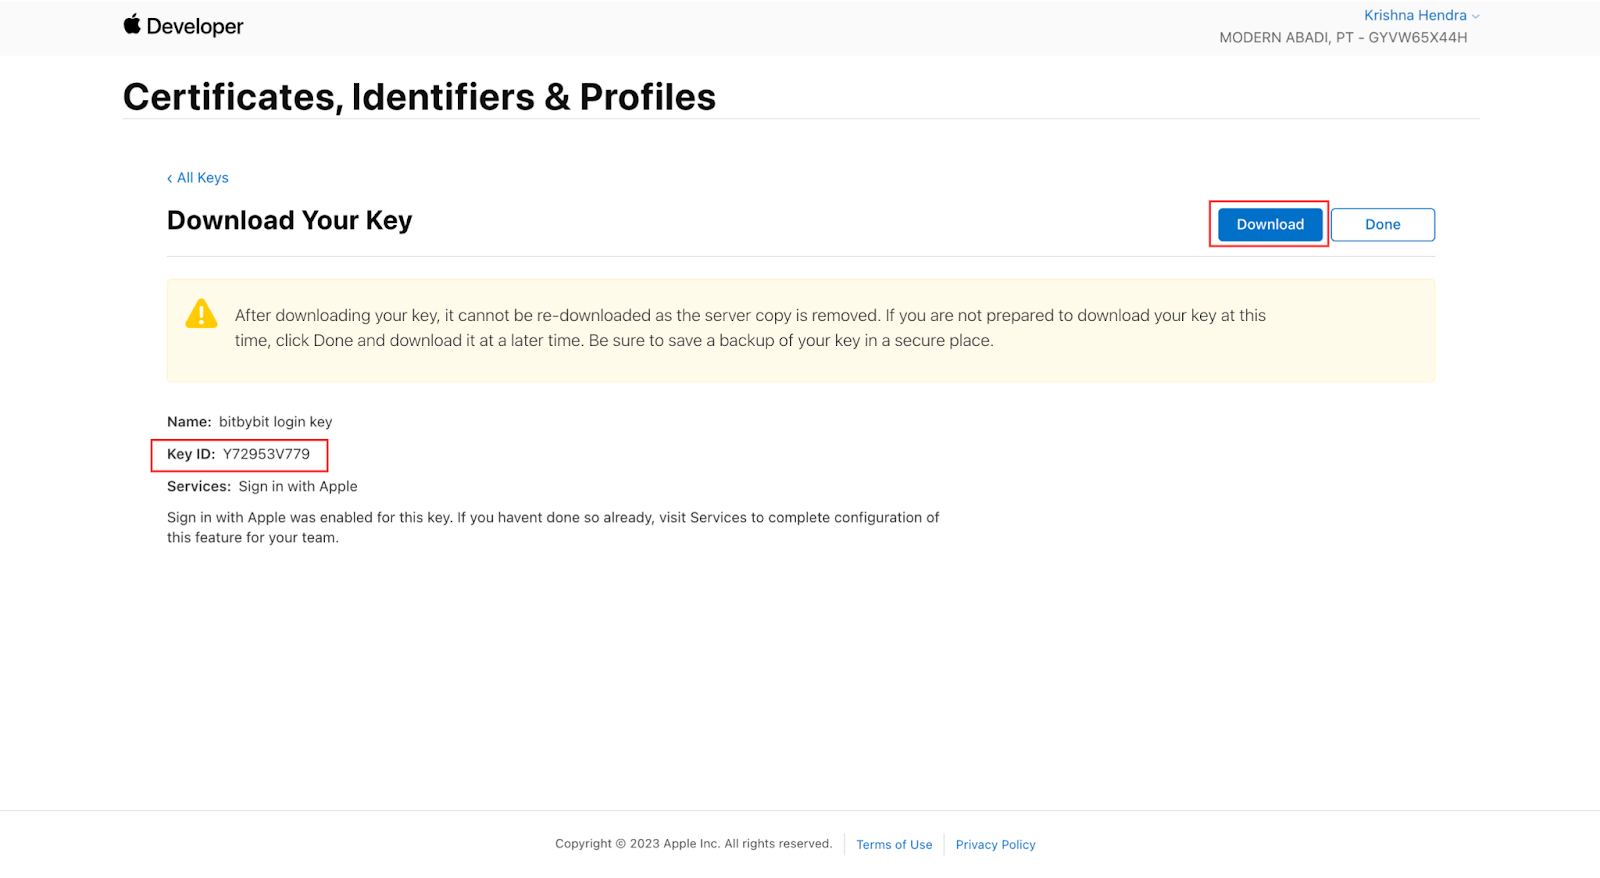
Download the key and copy your Key ID and Private Key to the Apple Settings in bitLogin.

-
Paste the private key directly into the Private Key field. Do not modify the key.

-
Toggle the Use your store name on Apple login switch until it turns green.
