Step 1: Access the X Developer Portal
-
Go to the X Developer Platform.

- Log in using your X account credentials, or create a new account if you don’t have one.
Step 2: Developer Agreement & Policy
-
Enter your use case and agree to their terms, then click Submit.

- You will be directed to the X dashboard with a project created.
Step 3: Set Up Authentication
-
Click Project & Apps on the sidebar then select your project.

-
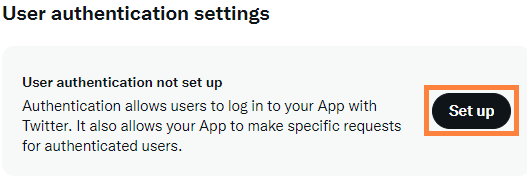
Click Set up User authentication settings.
Step 4: Configure Permissions
-
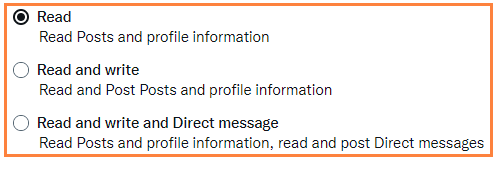
Select permissions by choosing Read and Write or Read, Write, and Direct Messages depending on your app’s needs.
Step 5: Set Your Type of App
-
Give the App permissions by selecting Web App, Automated App or Bot.

Step 6: Set App Info
Fill in the following fields:- Callback URL:
https://api.bitbybit.studio/bitlogin/api/login/twitter/callback - Website URL: Enter your domain or website URL
- Organization name: bitbybit
- Organizational URL: https://bitbybit.studio
- Terms of service: https://ww.bitbybit.studio/terms-conditions
- Privacy policy: https://bitbybit.studio/privacy
Step 7: Save Your Authentication Set Up
- Click Save
Step 8: Generate Access Tokens
-
Return to Project & Apps and click Default project.

-
Scroll down to the Apps and click the Key icon.

-
Click Generate to create your Access Token and Access Token Secret.

Step 9: Configure X OAuth
-
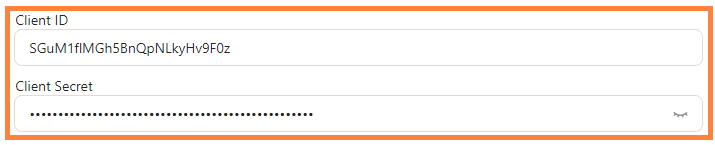
Copy and paste API Key and API Key Secret into your bitLogin OAuth Settings - X page.
Step 10: Enable X Login
- Toggle the Use your store name on X login switch until it turns green.
- Click Save Changes.

🎉 Congratulations! You’ve now configured X OAuth successfully.