Step 1: Access Google Console
- Log in to Google Console with your account credentials.
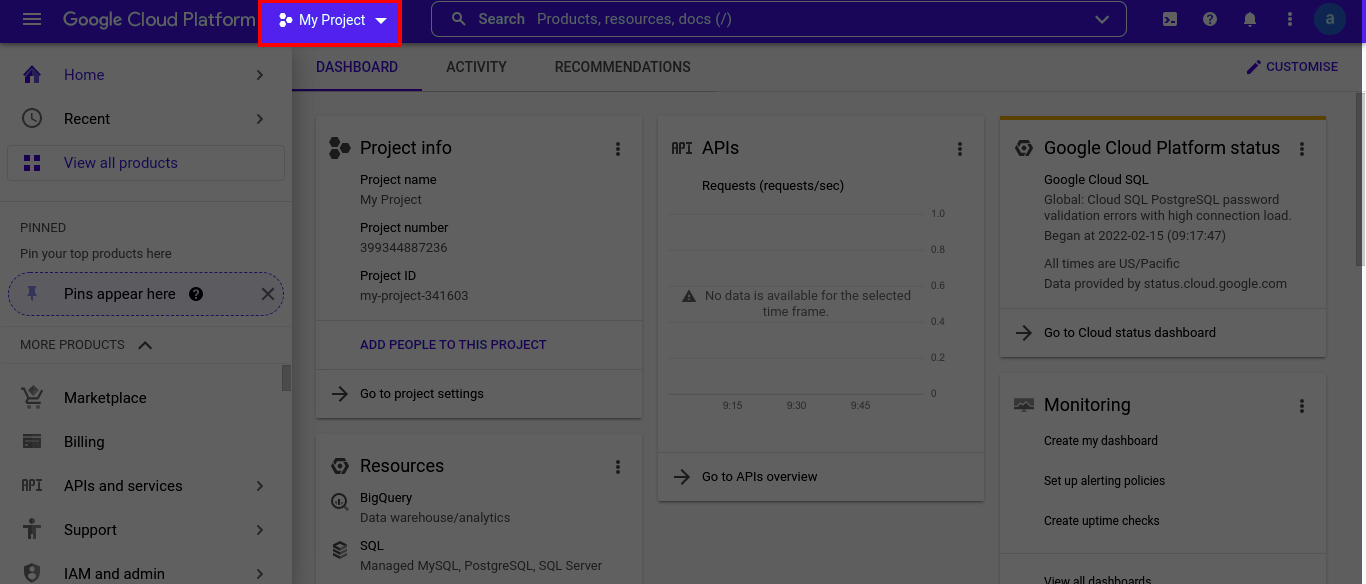
Step 2: Create a New Project
-
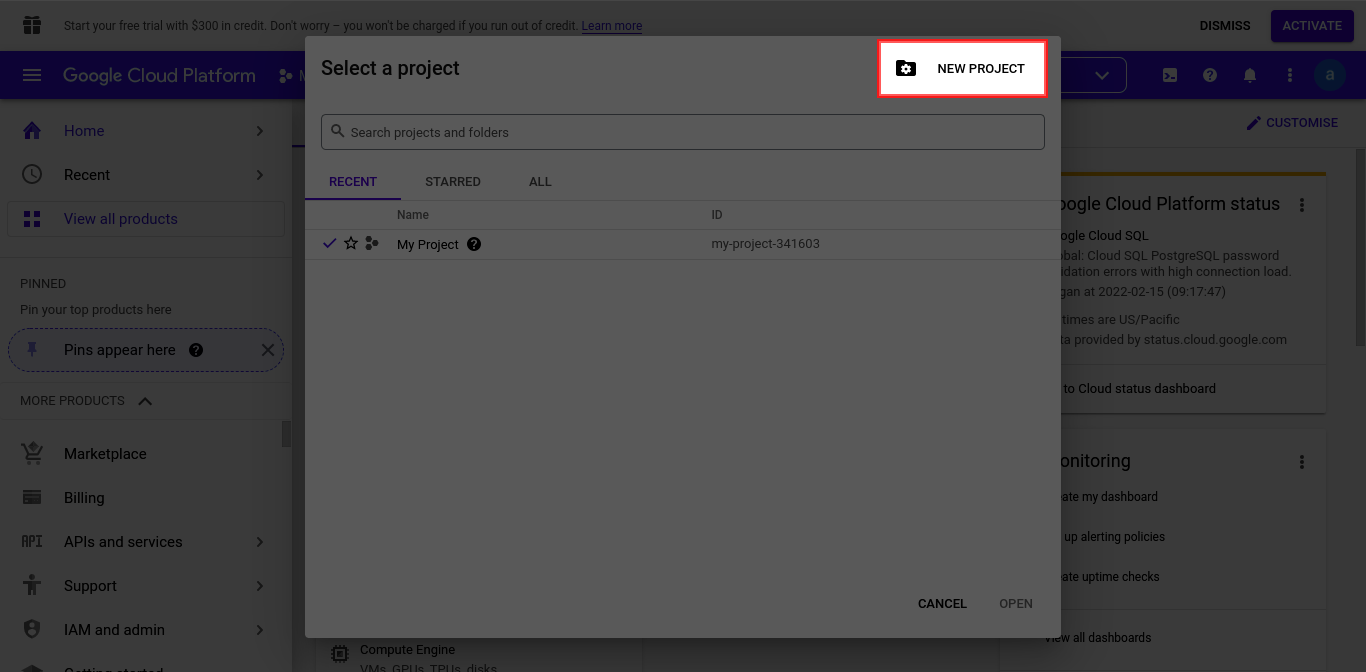
Click “My Project” and choose “New Project.”
-
Enter your project name and click “Create” (the parent organization field is optional).

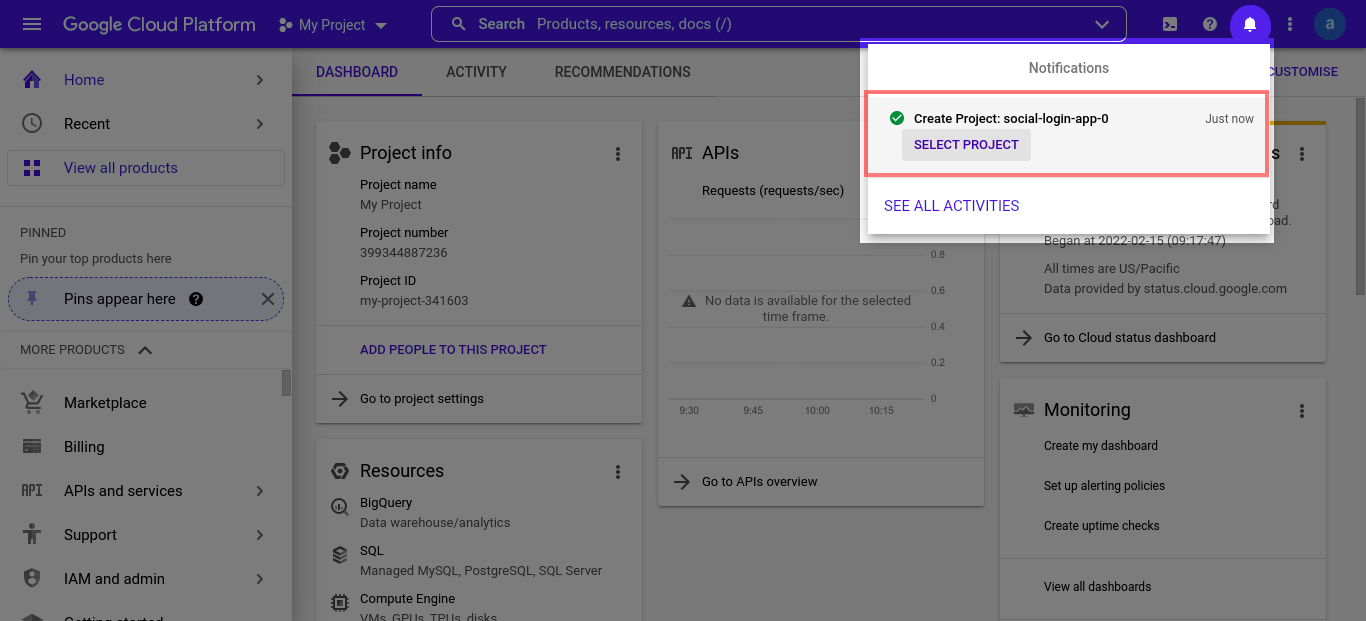
Step 3: Configure APIs and Credentials
-
Navigate to your new project via the notification icon.
-
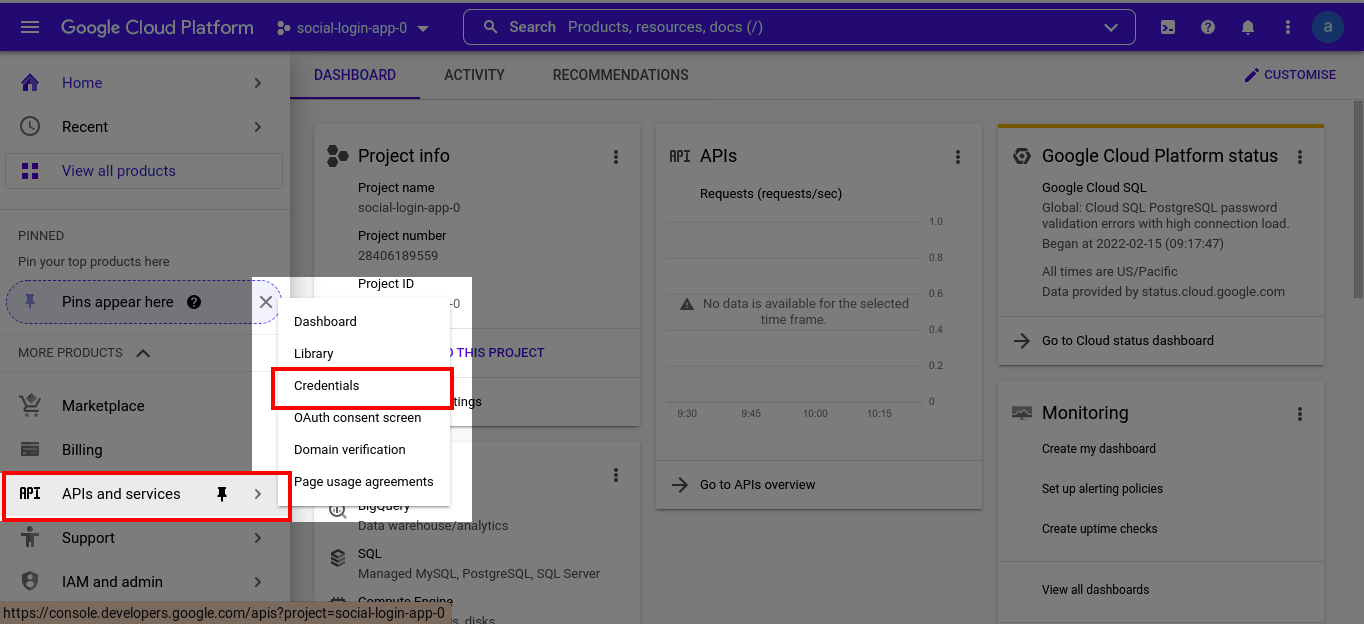
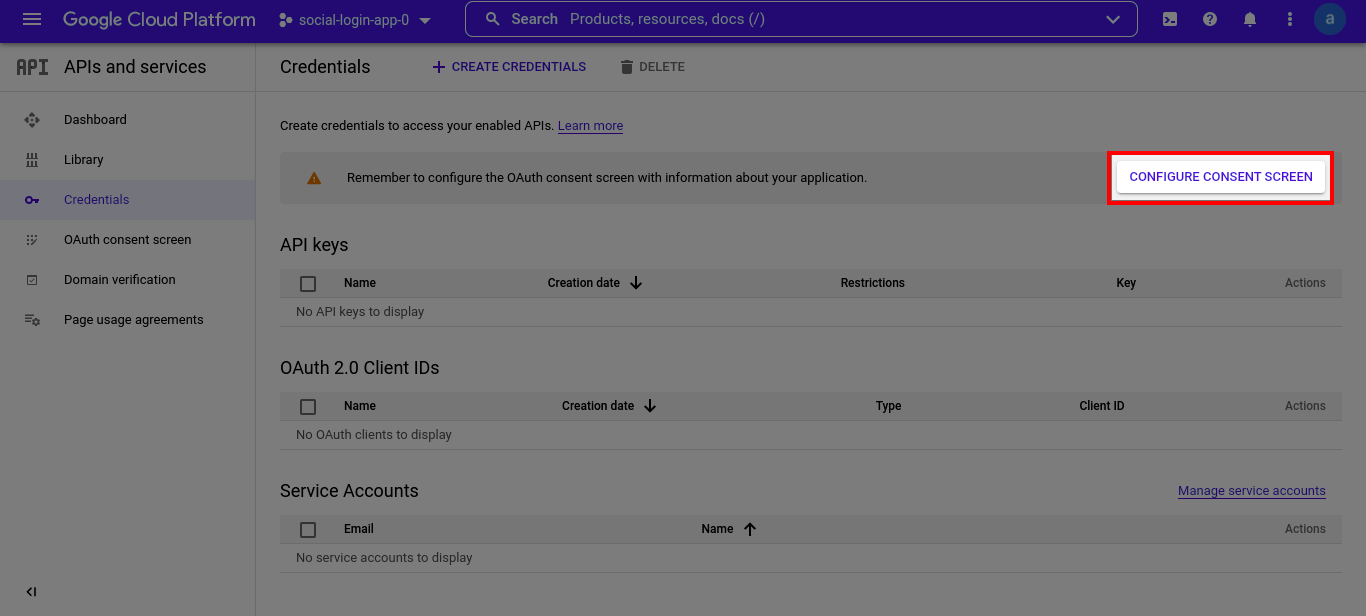
Select “APIs and Services” > “Credentials.”
-
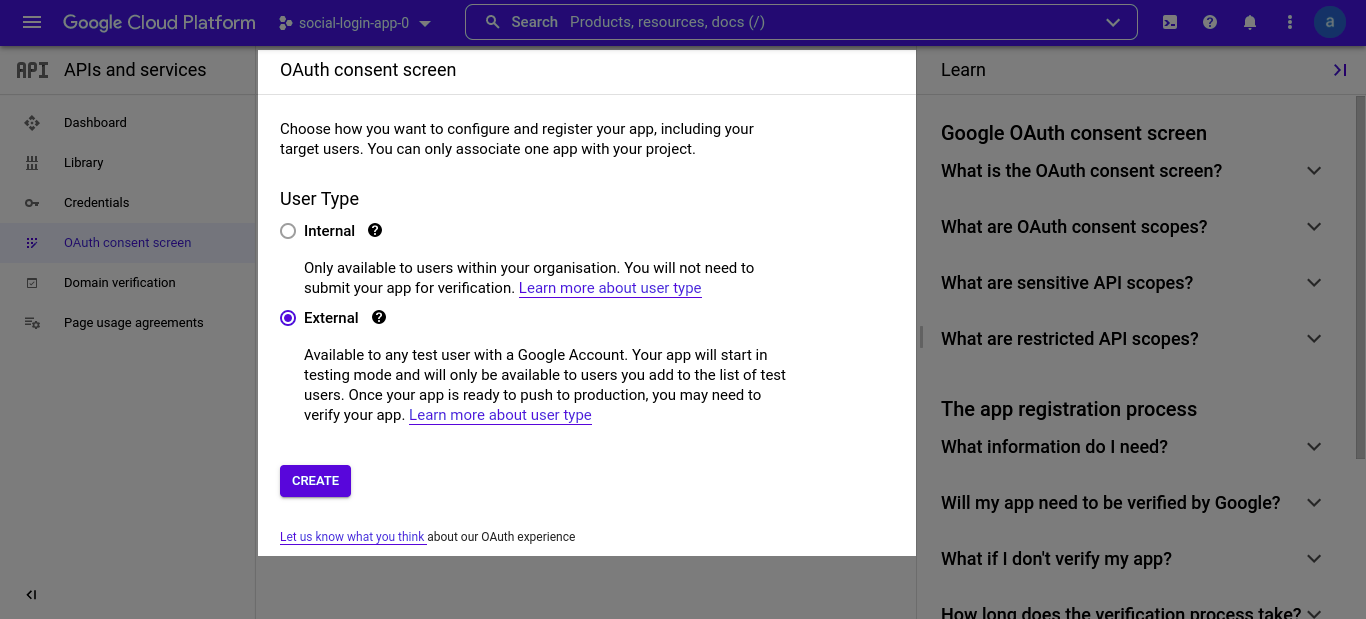
Click “Configure Consent Screen,” choose “External,” and click “Create.”
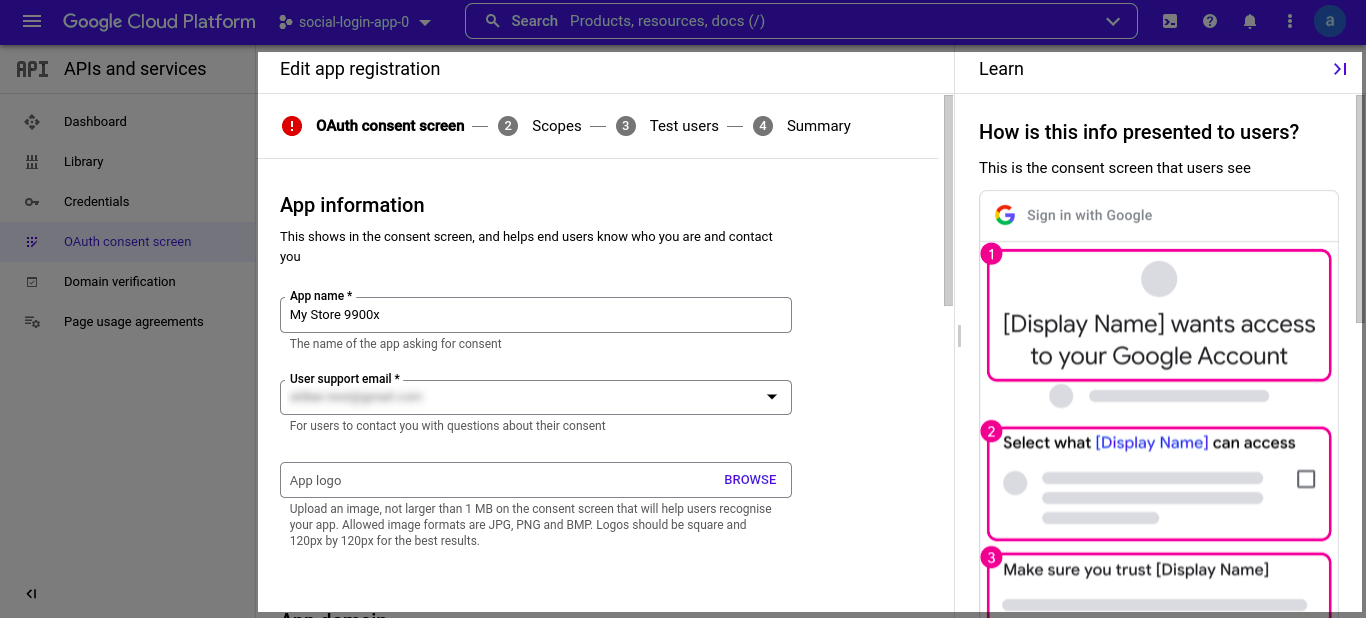
Step 4: Consent Screen Details
-
Fill out the required fields: App Name, App Logo, User Support Email, App Domain, Privacy Policy Link, Terms of Service Link.
-
Click “Add Domain,” enter your domain, and save.

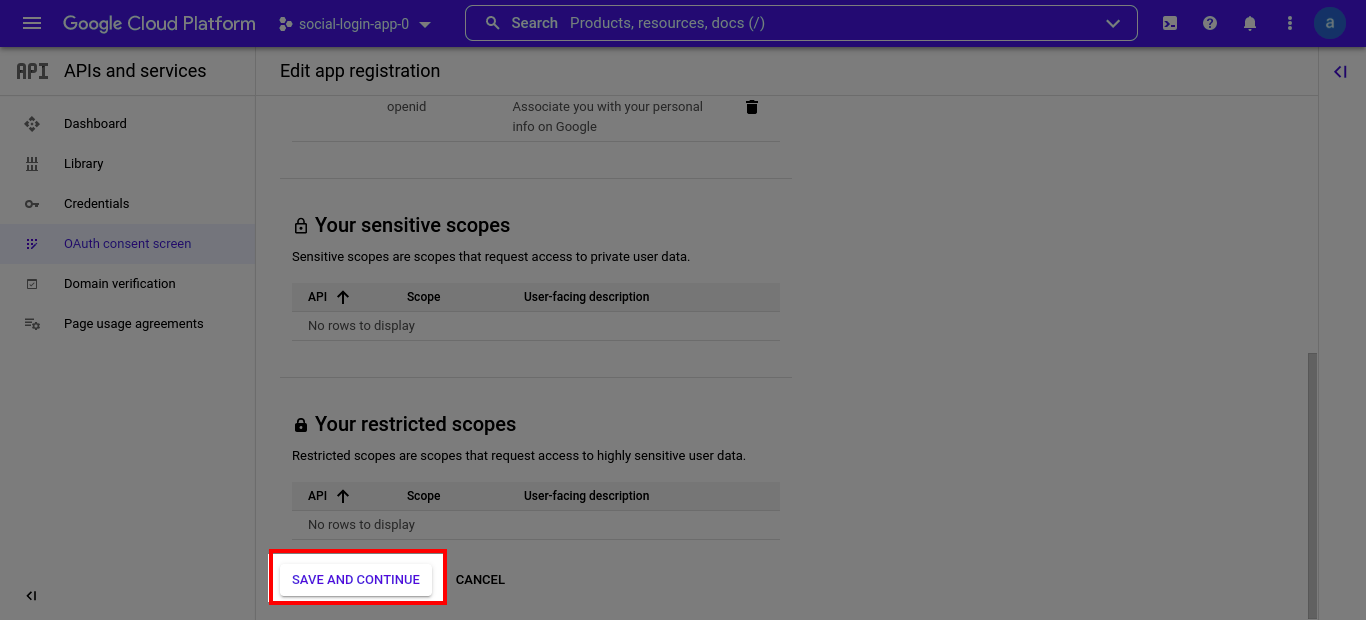
Step 5: Define Access Scopes
-
Click “Add or Remove Access Scopes” and include:
-
.../auth/userinfo.email -
.../auth/userinfo.profile -
openid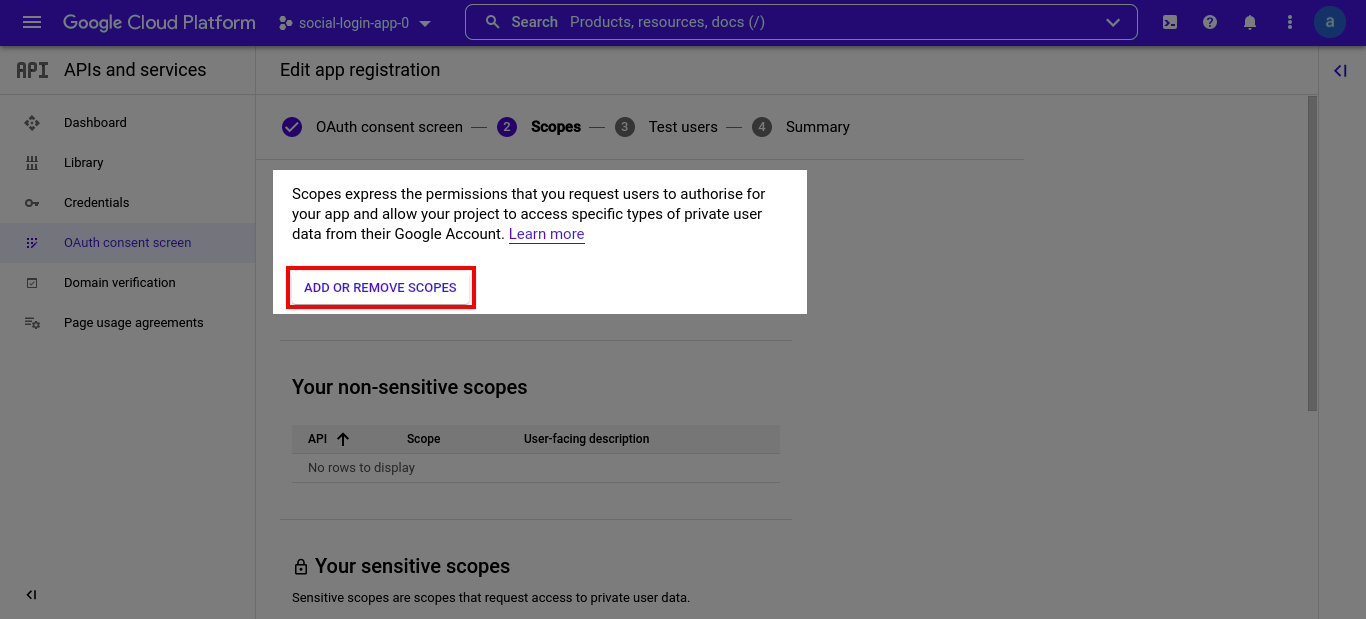

-
-
Click “Save and continue.”
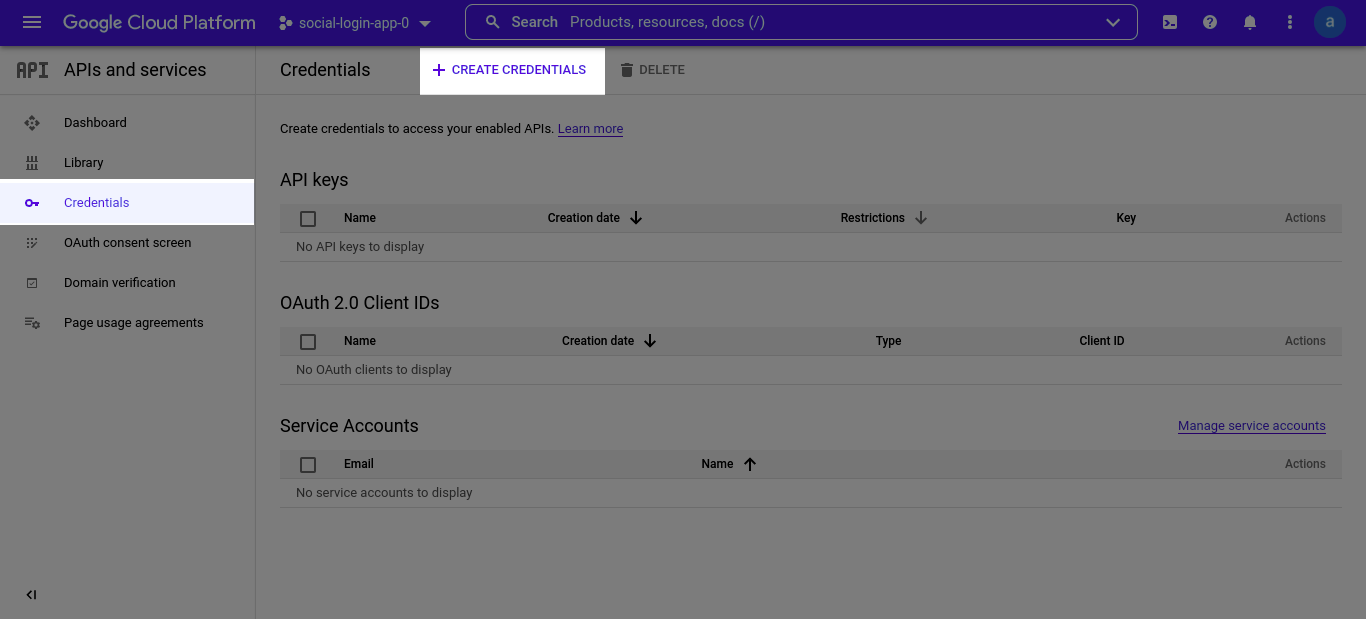
Step 6: Generate OAuth Credentials
-
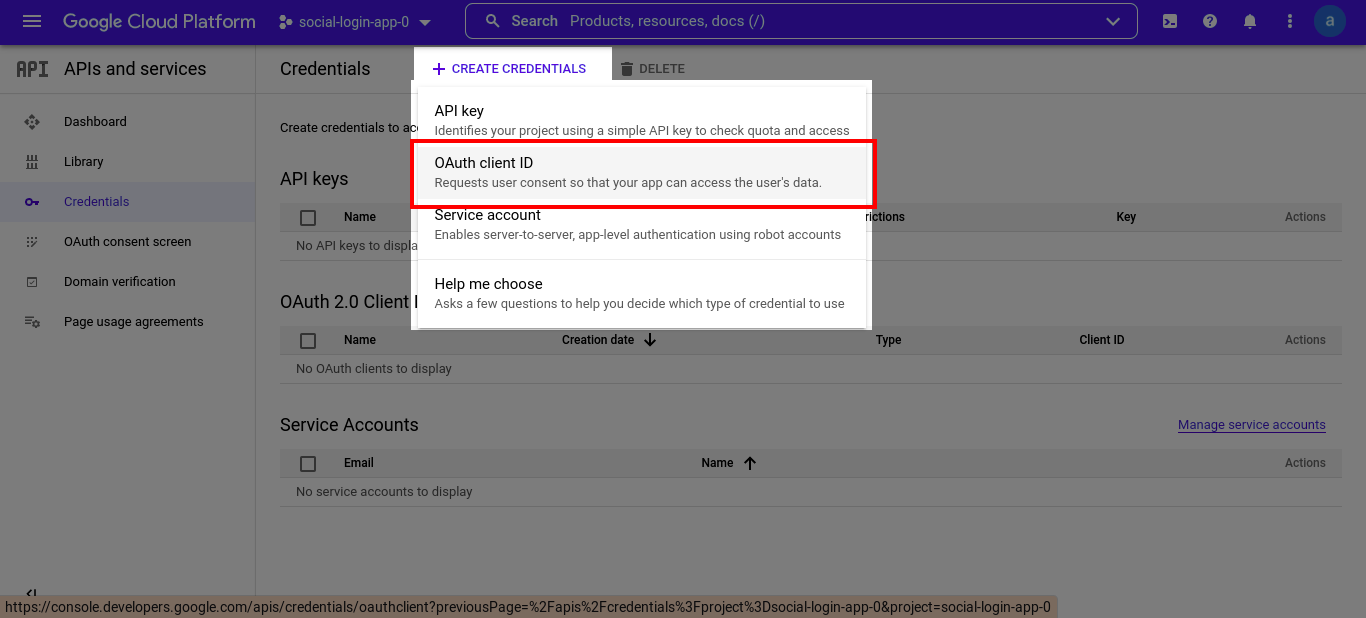
Go to “Credentials” and create new credentials.
-
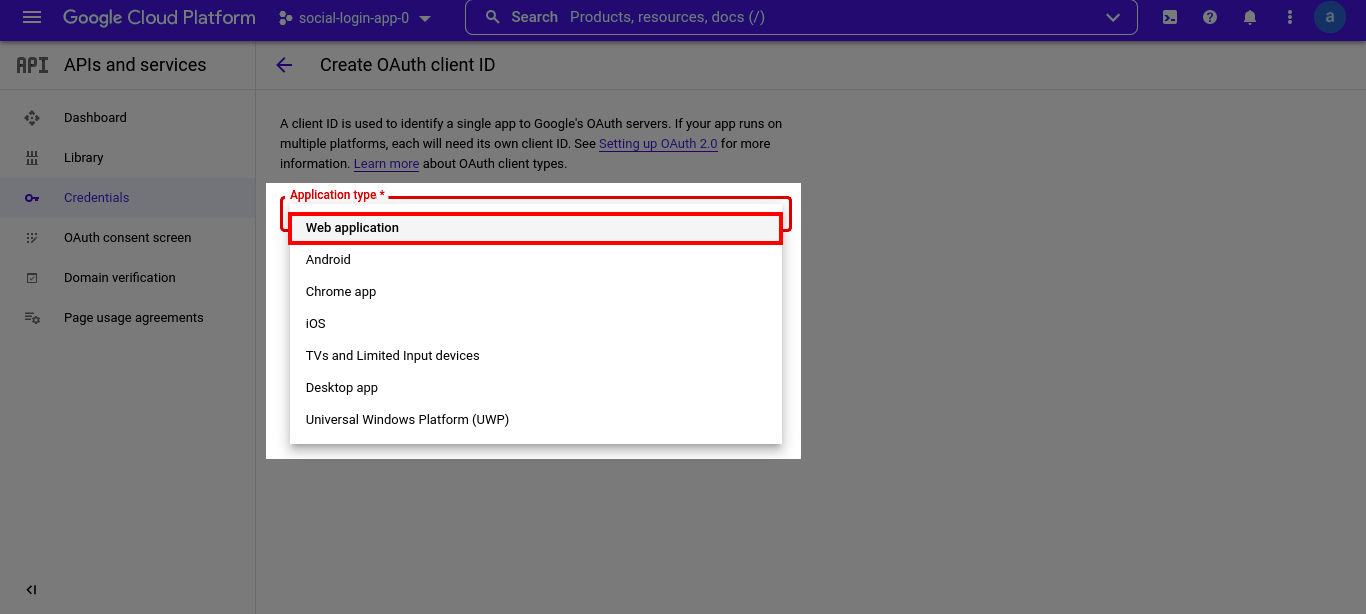
Select “OAuth Client ID” and choose “Web Application.”
-
For Authorized JavaScript Origins, enter:
https://<store-url>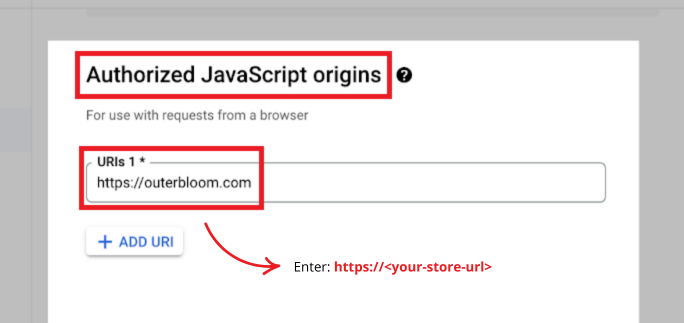
-
For Authorized Redirect URIs, enter:
https://<store-url>/pages/bitlogin-google-callback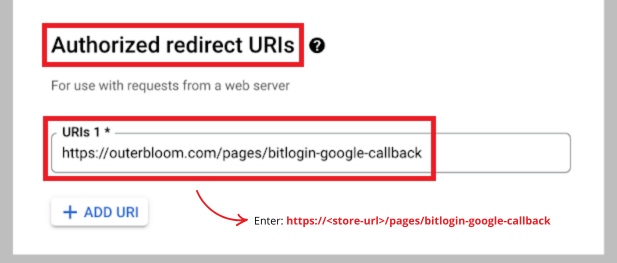
-
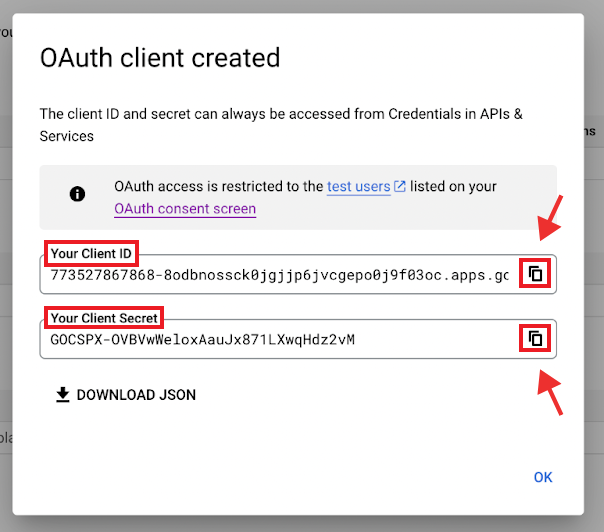
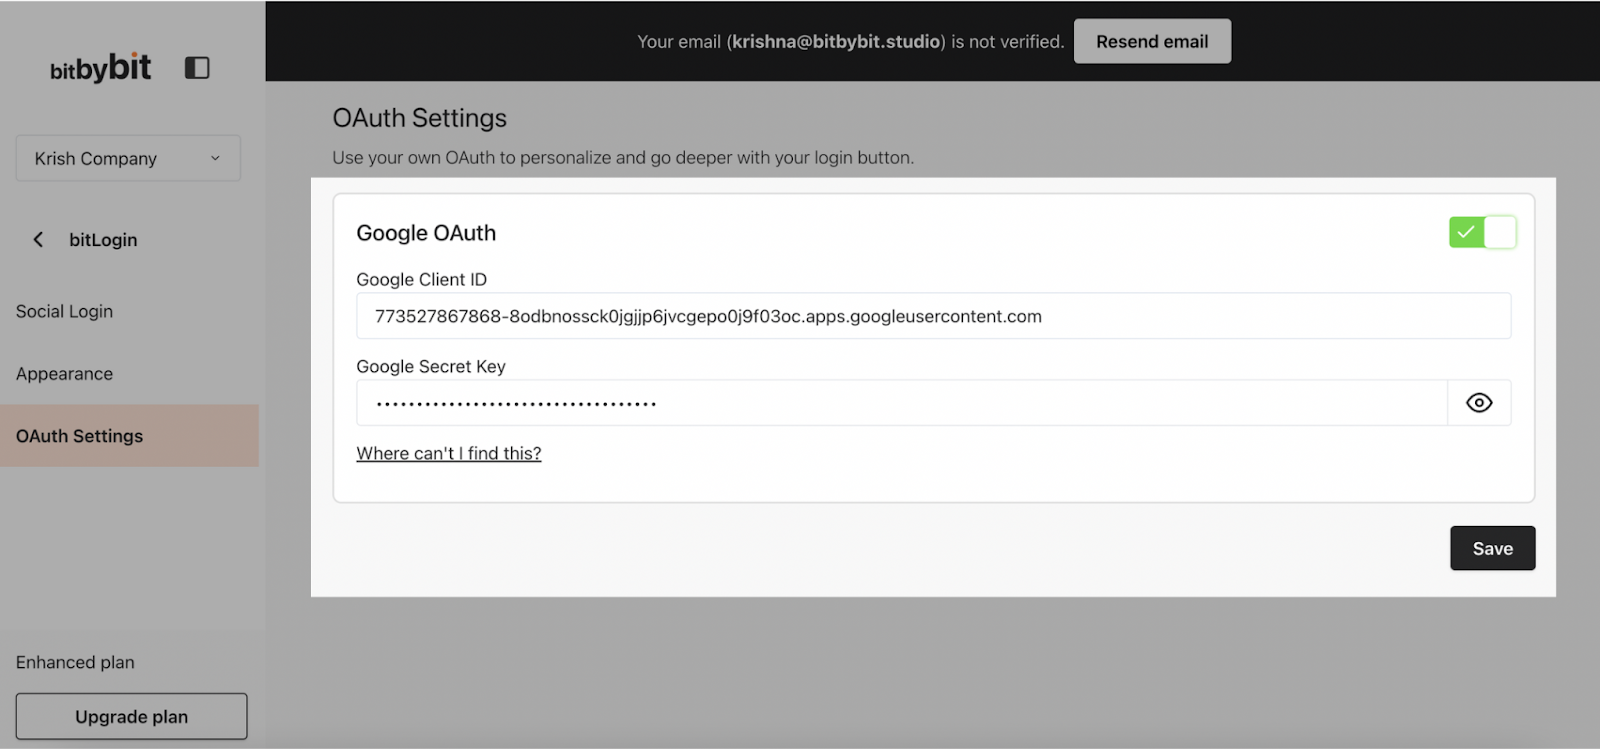
Copy the Client ID and Client Secret to bitLogin Google Settings and save.
Step 7: Optional - Enable Google One Tap
For a seamless login experience, go to bitLogin Google Settings and enable Google One Tap.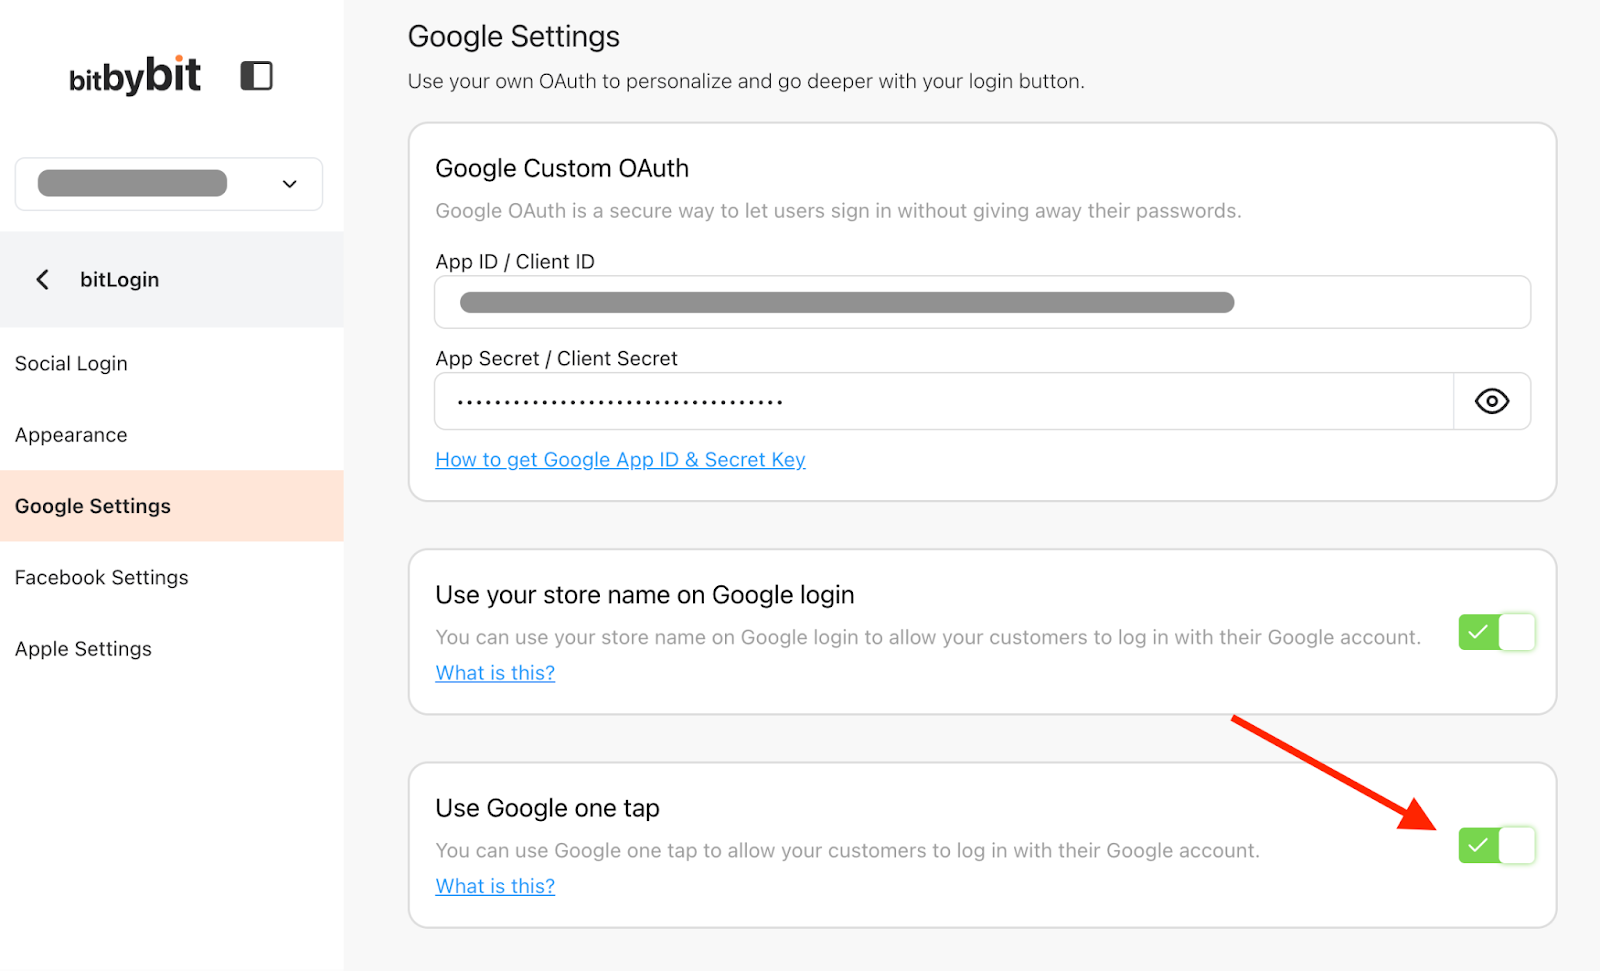 For further assistance, reach out to us at help@bitbybit.studio.