bitbybit home page
Search...
⌘K
Support
Support
Search...
Navigation
Designing & Editing
How to Add a Category
bitCRM
bitChat
bitLogin
bitApp
bitLink
bitAI
Settings
AI Studio
Getting Started
How to Set up Your bitApp Account
Designing & Editing
How to Design Your Homepage
How to Add an Image Slider
How to Edit or Delete an Image Slider
How to Move and Arrange Image Slider
How to Add a Link to an Image Slider
How to Add Circle Image Grid
How to Edit or Delete a Circle Image Grid
How to Move and Arrange Circle Image Grid
How to Add Link to a Circle Image Grid
How to Add a Product Collection
How to Edit or Delete a Product Collection
How to Set a Product Collection Display
How to set up review section in product page
How to activate stamped review section in product page
How to activate yotpo review section in product page
How to Add a Category
How to Add a Sub-Category
How to Arrange Categories
How to Edit or Delete a Category
How to Activate Bottom Navigation
How to Arrange Bottom Navigations
How to Upload an App Icon for Your App
How to Set Up App Name, Subtitle, and Description
How to Set Your App Branding Color
How to Set Your App's Splash Screen
Previewing Your App
How to Preview Your App in Real Time
How to Create Your Apple Developer Account
Inviting bitApp to Your Apple Developer Account
How to Create Your Google Play Developer Account
Inviting bitApp to Your Google Play Store
Login Options
How to Add Login Options to Your App
Integrations
How to Integrate bitApp with Shopify
On this page
Step 1: Log in to your bitApp dashboard then click the “Navigation menu” icon.
Step 2: Select “Add Category”.
Step 3: Fill in “Title”, “Destination page”, and “Navigate to” and click “Save”.
Step 4: Click “Save”.
Step 5: Preview Your Navigation.
Designing & Editing
How to Add a Category
Copy page
Copy page
Setting up your store’s category navigation is important to make sure customer’s discovery of your products. Learn how you can create a collection navigation for your app.
Step 1:
Log in to your
bitApp dashboard
then click the “Navigation menu” icon.
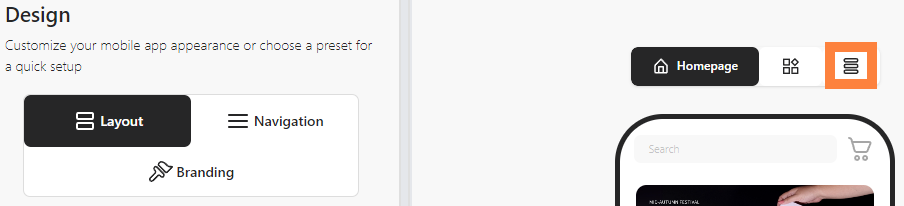
Click the “three-line” icon
Step 2:
Select “Add Category”.
Select “Add Category”
Step 3:
Fill in “Title”, “Destination page”, and “Navigate to” and click “Save”.
Fill in “Title”, “Destination page”, and “Navigate to”
Step 4:
Click “Save”.
Step 5: Preview Your Navigation.
See Preview.
Was this page helpful?
Yes
No
Suggest edits
Raise issue
How to activate yotpo review section in product page
Previous
How to Add a Sub-Category
Next
⌘I
Assistant
Responses are generated using AI and may contain mistakes.