
Add an image slider
1
Add the section
Open the bitApp design dashboard and drag Image Slider into the mobile mockup.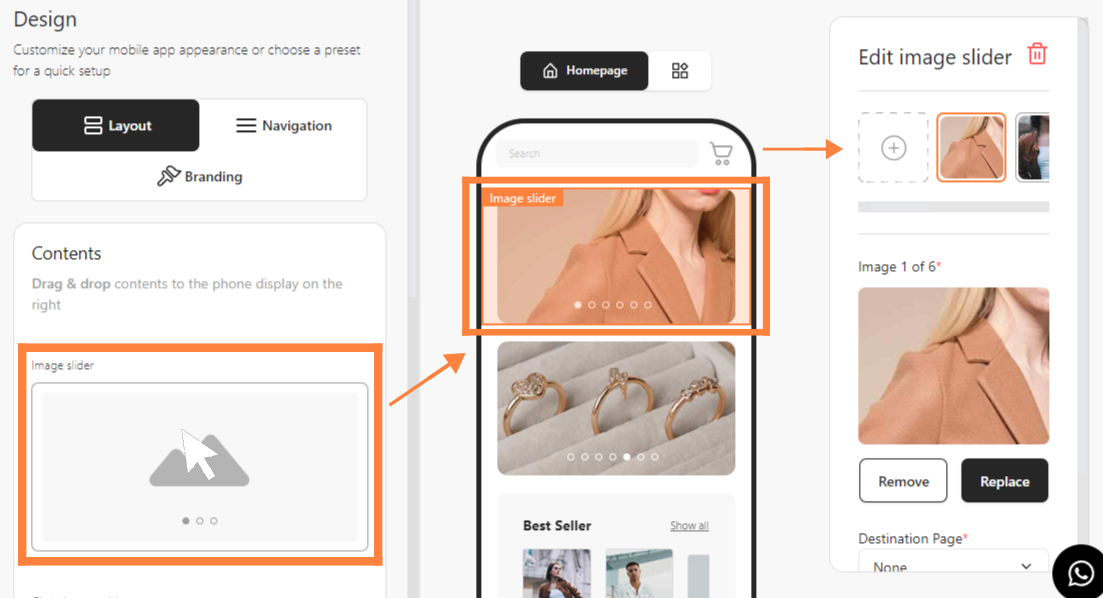
2
Upload and adjust an image
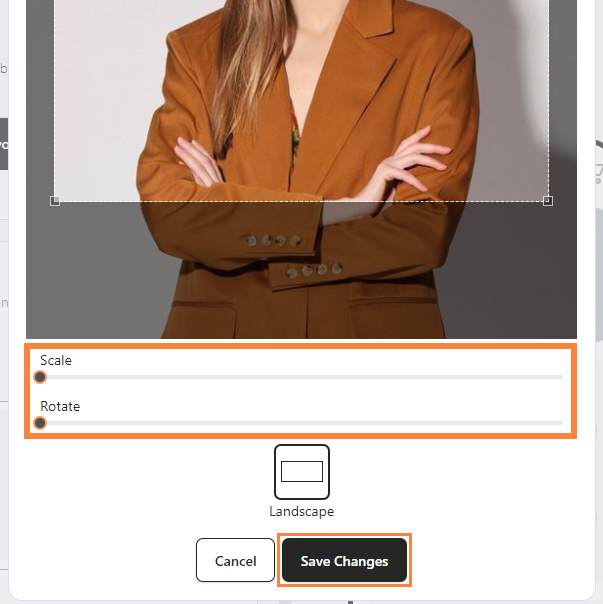
Click + to add an image. Adjust Scale and Rotate, then click Save Changes.
3
Set a destination and save
Choose a Destination Page, then click Save.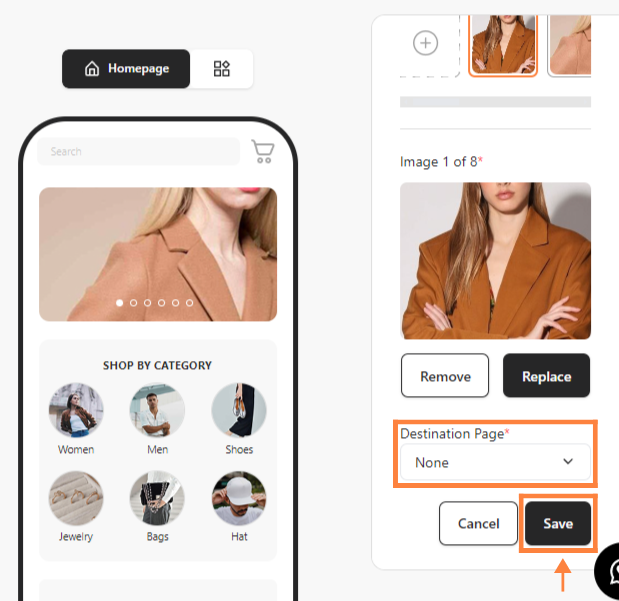
Link a slide to a custom URL
1
Open the slide destination
Select the Image Slider in the mobile mockup. Under Destination Page, choose Custom URL Page.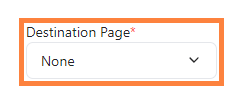
2
Enter the URL
Enter the URL and click Save.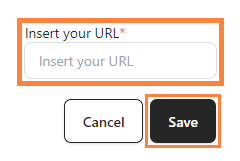
Reorder, replace, or remove an image
Select the Image Slider in the mobile mockup. Drag an image to change its position, or use its trash icon to remove it. To change the image itself, click Remove or Replace, then click Save.

Delete the entire Image Slider section
Delete the entire Image Slider section
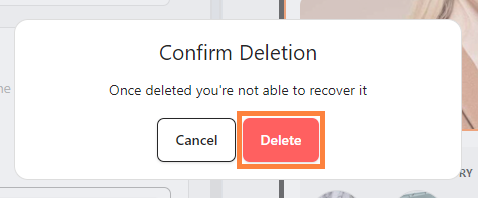
Select Image Slider in the mobile mockup, click its trash icon, then confirm with Delete. This removes the section rather than one image.