

Prerequisites
- You already created an AI agent in AI Studio. See Set up your AI agent in AI Studio.
- You have the API URL and any credentials the API requires.
- Your role can manage AI Studio settings.
Step 1: Add an HTTP request
- Go to AI Studio and open the AI agent you want to configure.
- Open Connectors and find the HTTP requests section.
- Select Add HTTP request.
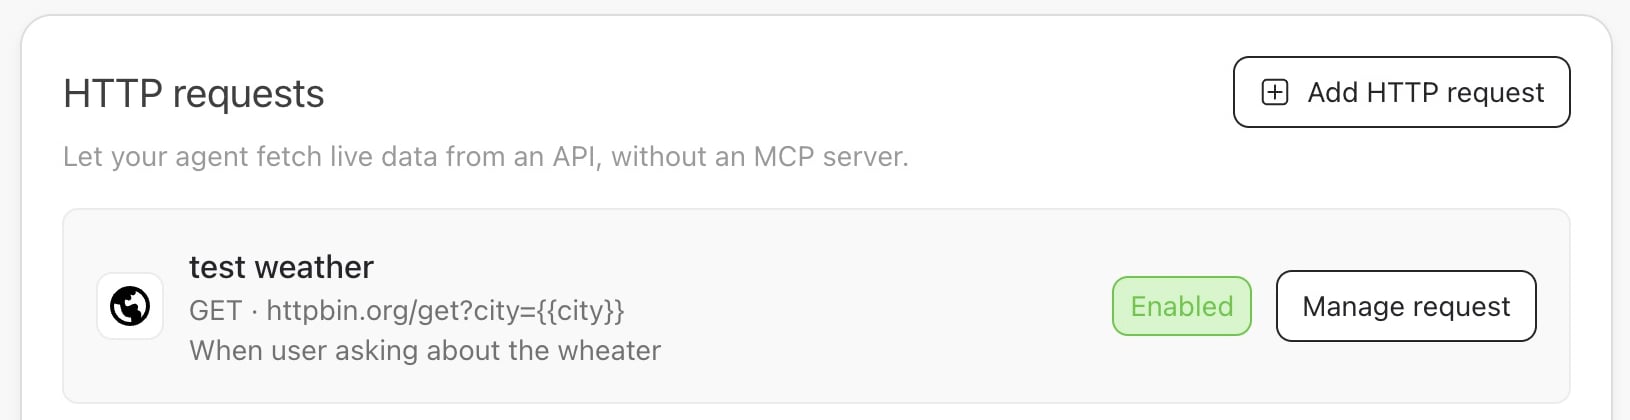
- Enter a Request name and explain when the agent should use the request in When should the agent use this?
- Choose GET to read data or POST if the API needs a request body.
- Enter the full Request URL. The editor accepts
http://andhttps://URLs without a username or password in the address. Use HTTPS when the API supports it, especially when sending credentials. Use{{variable_name}}for values the agent will provide, such ashttps://api.example.com/orders/{{order_id}}. - Choose an Authentication type: Bearer token, API key header, or No authentication. Enter the credential details when required.
Step 2: Define agent inputs and the request body
- Add an input variable for each value the agent must provide. Use a unique name with letters, numbers, or underscores, starting with a letter or underscore.
- Add How should the agent get this value? instructions and choose whether the input is Required. You can also set an example value. Inputs can be Text, Number, Boolean, or File.
- Use each variable as
{{variable_name}}in the request URL or body. In a JSON or raw text body, type the template yourself and select Insert variable to add an existing input. Define every variable used in the request before continuing. - For a GET request, add variables to the URL. GET requests do not send a body.
- For a POST request, choose the body format required by the API:
-
JSON — enter a valid JSON body template. For example:
Select Insert variable to place an input into the template. The editor checks that the JSON is valid.
- Form URL-encoded — add each API field and choose a fixed value or an agent input.
- Multipart form data — add text fields or map file inputs to API fields.
-
Raw text / XML — enter a body template and its Content-Type. For XML, input values are escaped automatically; choose
text/plainfor plain text. - Binary file — choose a File input and enter the Content-Type.
- None — send a POST request without a body. Inputs can still appear in the URL.
-
JSON — enter a valid JSON body template. For example:
Step 3: Test and enable the request
- Enter sample values for the agent inputs. Choose a sample file for each File input.
- Select Test request and review the response.
- If the configuration changes after a test, test it again before saving.
- After the test passes, select Save & enable.
Manage an HTTP request
- Open the request and select Manage request.
- Turn Enable request off to prevent the agent from using the request. The configuration stays saved. You can enable it again after a successful test.
- Select Test request to test it again, or Edit request to change its configuration. Test the request again after making changes.
- Select Delete HTTP request and confirm to remove the saved configuration. This does not delete data from your external system.