

Before you start
- Open Automation.
- Make sure you have an AI agent set up in AI Studio.
Step 1: Add the AI Custom Event trigger
- Click Create new automation, or open an existing automation.
- Click Trigger and choose AI Custom Event.
- Enter a Trigger name (required). Use a name that says what the automation does, for example “Product interest detected”.
- Click Save.
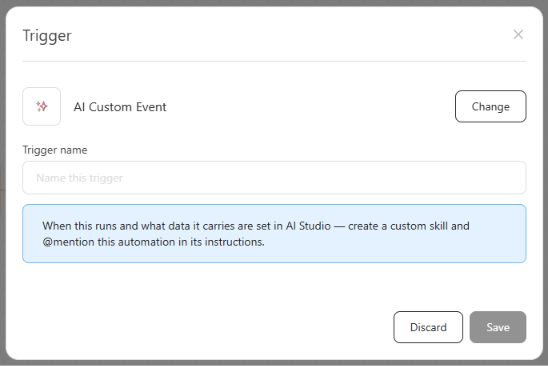
Step 2: Build and activate the automation
- Add the steps the automation should run after the trigger.
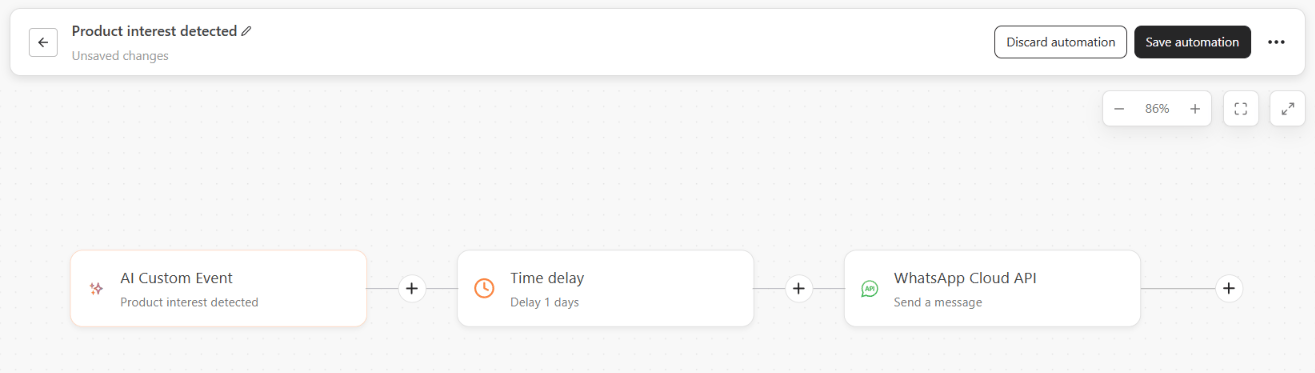
- Click Save automation.
- In the Automation list, make sure the automation’s switch is on.
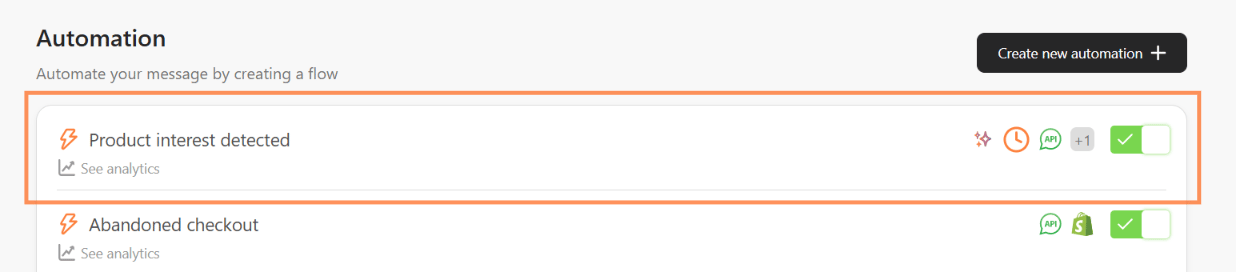
Step 3: Connect the automation to your AI agent
- Go to AI Studio and open your AI agent.
- Open the Skills tab and click Add skill.
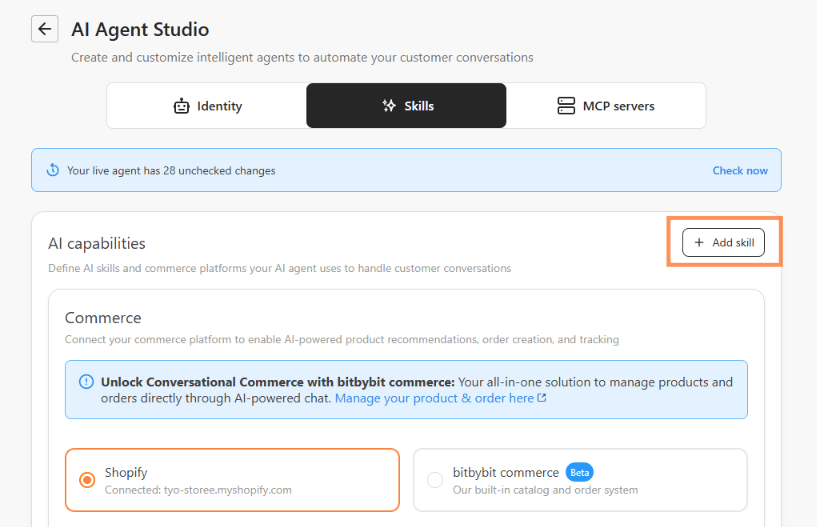
- Select Custom skill and click Add skill.
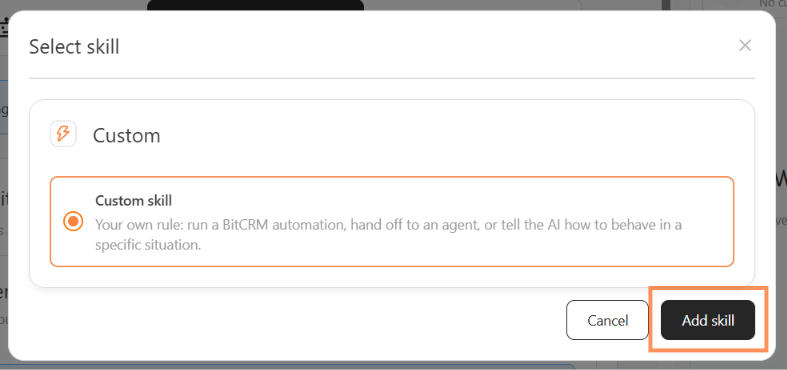
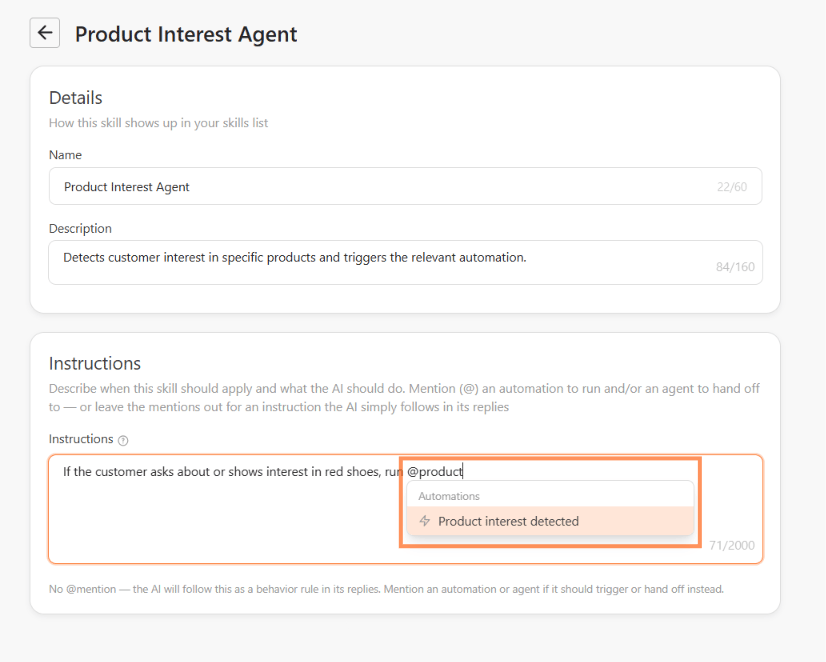
- Fill in the skill’s Name and Description.
- In Instructions, describe when the AI agent should run the automation, and type @ to mention it. For example: “If the customer asks about or shows interest in red shoes, run @Product interest detected”.
When the automation runs
The automation runs when the AI agent decides the situation in your custom skill has happened. It does not run when:- No active custom skill mentions the automation.
- The automation is inactive.
- The customer has no valid phone number or email.