Step 1: Access the bitCRM Automation Dashboard
- Go to the bitCRM Automation dashboard.
Step 2: Create a New Scenario
- Click “Create new scenario”
 Click “Create new scenario”
Step 3: Create a Scenario
- Choose “Trigger”
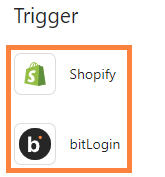
 Choose “Trigger”* Select and choose “Shopify Trigger”
 Select and choose “Shopify Trigger”1. Order Fulfilled: Send a message to confirm that the order has arrived at its destination.
- Order Created: Send an order-created confirmation message to a buyer.
- Order Paid: Send a message to confirm that the buyer’s payment has been successfully processed.
- Order Created (unpaid): Send a message notifying the buyer that the order has been created but is awaiting payment.
- Abandoned Cart: Send a reminder so customers will buy the items in the cart.
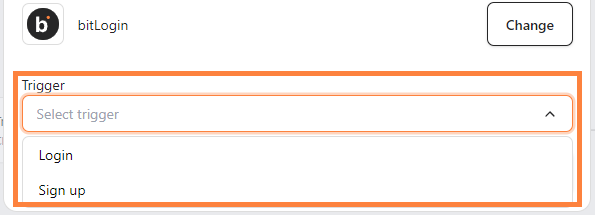
- Or select and choose “bitLogin Trigger”
 Select and choose “bitLogin Trigger”1. Login: Send a welcome back message to users after they log in.
- Sign Up: Send a welcome message to new users.
- Click ”+” to add steps.
 Click ”+”* Select and choose “Communication channel”, “Product review”, Time delay” or “Conditions” to tailor your automation.
 Select and choose “Communication channel”, “Product review”, Time delay” or “Conditions”
Step 4: Save the Scenario
- Click “Save” and click “Save automation”.
 Click “Save”
 Click “Save automation”
