Step 1: Go to Campaign dashboard
- Navigate to your bitCRM Campaign dashboard and click “Create new campaign.”

- Click “Create new campaign”##
- Step 2: Select a channel
- Click “Notification”
- Click “Notification”##
- Step 3: Create Notification
- Fill in “Campaign name”, “Notification headline”, and “Message”.
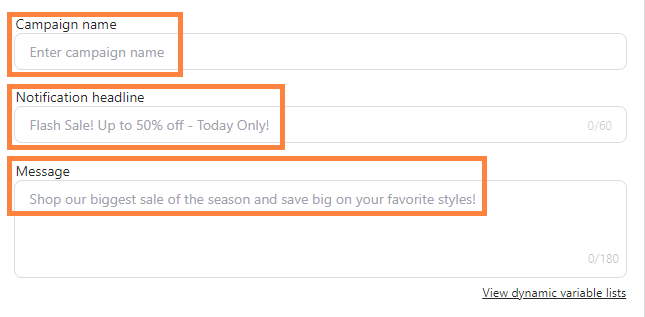
- Fill in “Campaign name”, “Notification headline”, and “Message”##
- Step 4: Choose Platform
- Click “Choose platform” dropdown and click “Review”
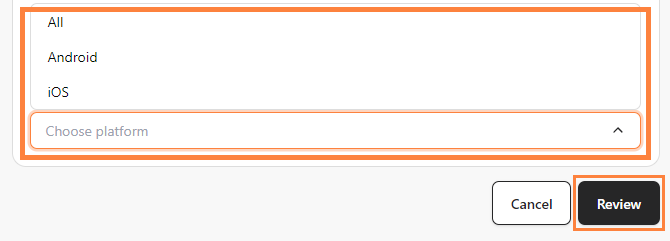
- Click “Choose platform” dropdown and click “Review”