Prerequisites
- Your Meta Business Account must already be connected to bitCRM before creating a CAPI event.

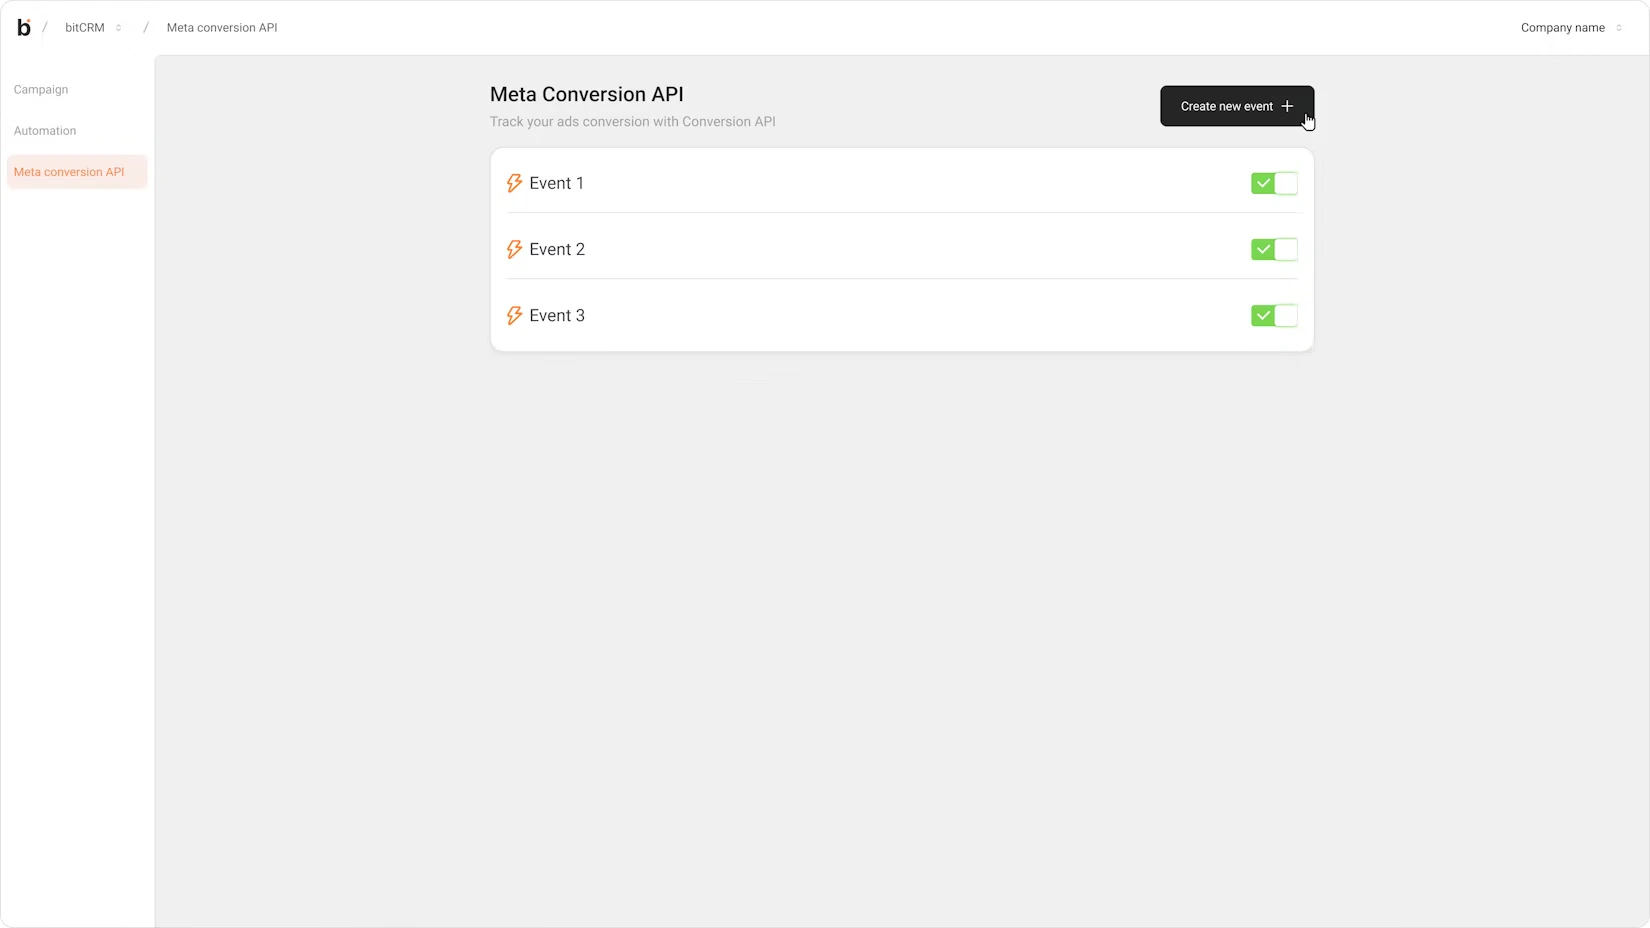
Steps 1: Navigate to the CAPI menu in bitCRM

Steps 2: Click the Create new event button
Step 3: Input Event name and open the Ad account dropdown
The list displays all available ad accounts sorted alphabetically and is searchable. Select the Ad Account you want to use.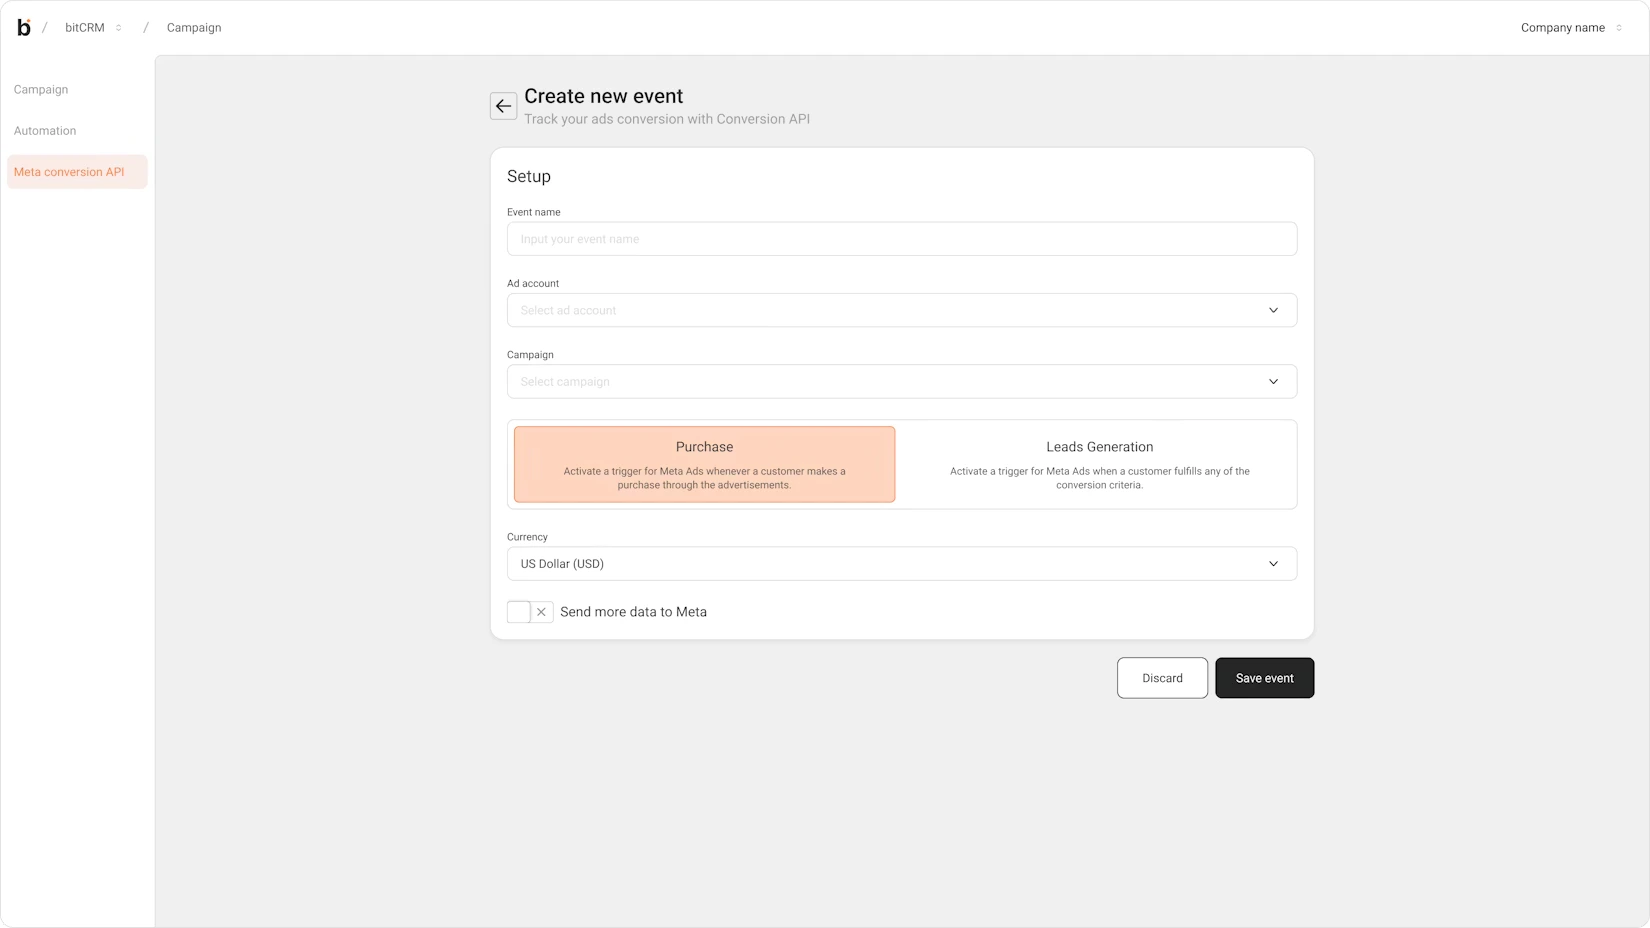
Step 4: Open the Campaign dropdown and select the relevant Campaign
The list is populated with campaigns under the selected Ad Account, sorted by most recently active.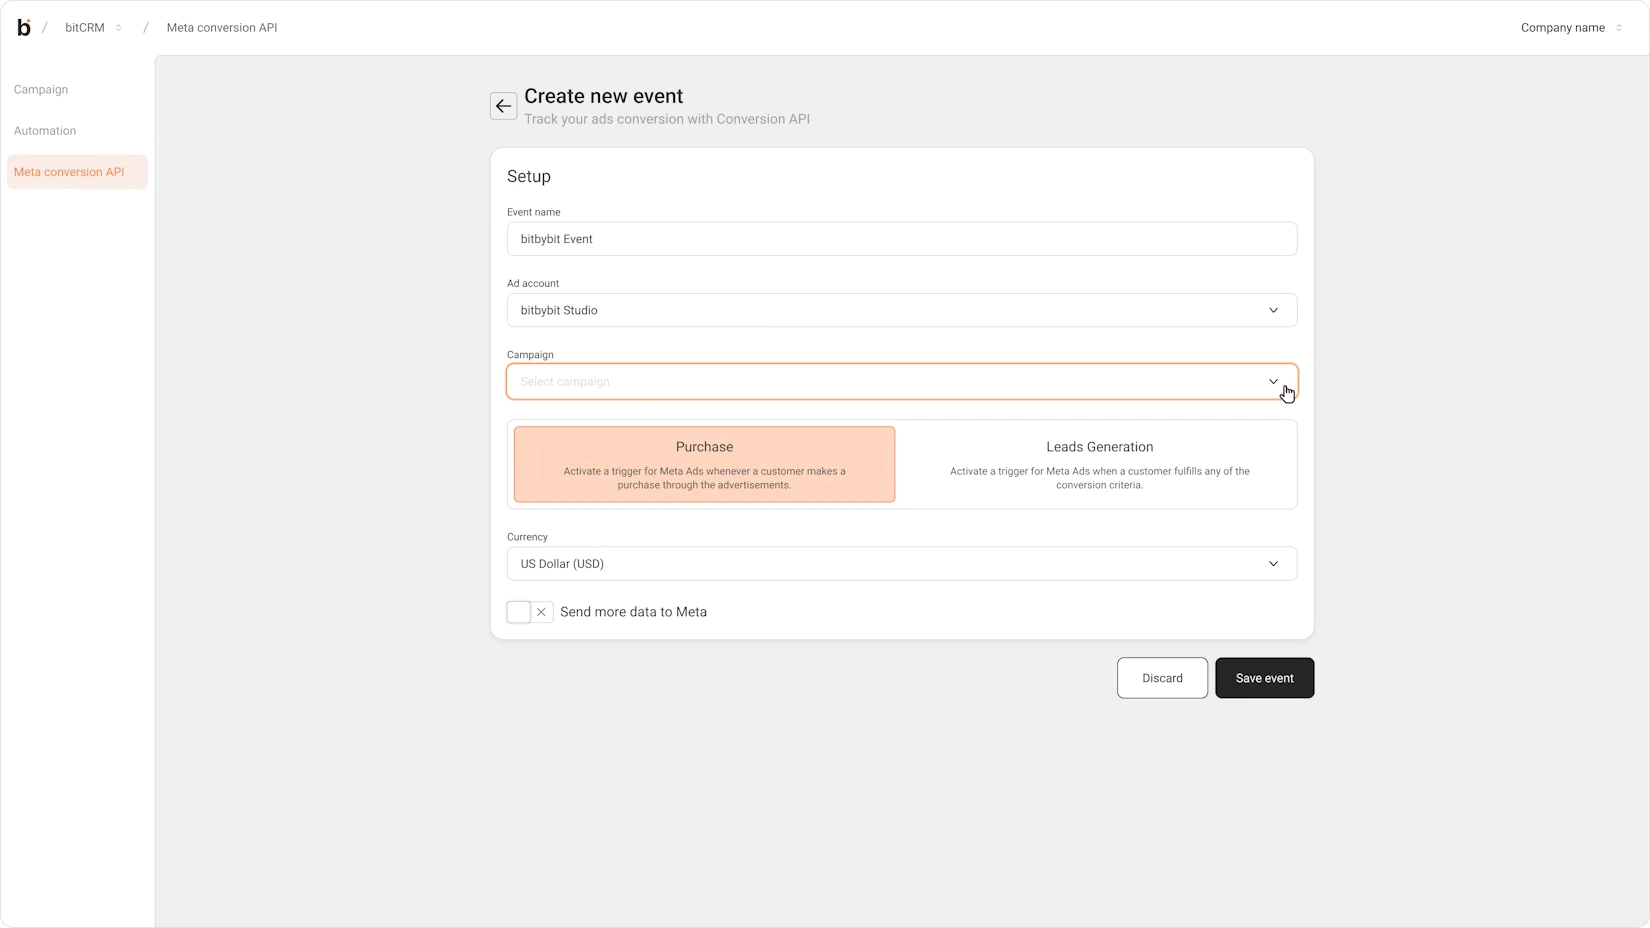
Step 5: Open the Ad set dropdown and select the relevant Ad set.
The list is populated with ad sets under the selected Campaign, sorted by most recently active.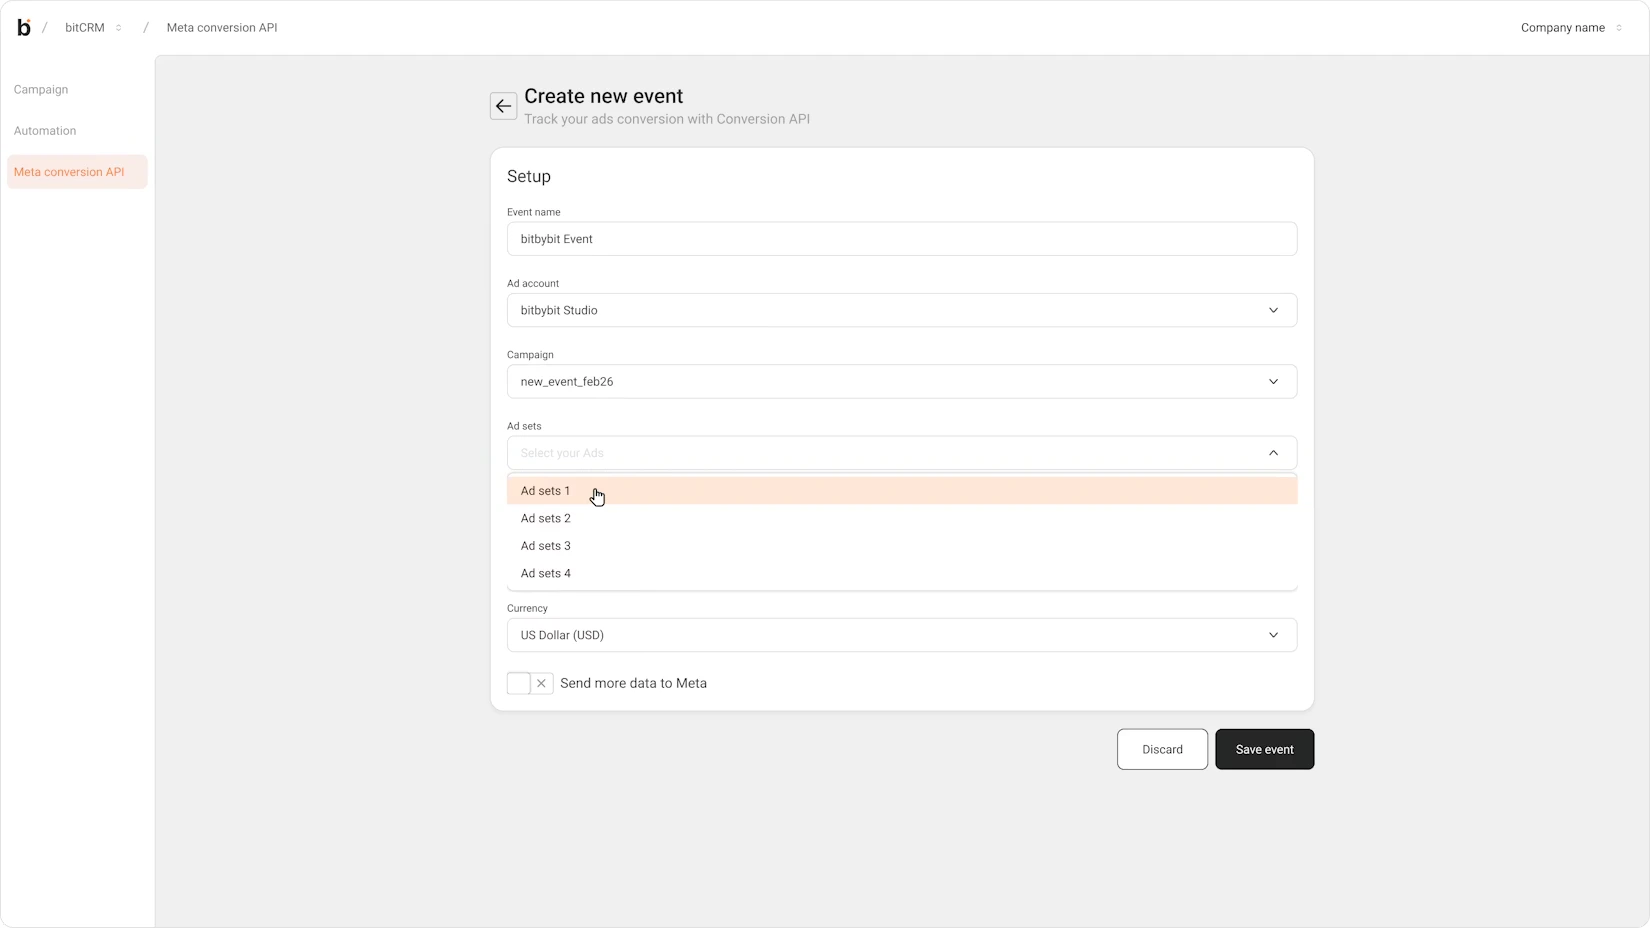
Step 6: Review the Ads list that appears and uncheck any ads you want to exclude from this event
All ads within the selected Ad Set are checked by default and sorted by newest first.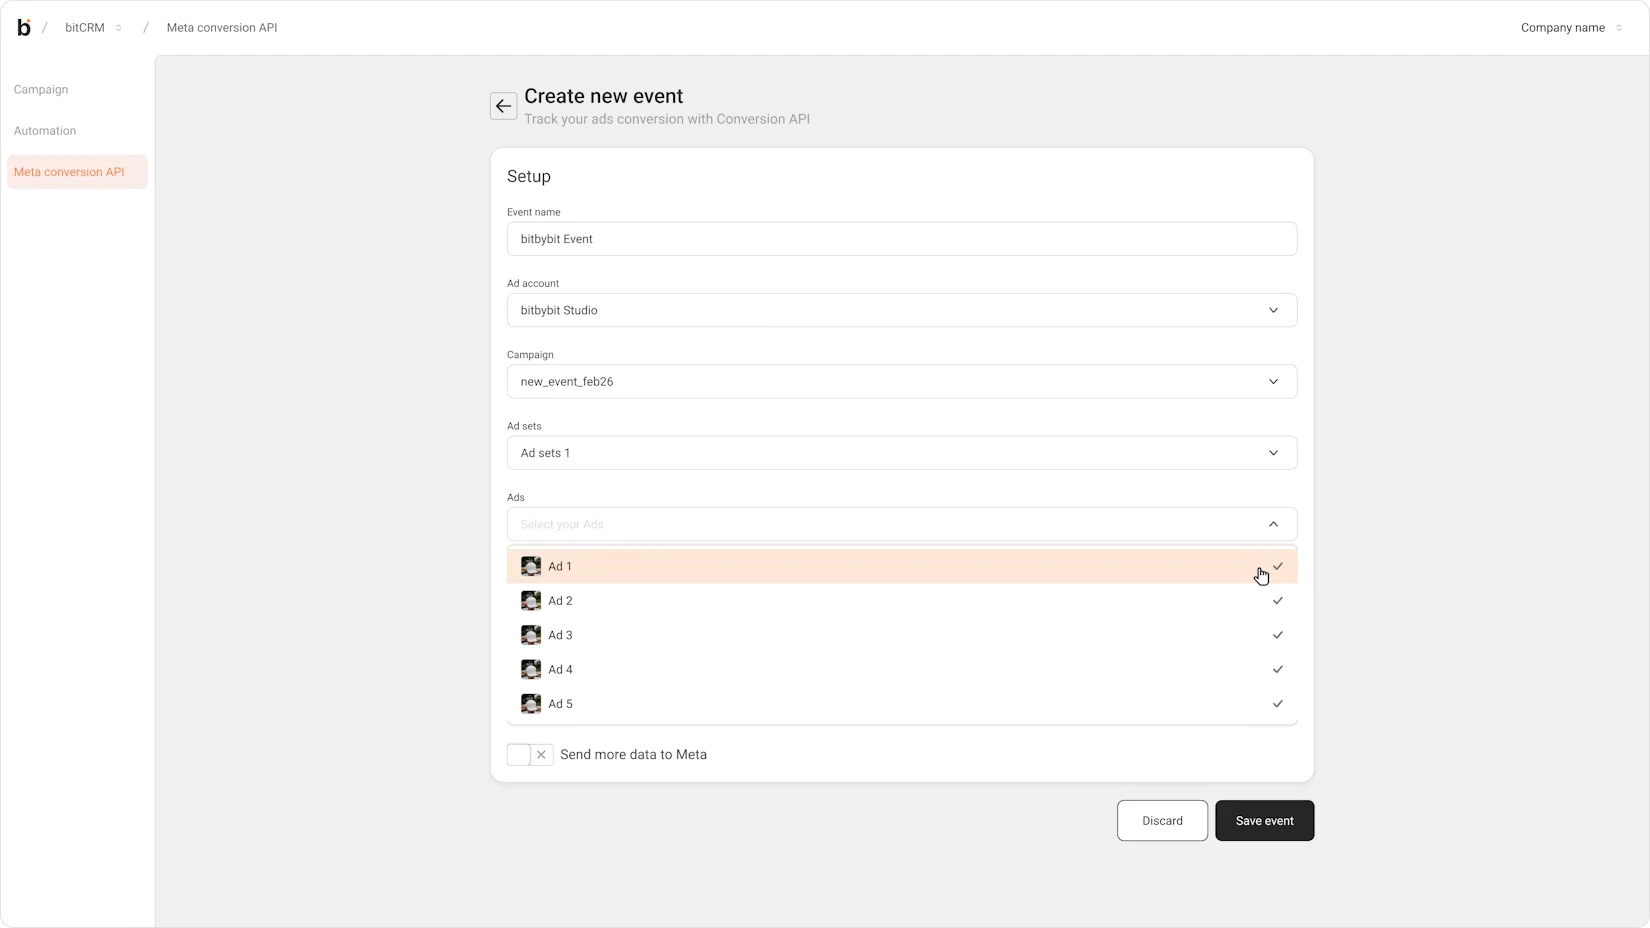
Step 7: Click Save
The system creates the event and returns you to the CAPI events list, where the newly created event will appear.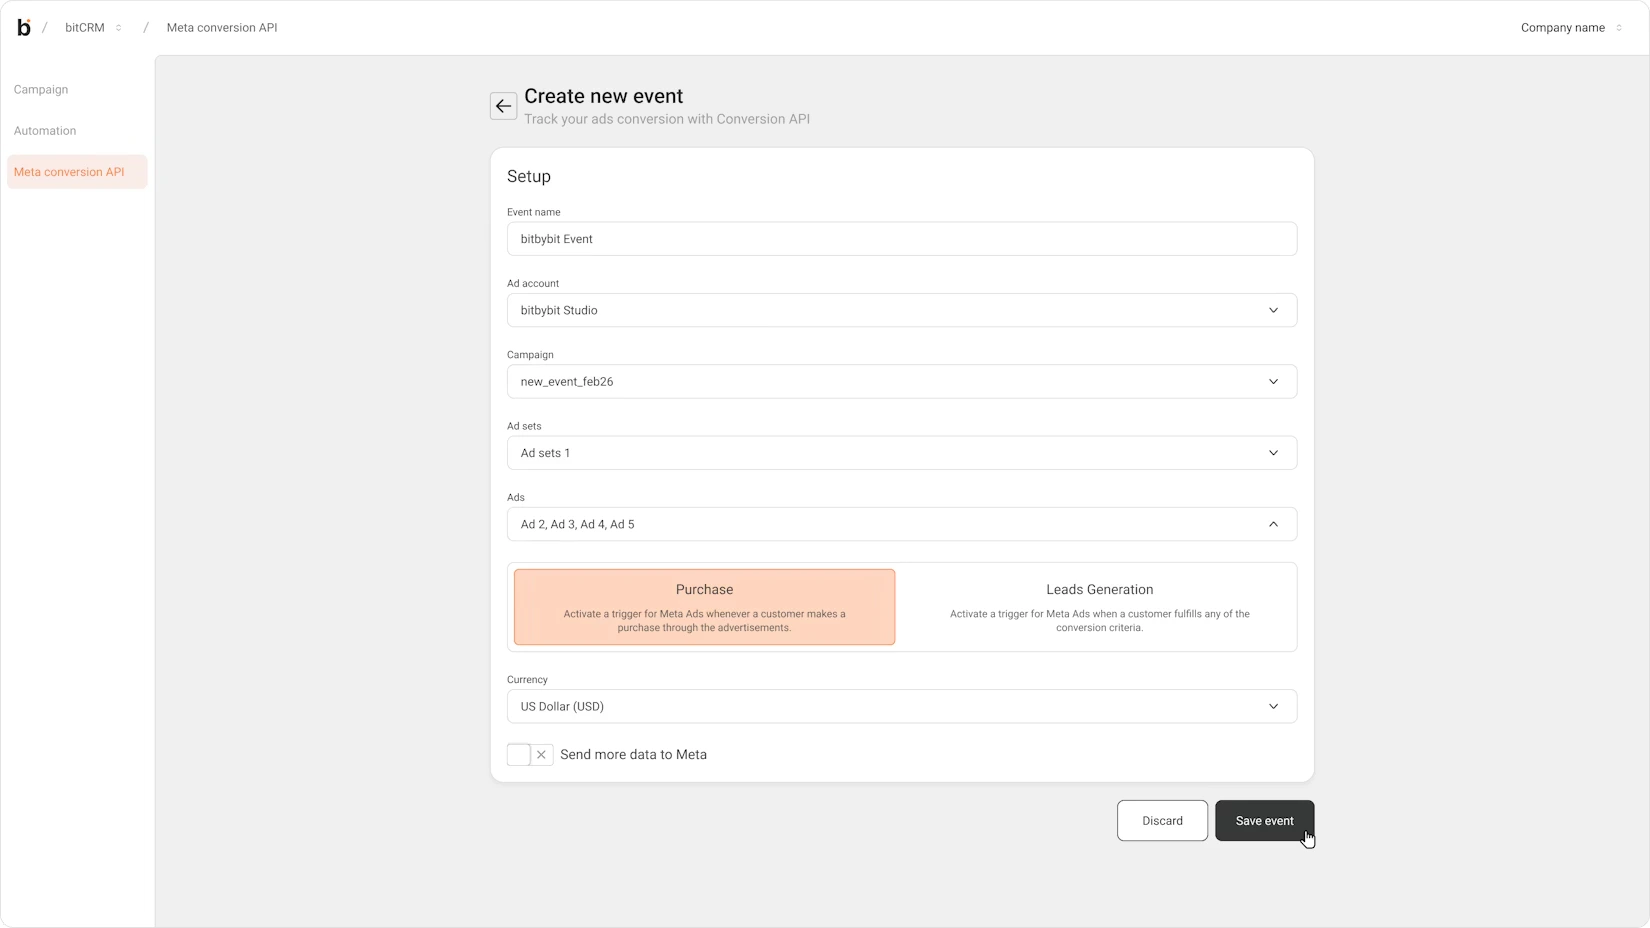
Result
Your CAPI event is now active. Conversion data will be sent to Meta whenever the connected trigger conditions are met, allowing Meta to optimize your ad campaigns based on real, verified interactions.Important Notes
- Each dropdown (Campaign, Ad Set) is only enabled after the preceding selection is made. For example, the Campaign dropdown will not be available until an Ad Account is selected.
- All dropdowns support search, making it easier to find specific campaigns or ad sets in large accounts.
- Ads within the selected Ad Set are all included by default. Be intentional about which ads you exclude, as this affects which ad interactions will be tracked for optimization.
- CAPI sends data directly from server to server, so tracking remains accurate even when users have ad blockers or strict browser privacy settings enabled.